*Affiliate links used – sources linked at the end of the post.
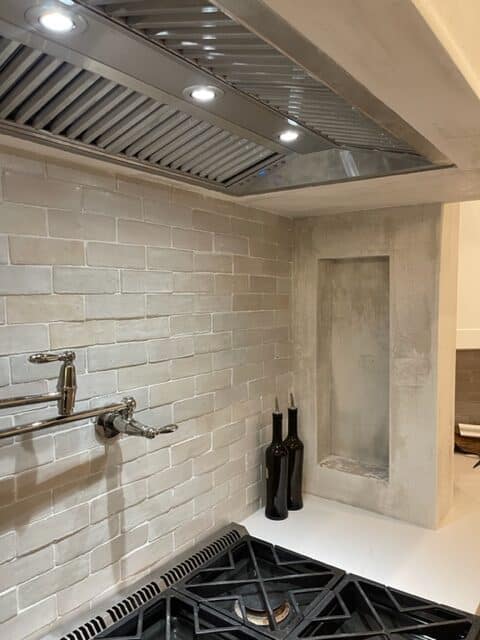
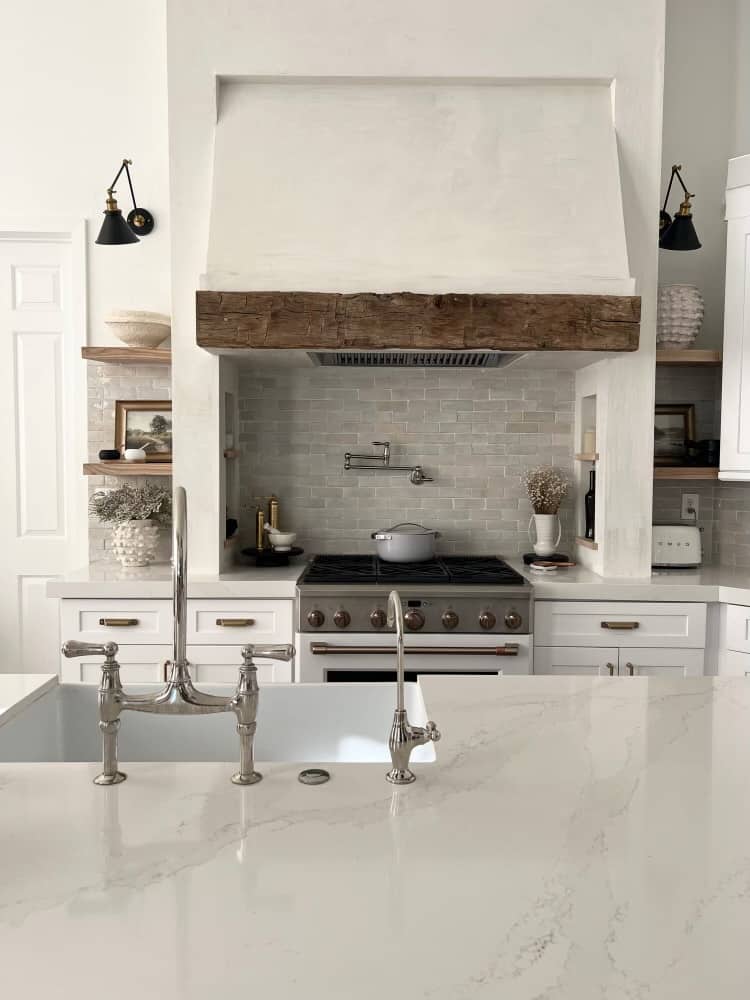
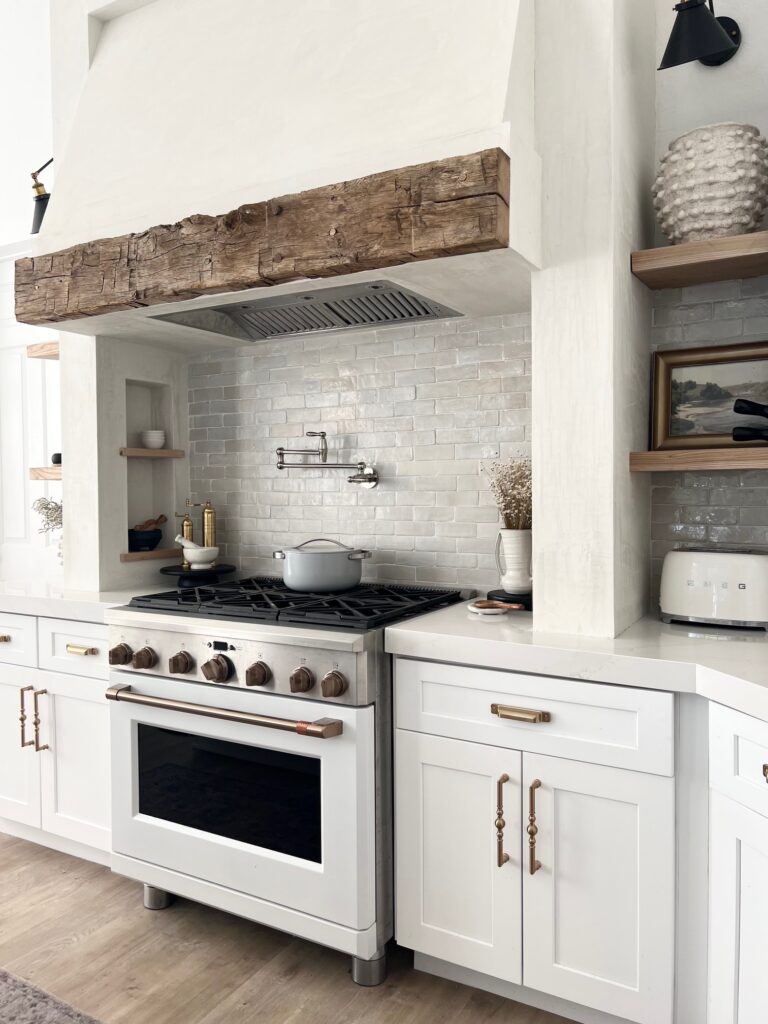
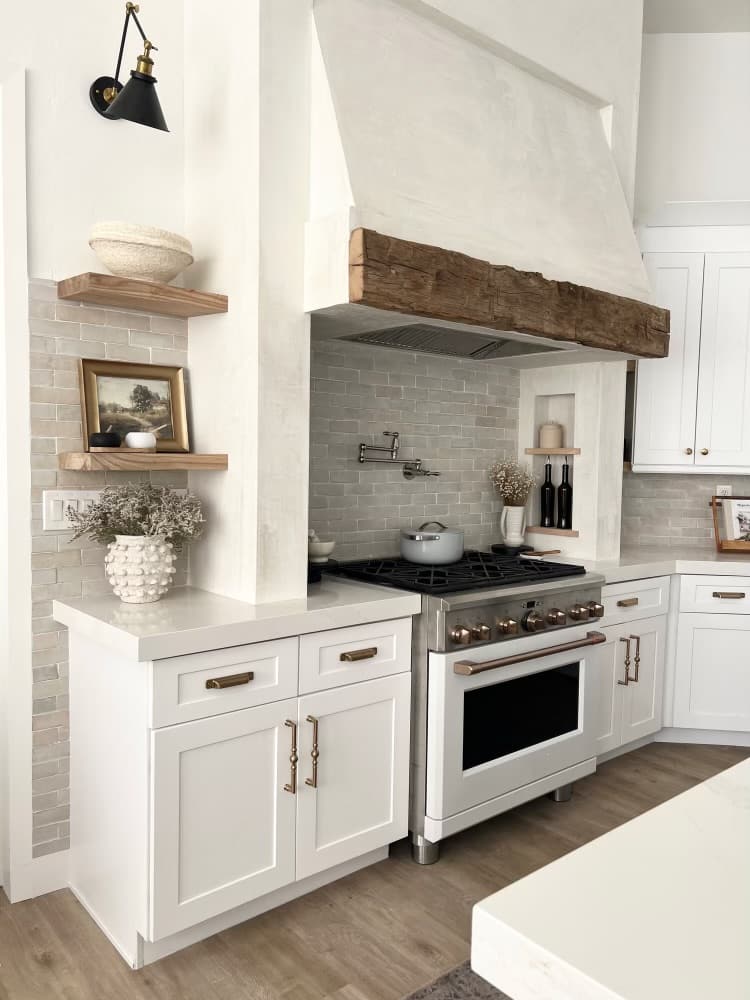
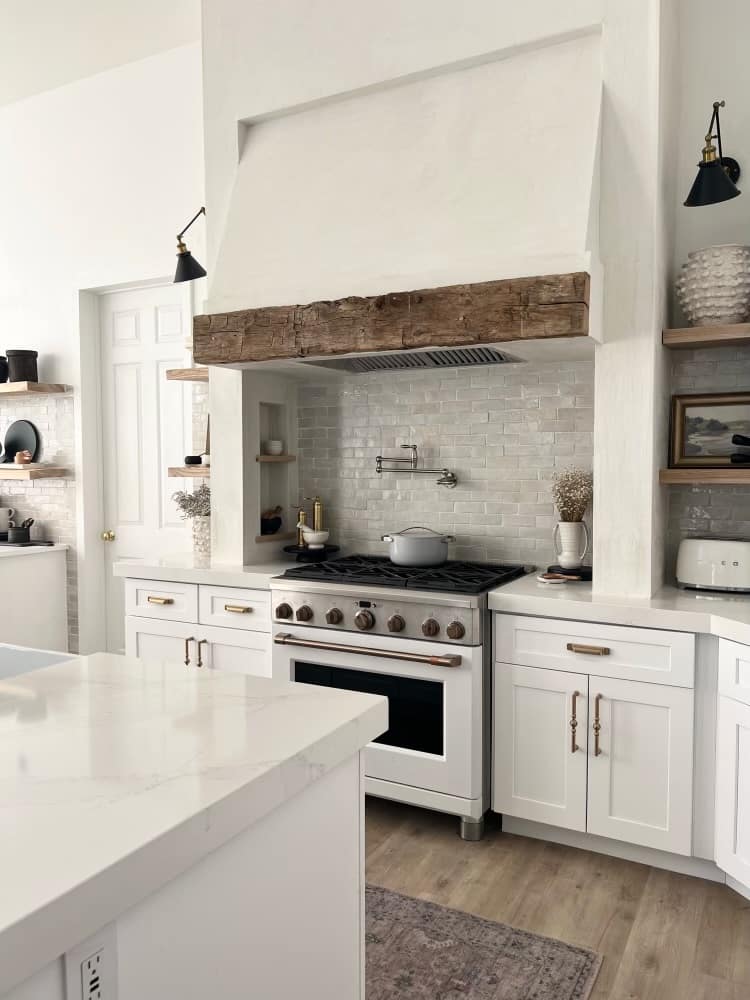
Tile used : Natural White Zellige by Riad tile / Grout used : Mapei the color is Avalanche / Authenitic Venetian Plaster used : Firmolux Marmorino Berlina in Pure White
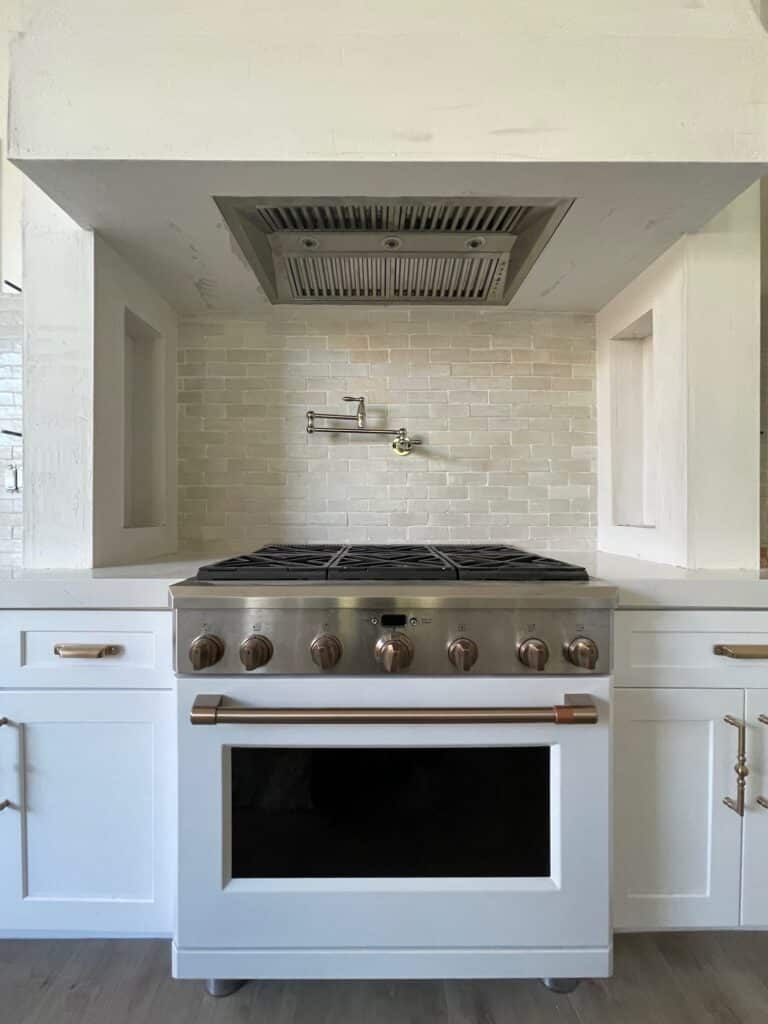
We purchased this house in November of 2020 and immediately tackled the dated kitchen. We had so many projects to tackle that Jeff decided to build a simple hood to get us by until we could really put some thought around an upgraded custom hood. Once we finished the DIY on the Coffee Bar we loved the contrast and backsplash so much we decided to use the same Zellige tiles, by Riad tile, in the kitchen too. Since we had to demo everything anyway we decided it would be a good time to upgrade the hood as well.
Here’s a picture of the original kitchen and then the remodel we did in early 2021. Now let’s get into this DIY!
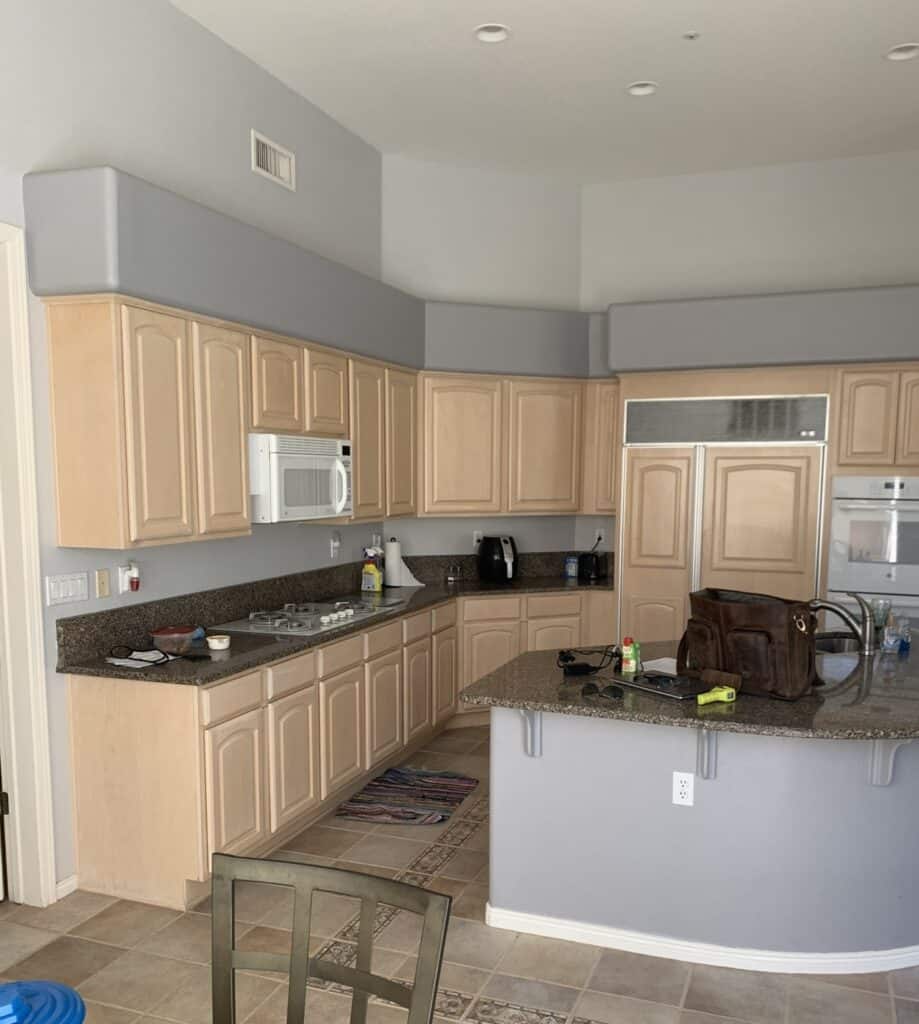
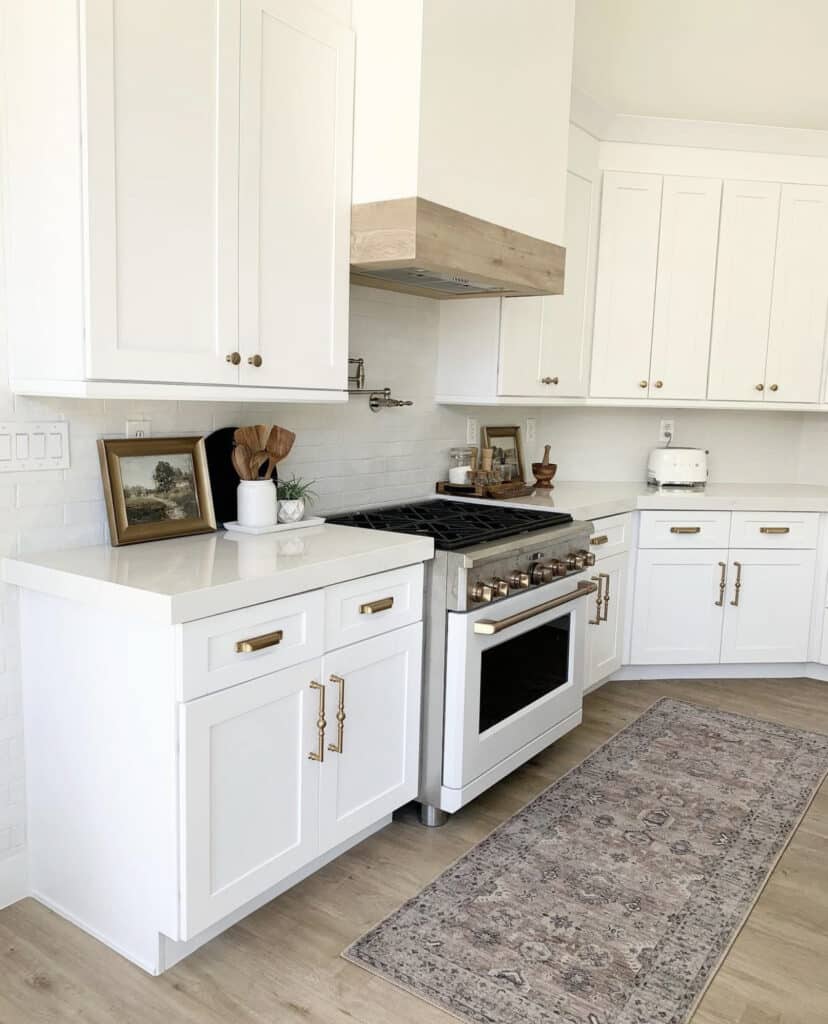
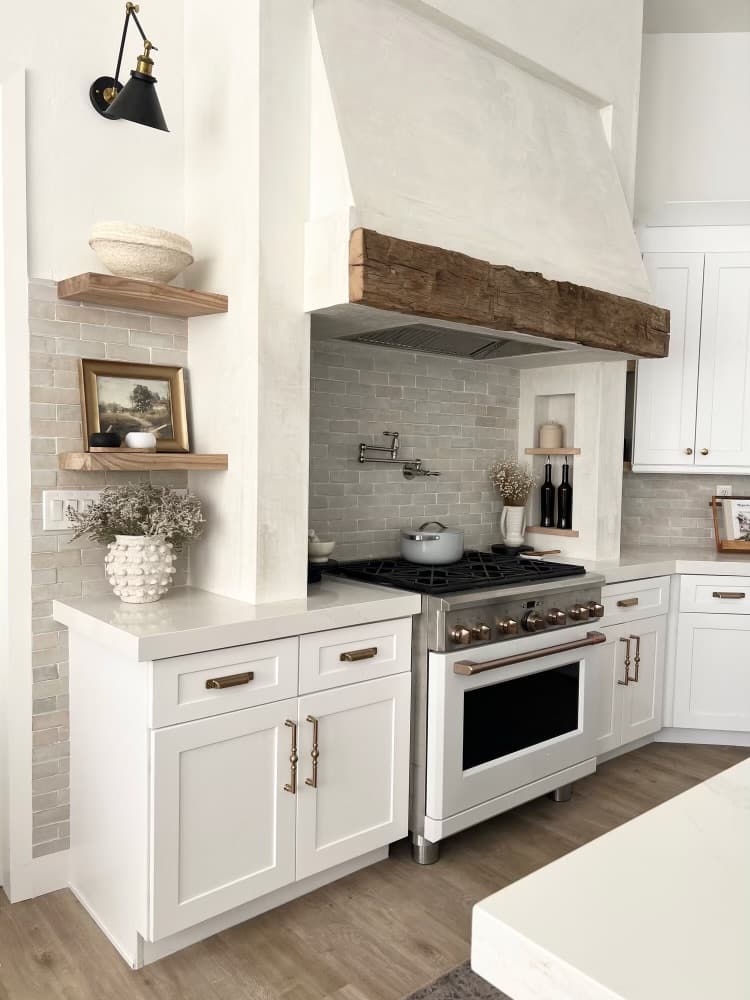
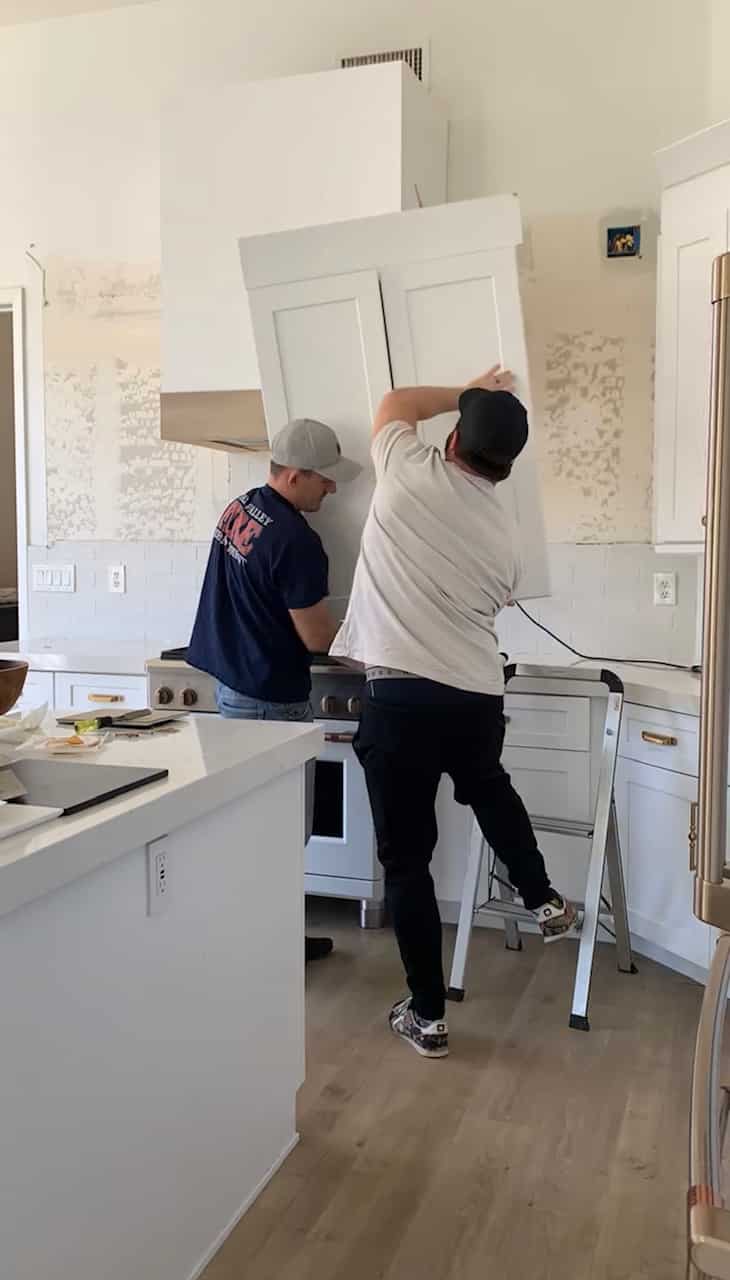
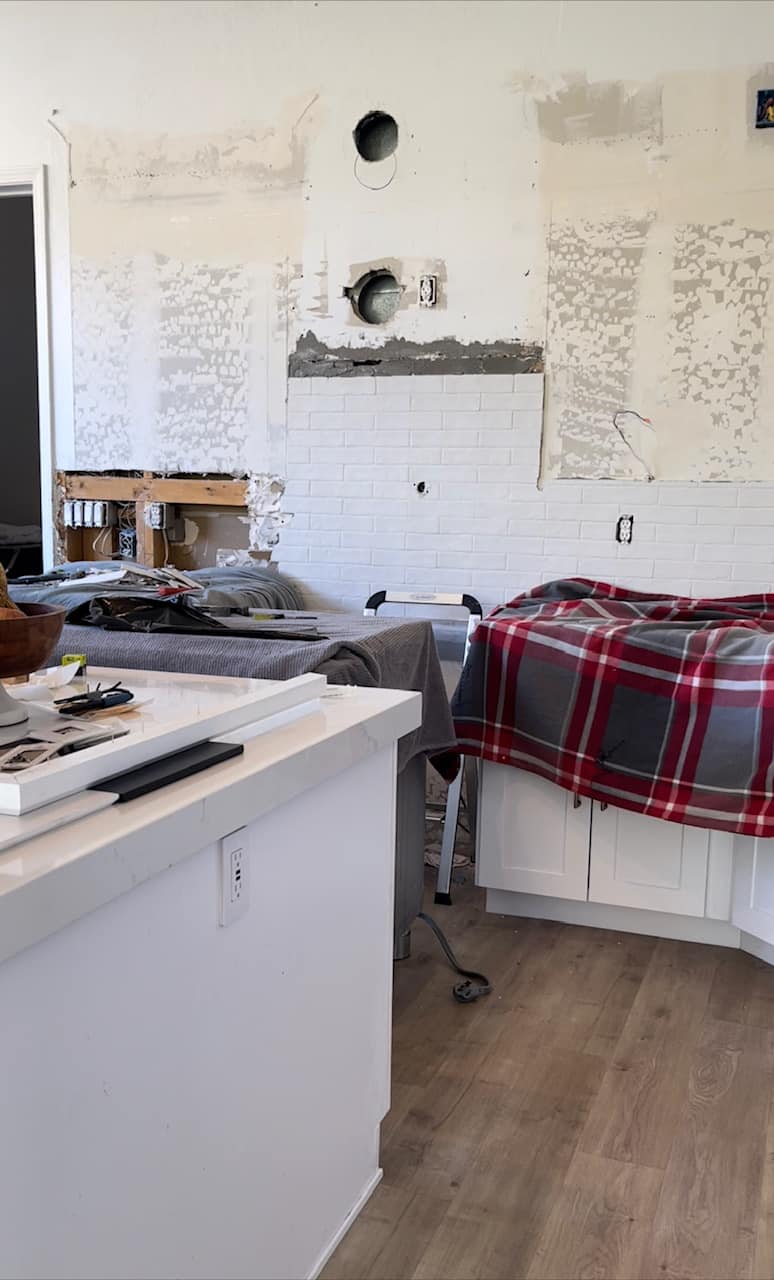
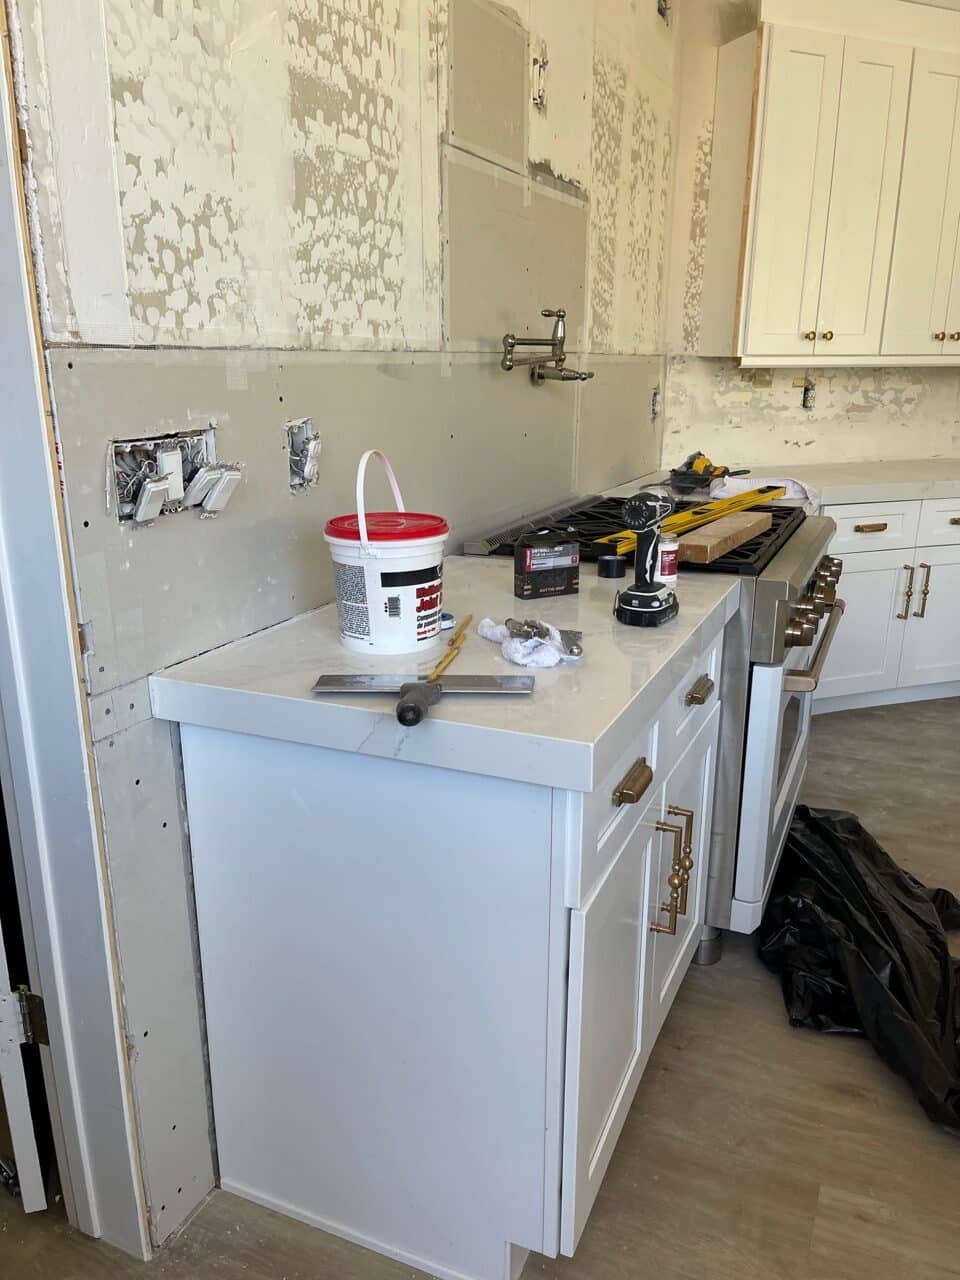
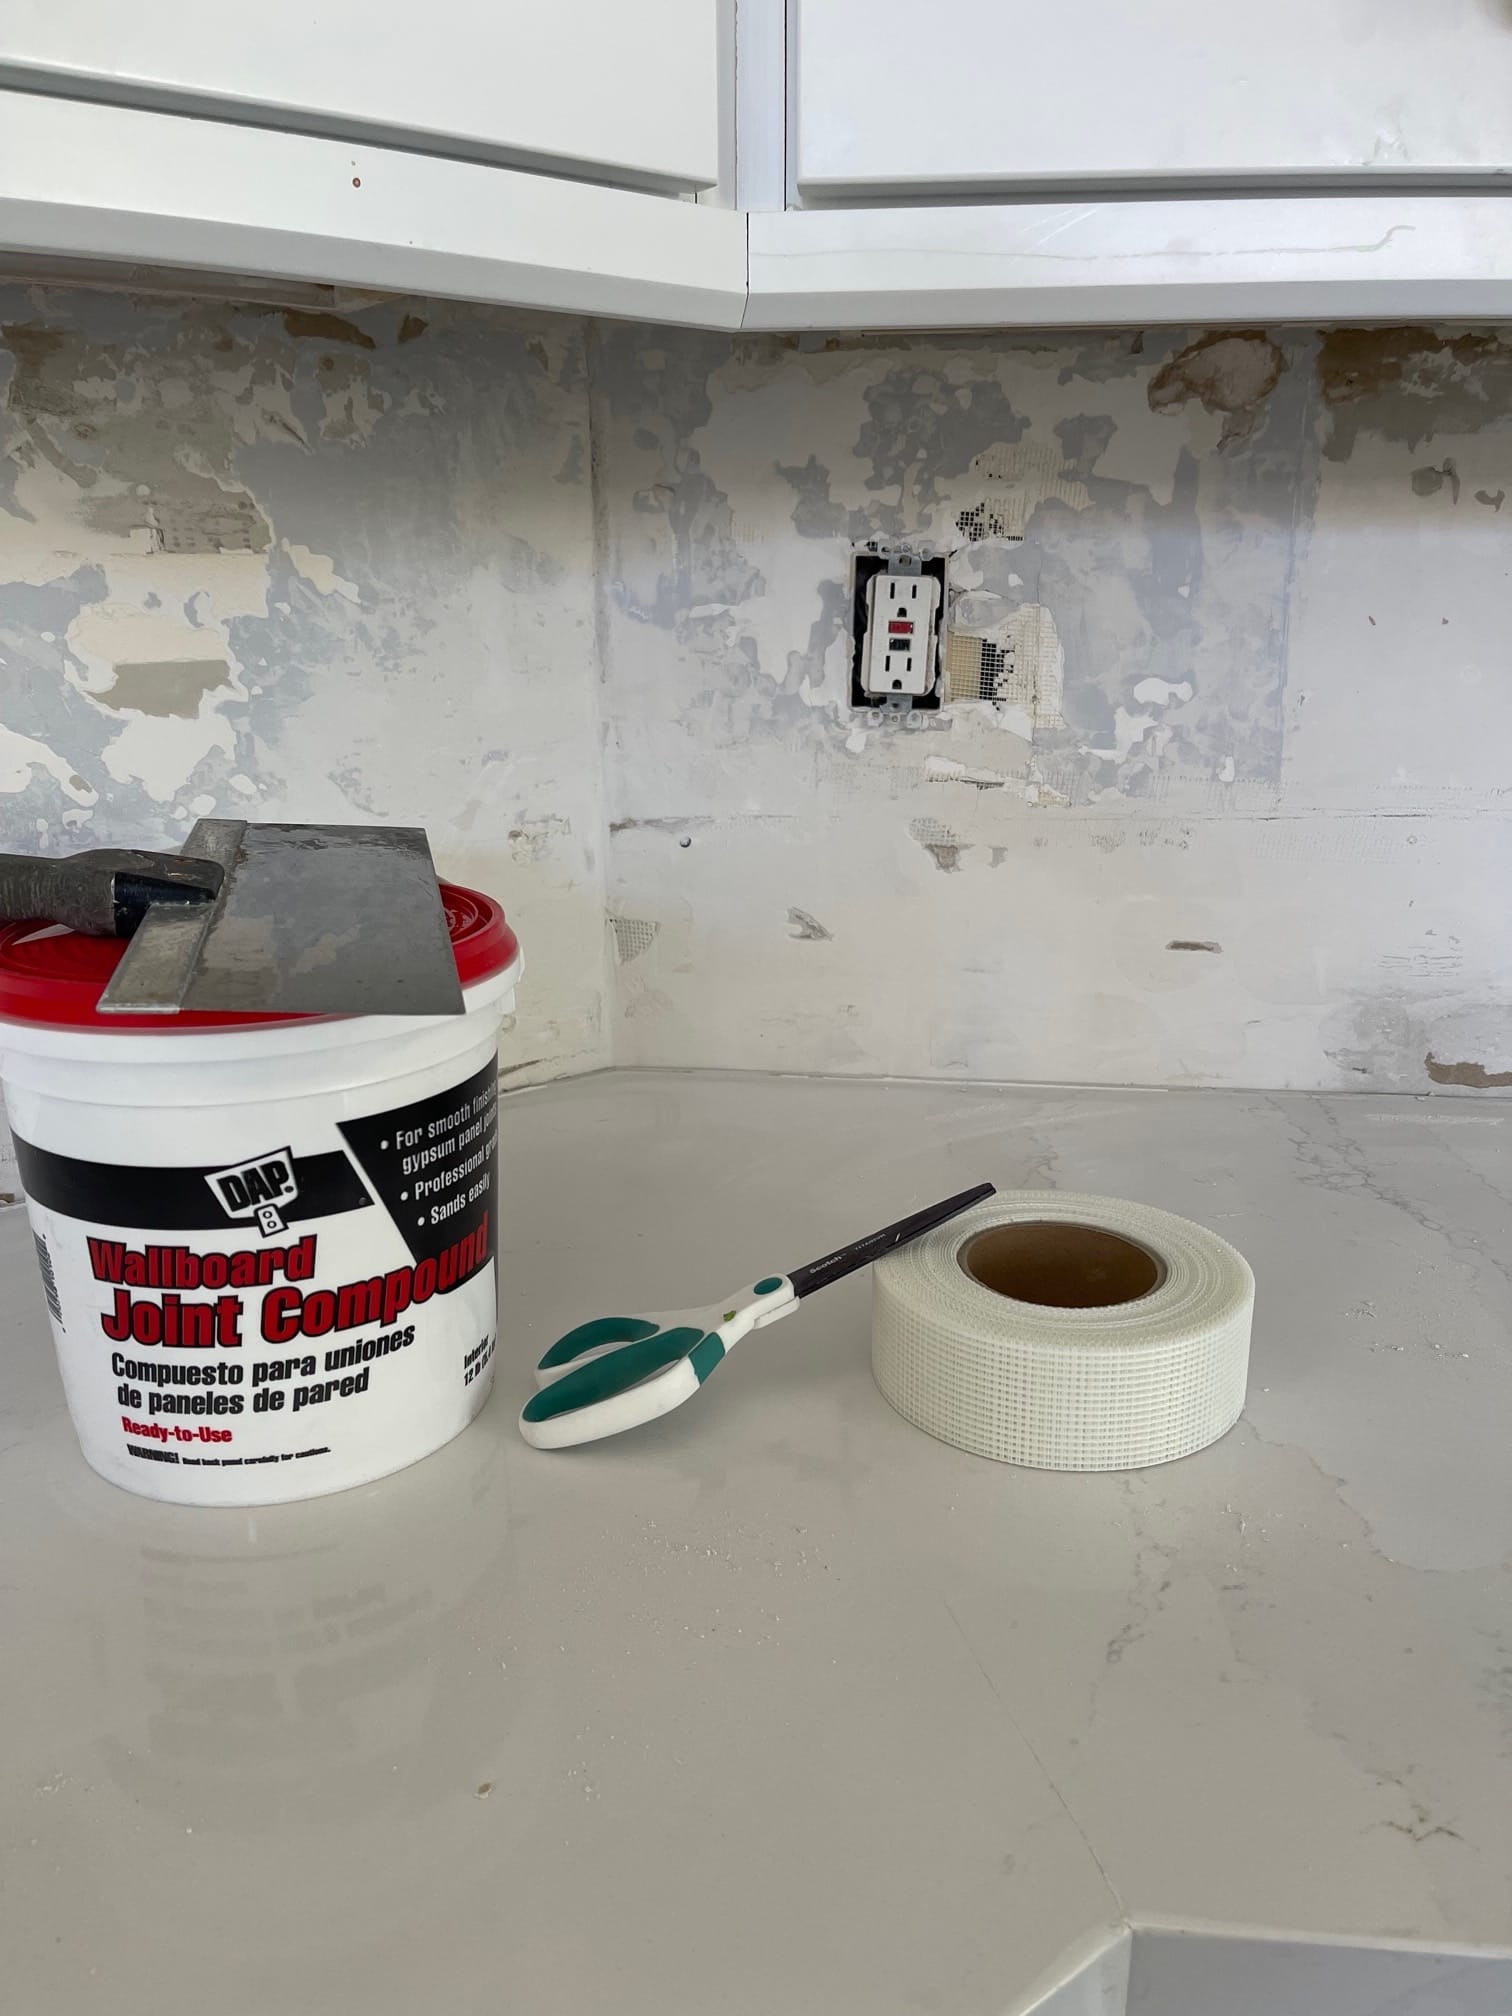
It began with Jeff and his friend Nolan starting the demo. They took down the existing cabinets and hood, and It took them an entire day to get the tile removed. The previous tile installers did a great job because they could barely get the stuff off the wall. They had to completely cut out the drywall to remove it all. After the tile and drywall came down, Jeff repaired the holes with new drywall. He taped the seams and used joint compound to smooth out the sections for the new tile to go up.
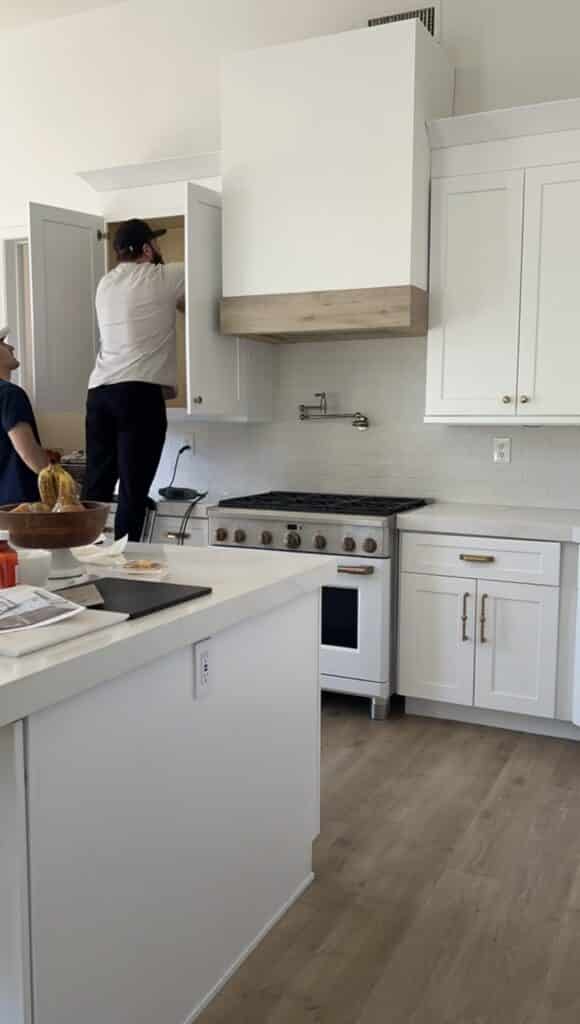

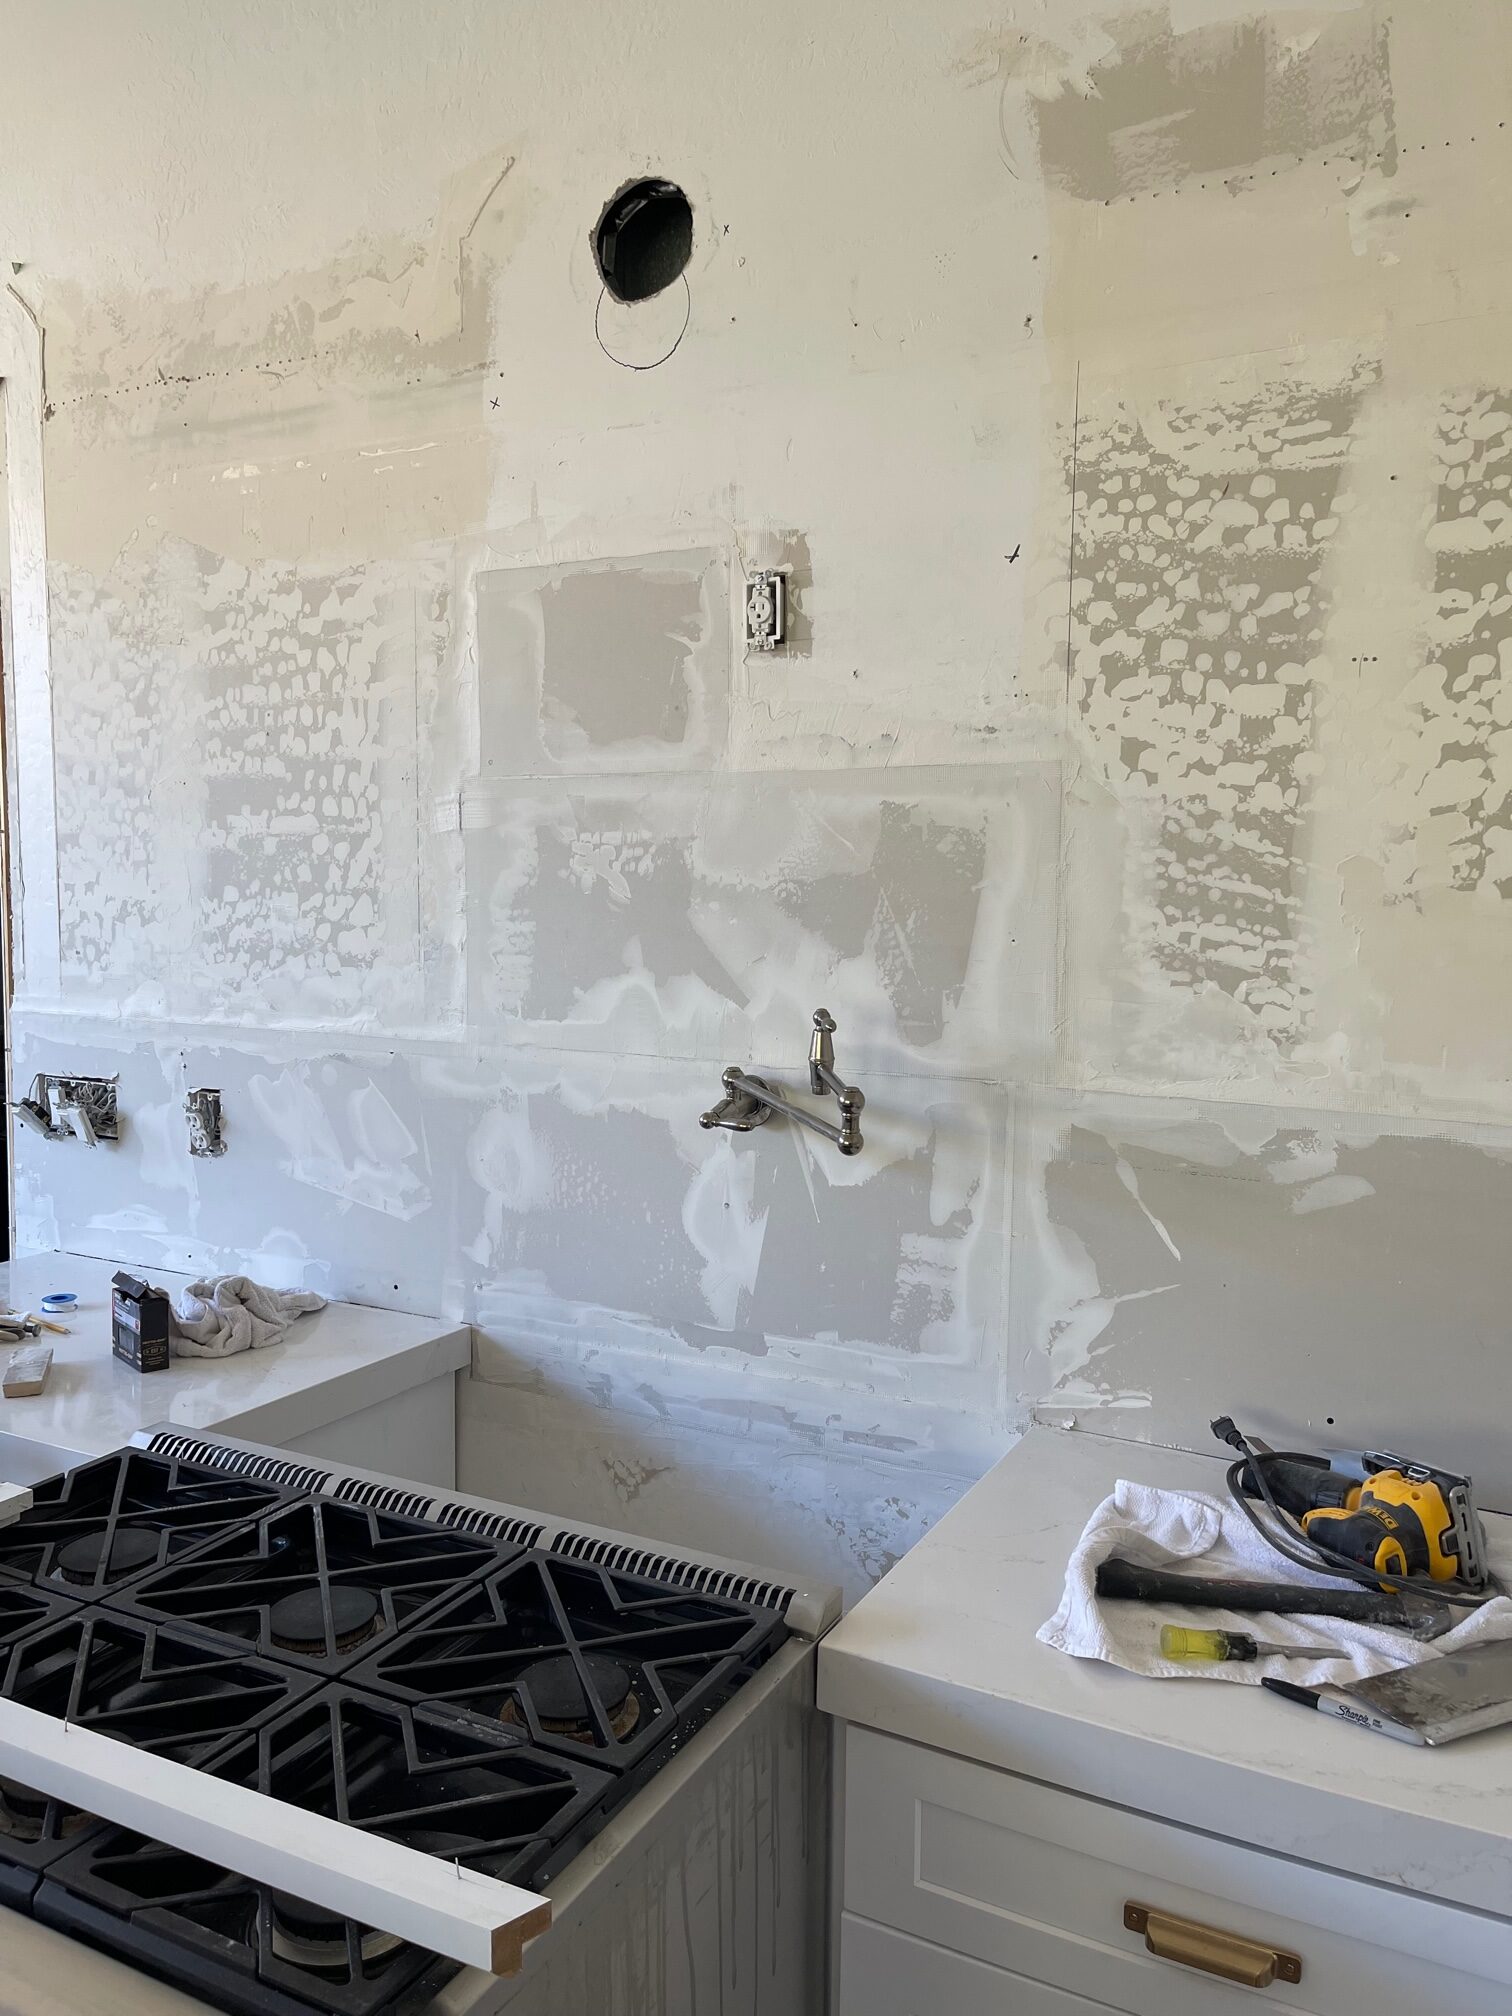
Now that everything is repaired and cleaned up we started to build out the frame structure for the hood. Jeff choose to build this in a combo of steel and wood. The primary frame is all steel. We got a lot of questions about why he choose metal studs. Jeff said he likes working with steel because its perfectly straight, lighter-weight, rot proof, termite proof and fire resistant. To protect the counter surface we used some 1×4’s cut to 18″. The original frame you see here was approx. 7 feet tall. However we decided to go all the way to ceiling which you will see later.
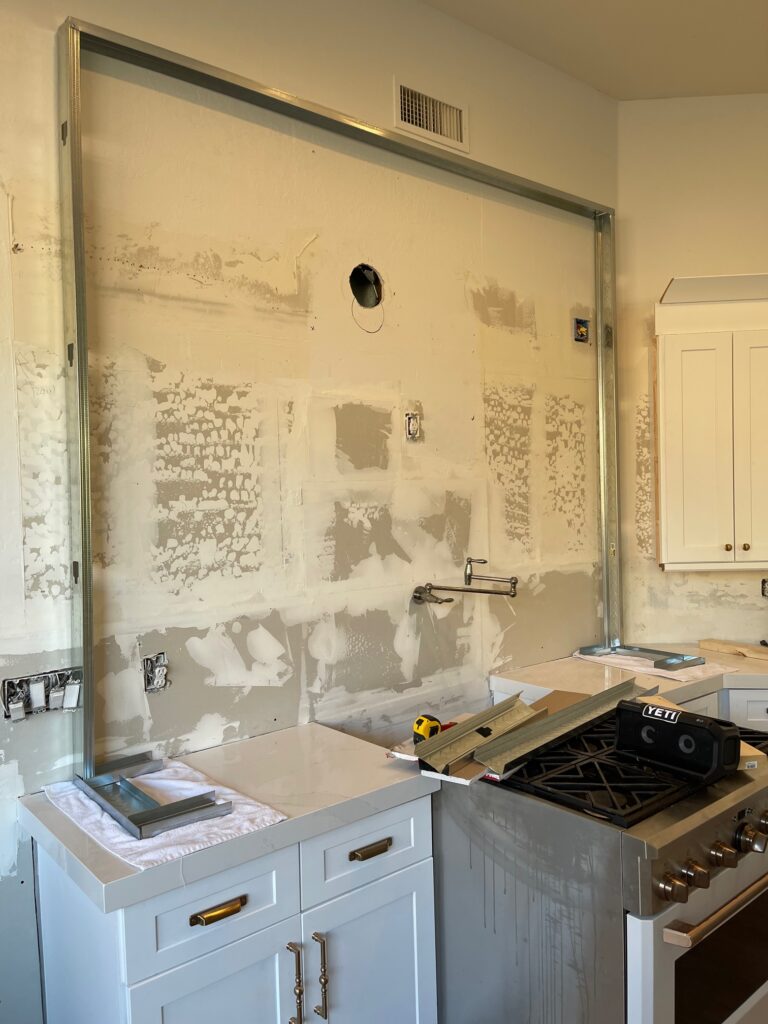
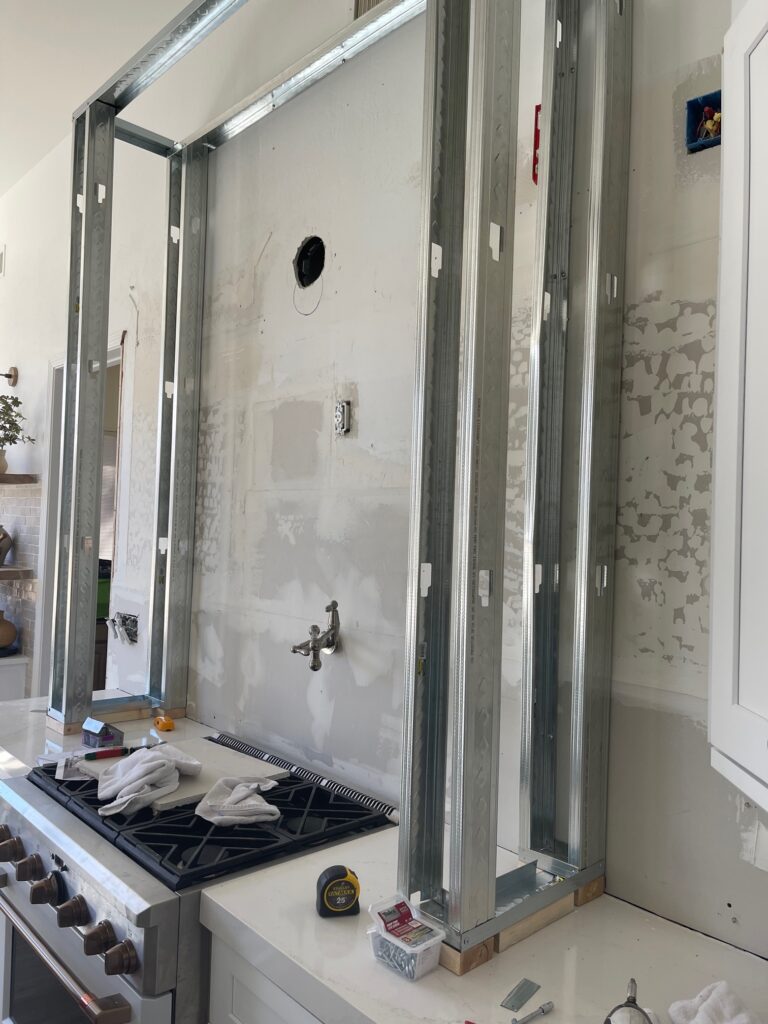
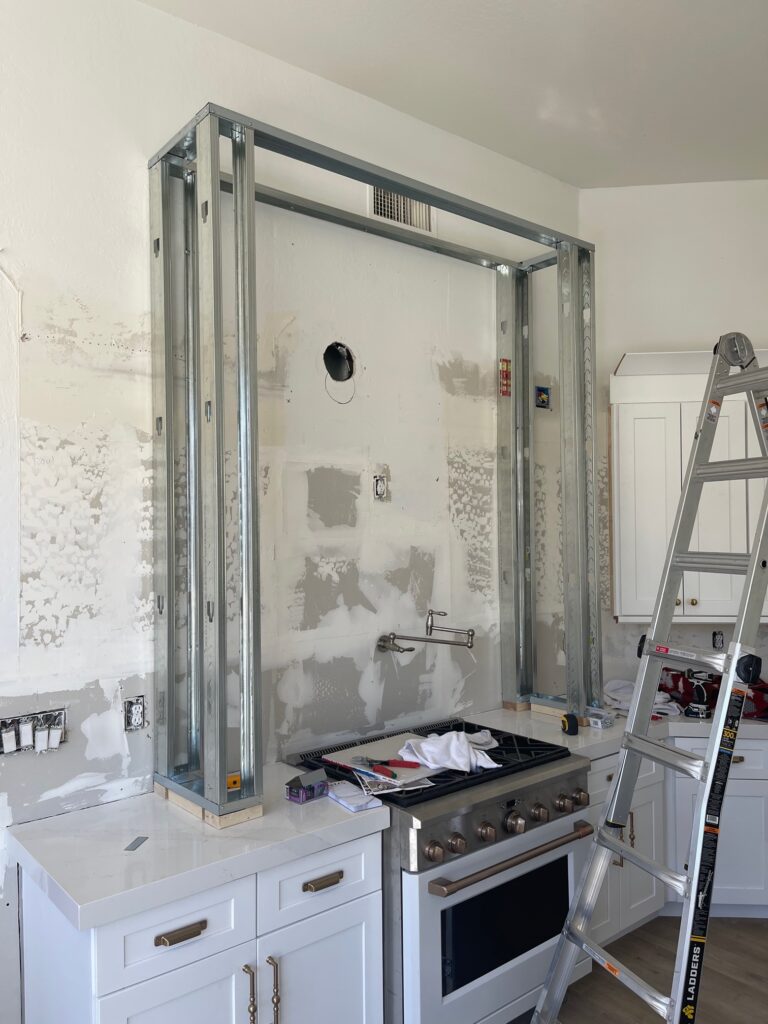
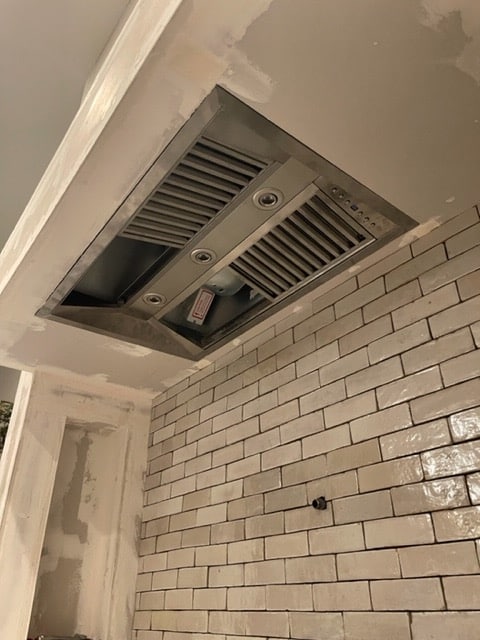
The next step was to start the mantle. We used some 2×4’s that fit right into the metal track to attach the 34″ zline hood vent to.
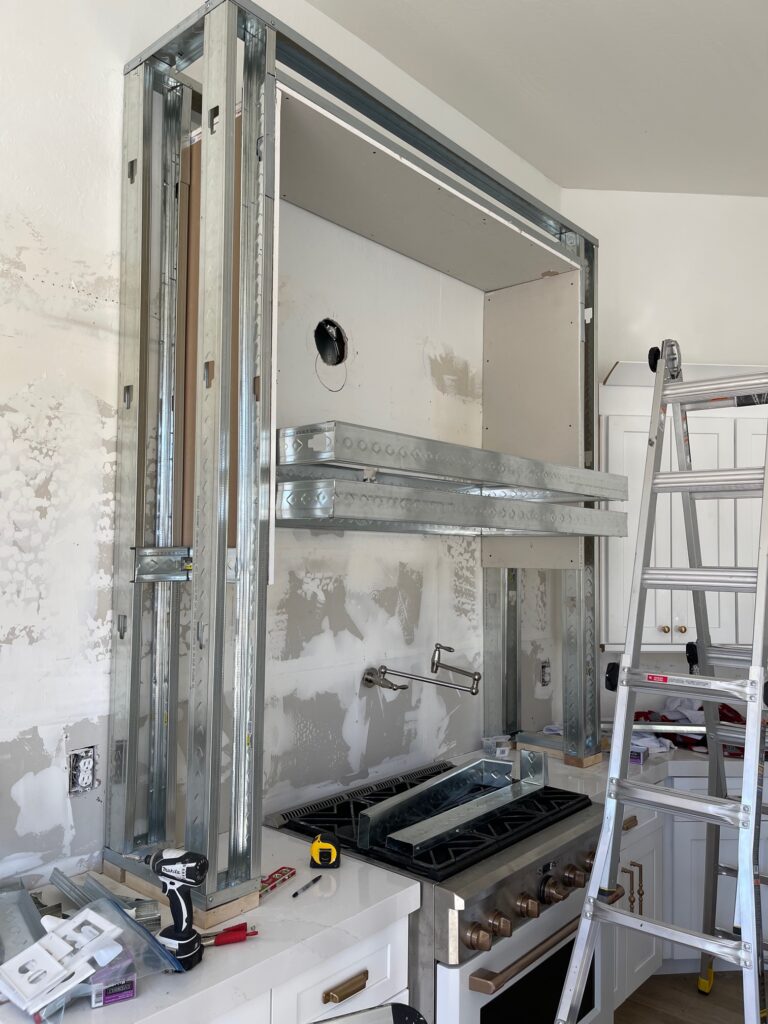
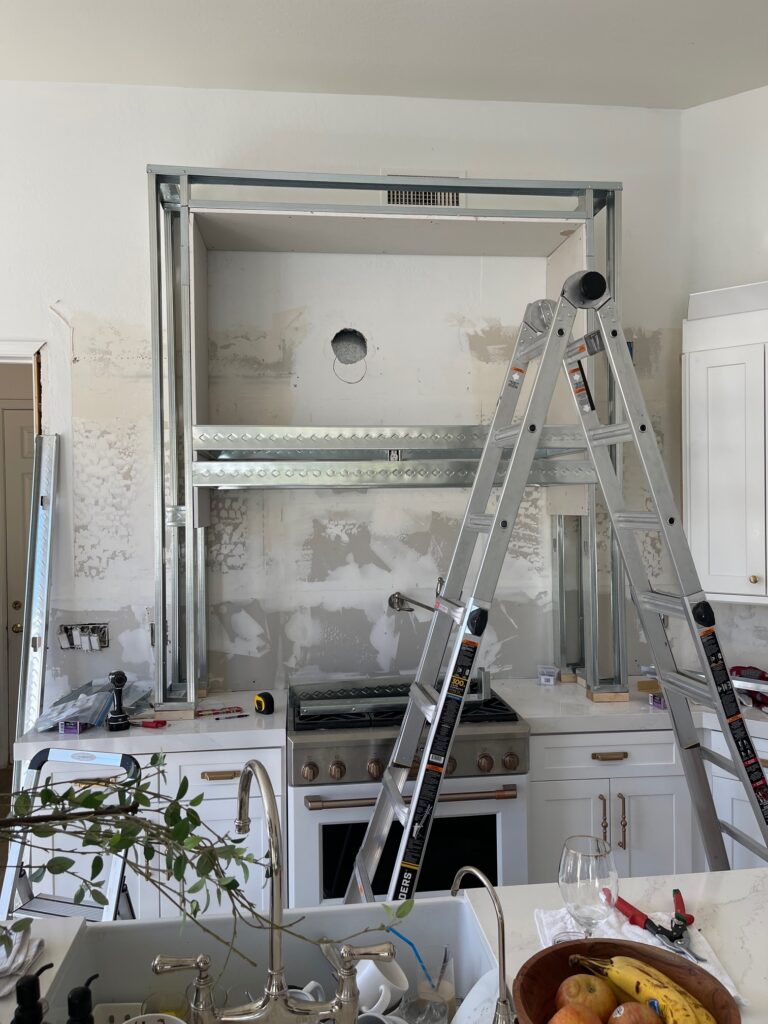
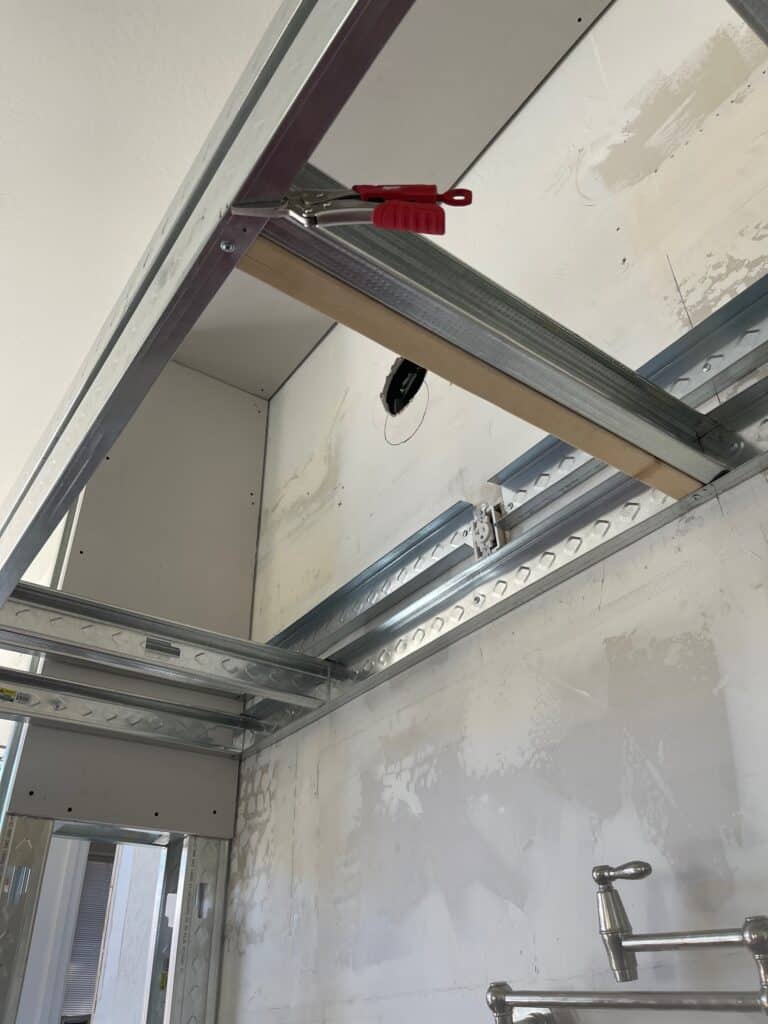
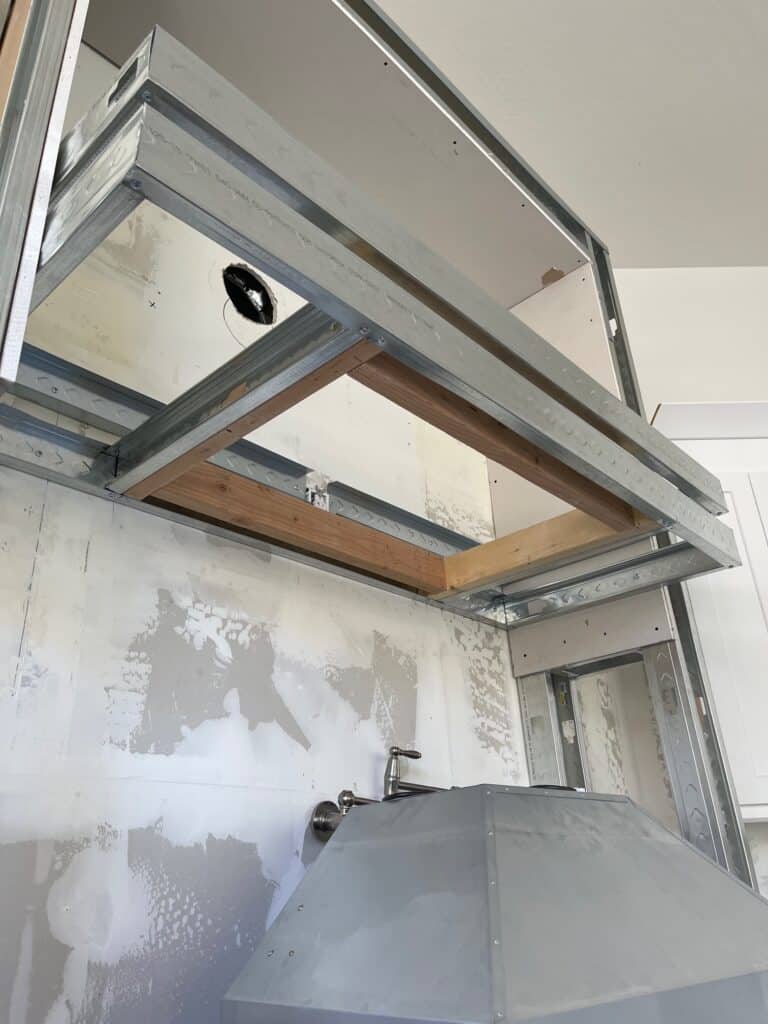
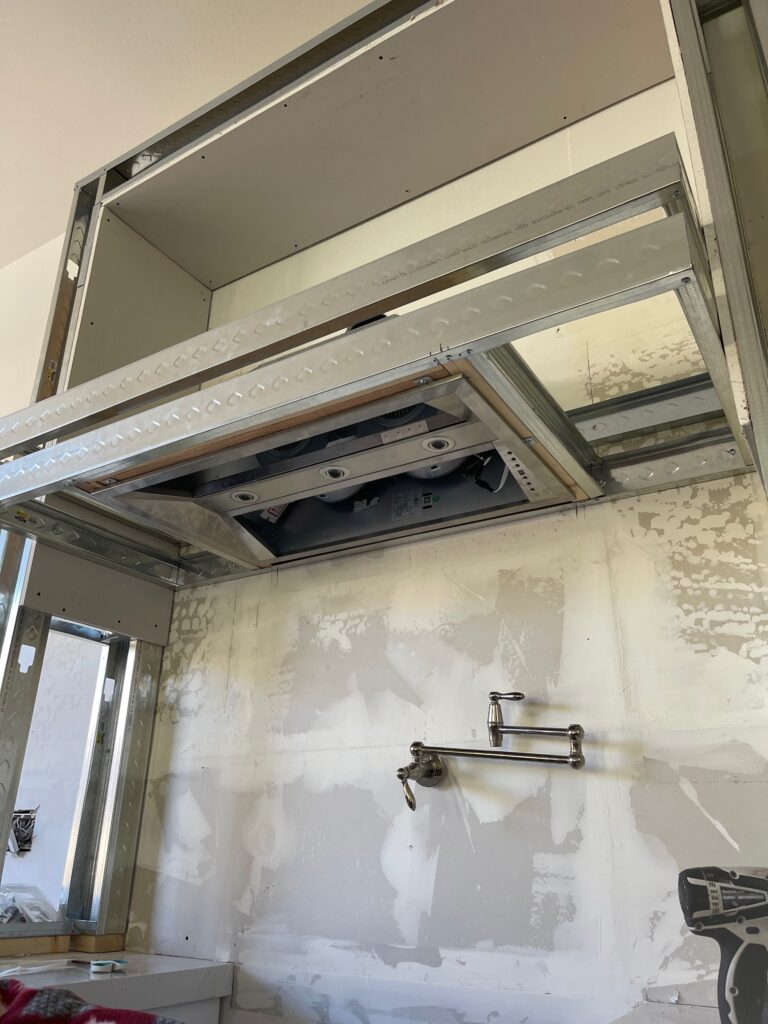
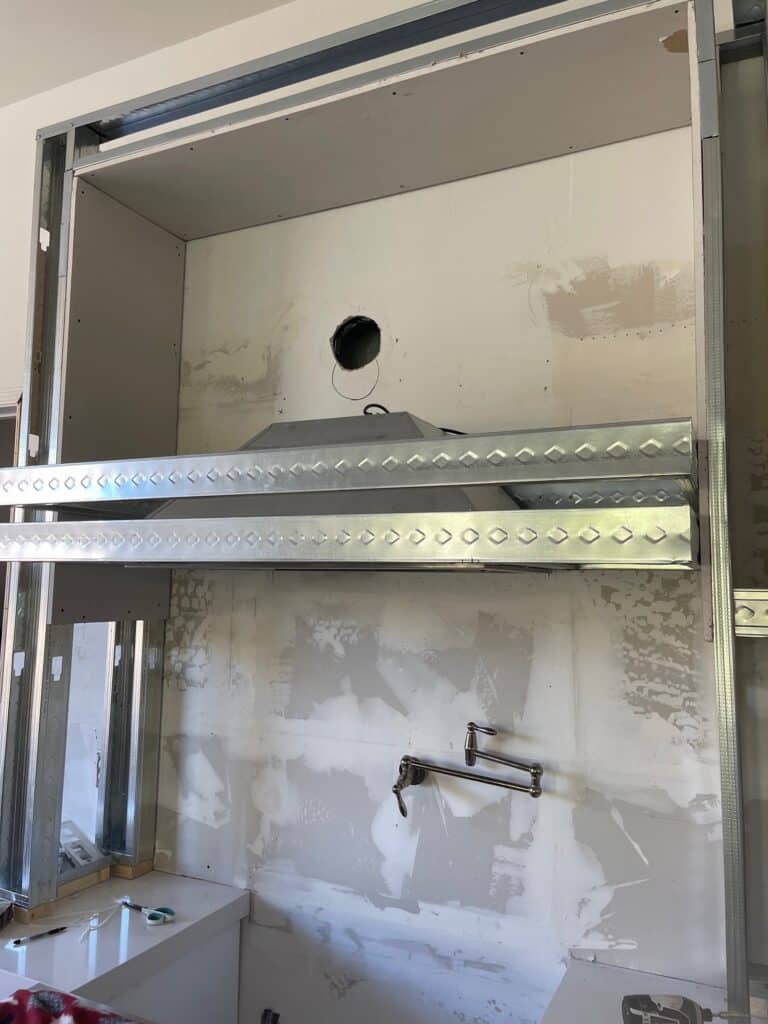
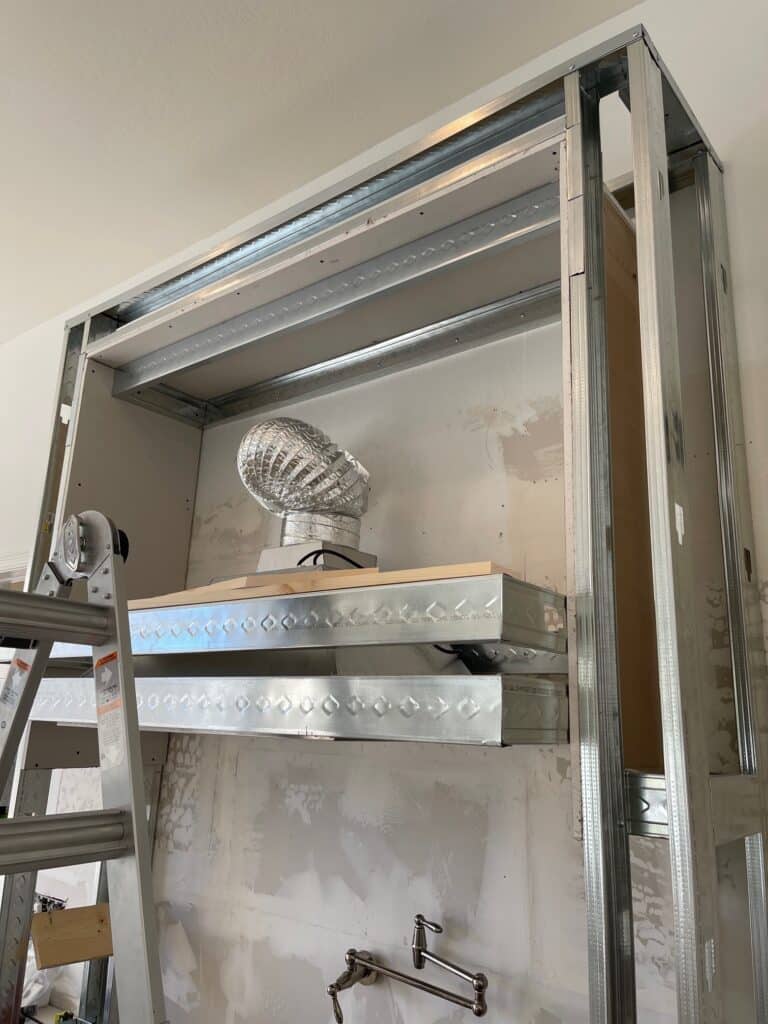
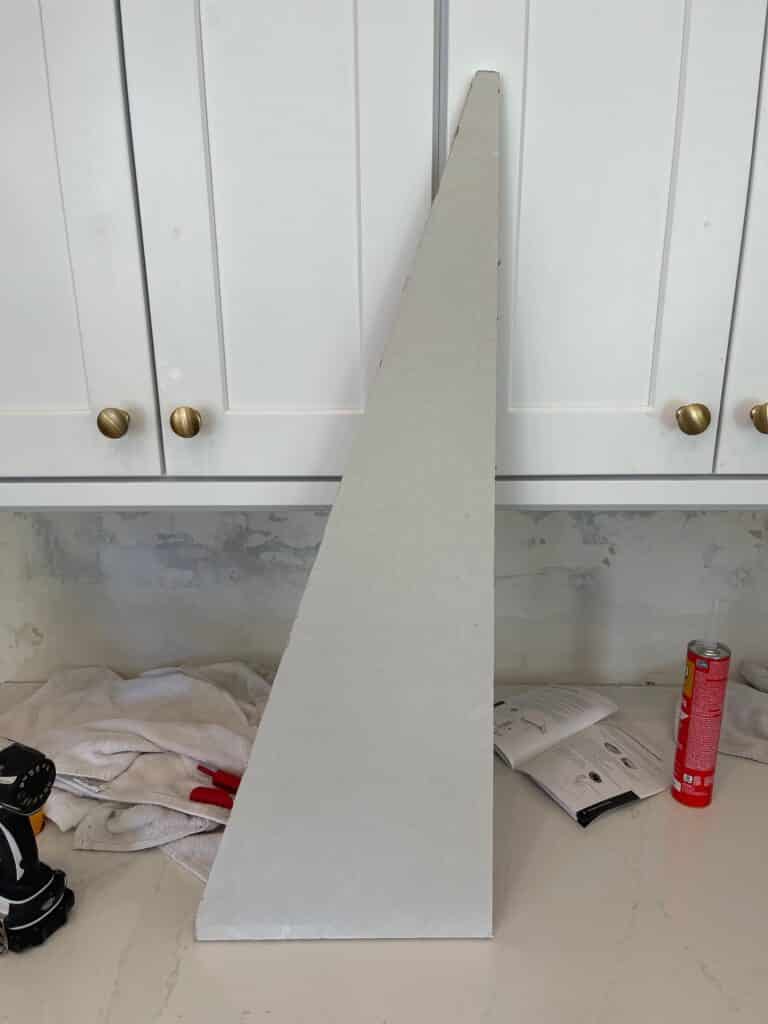
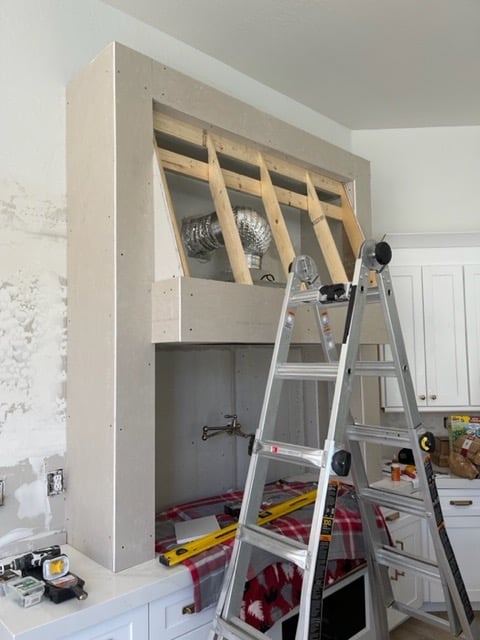
With the vent installed it was time to build out the slope and drywall everything. Jeff used wood 1’x4’s to make this section as it was easier to cut the angles.
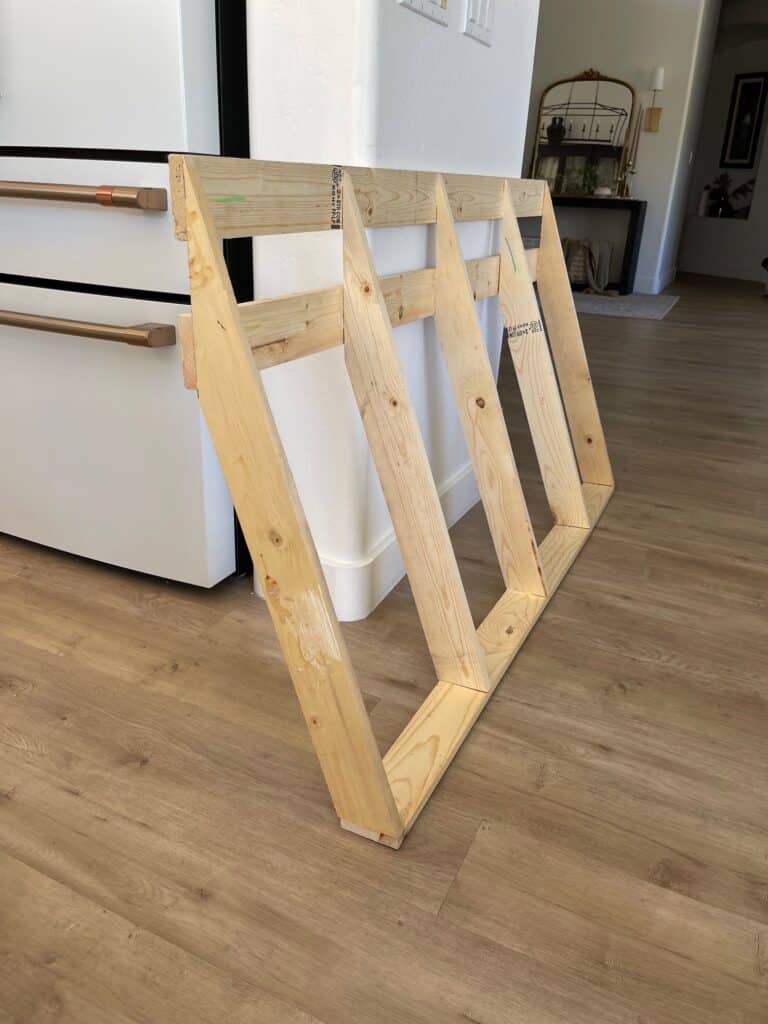
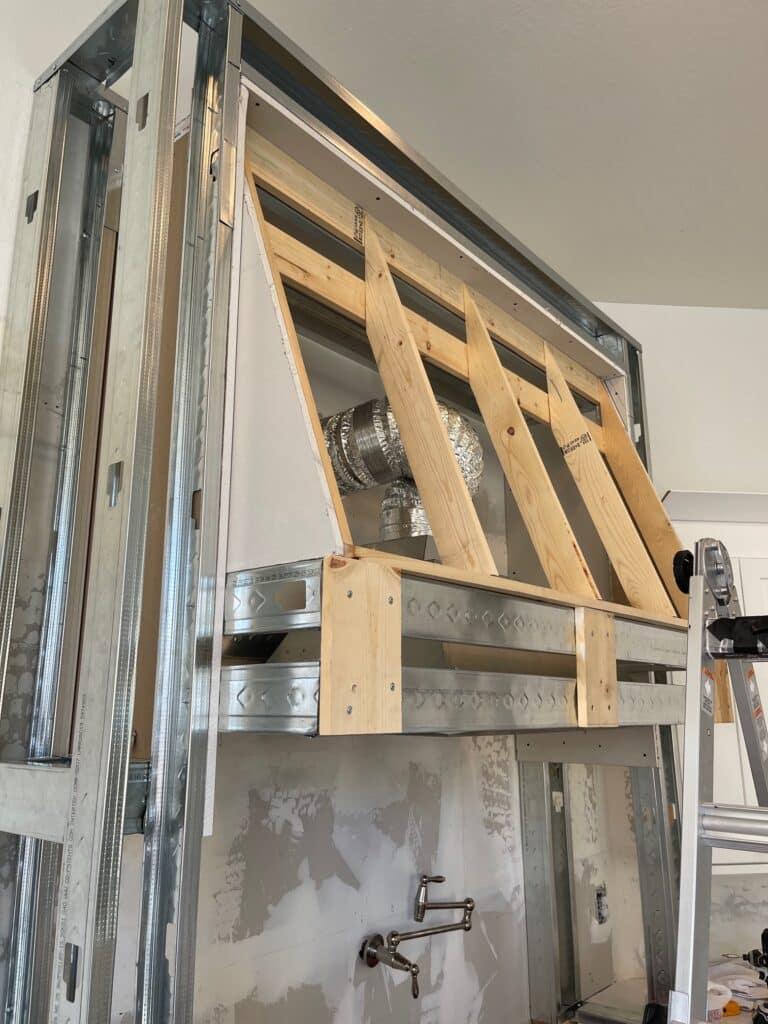
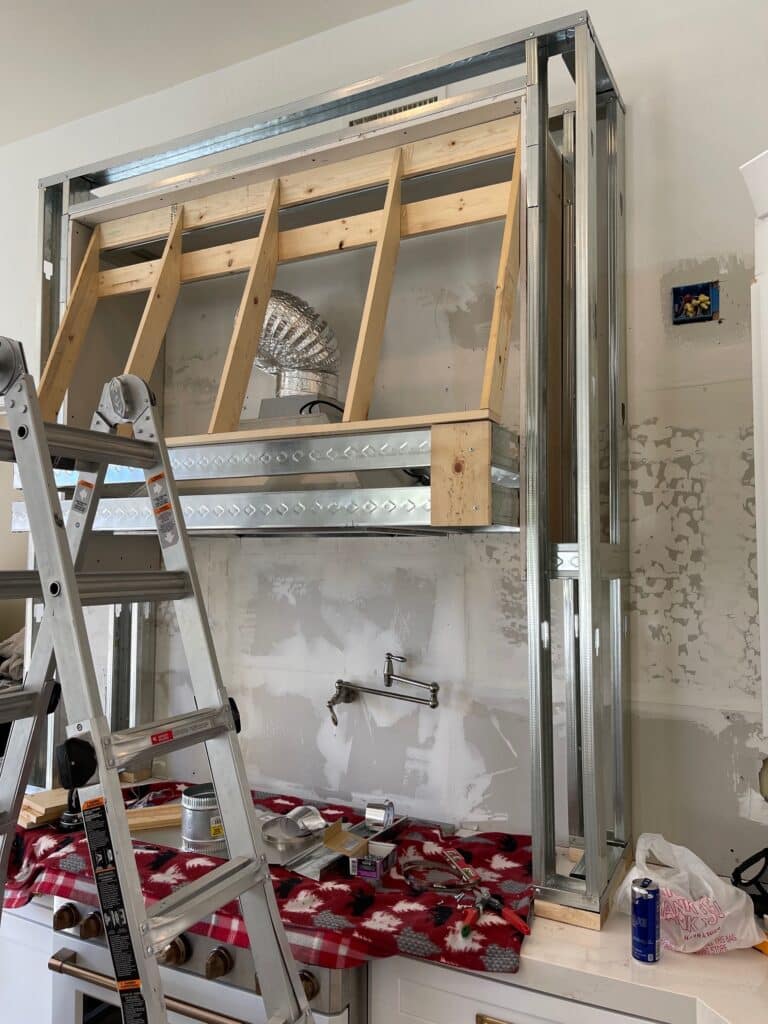
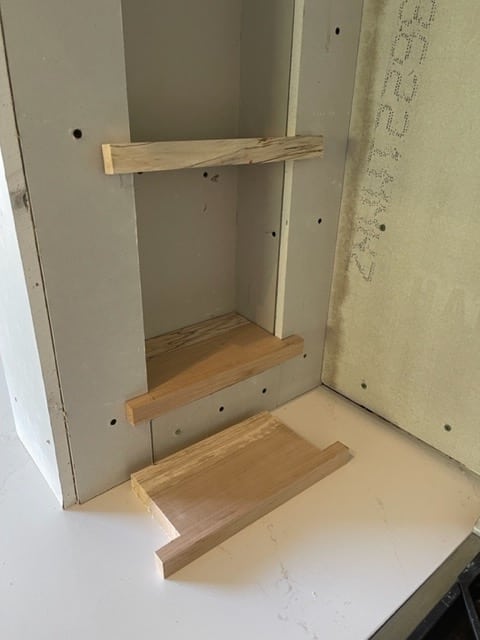
Things were really starting to take shape now and it was time to close it up with some drywall. I asked for some cubbies with shelves so Jeff framed those out as well.
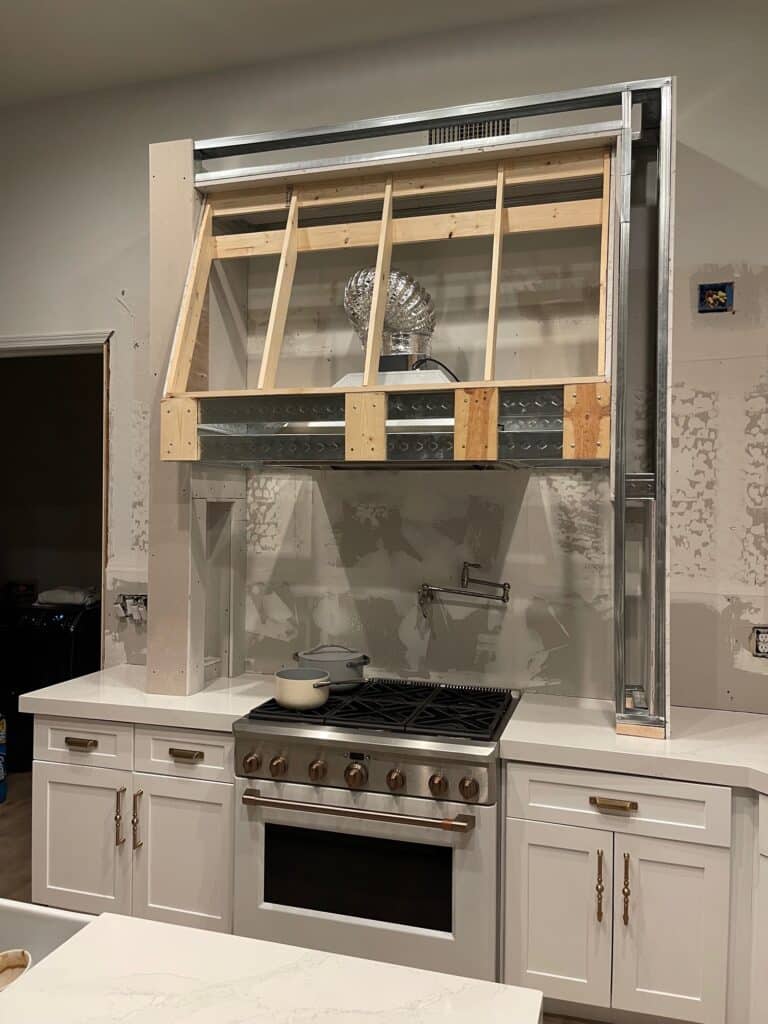
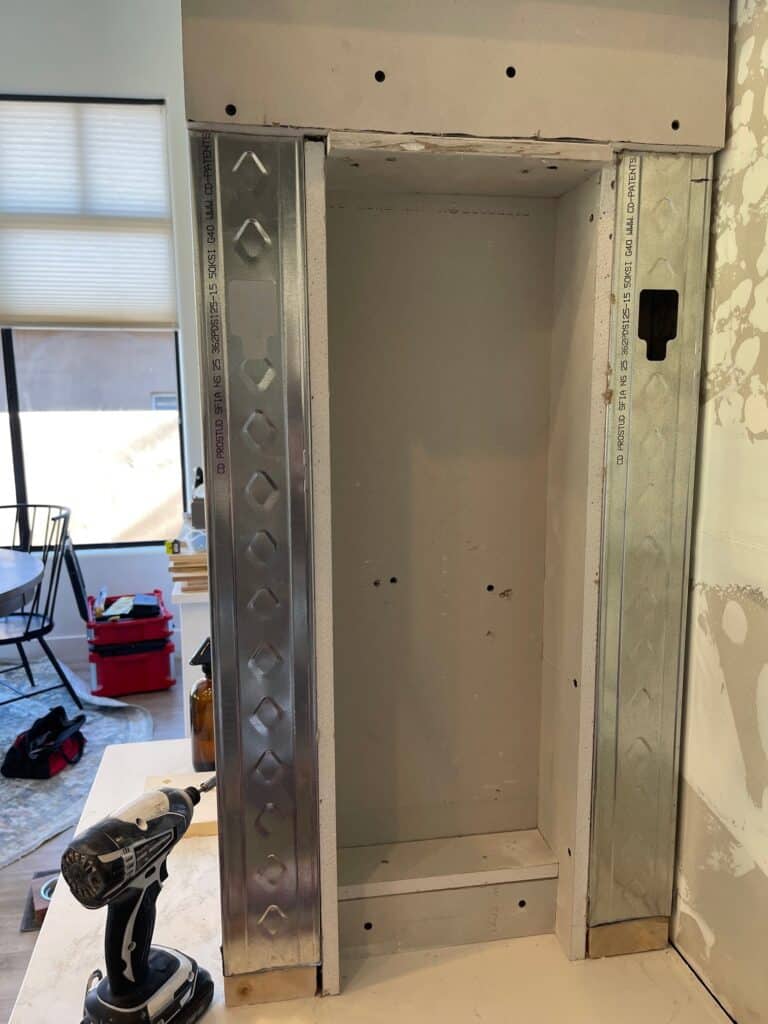

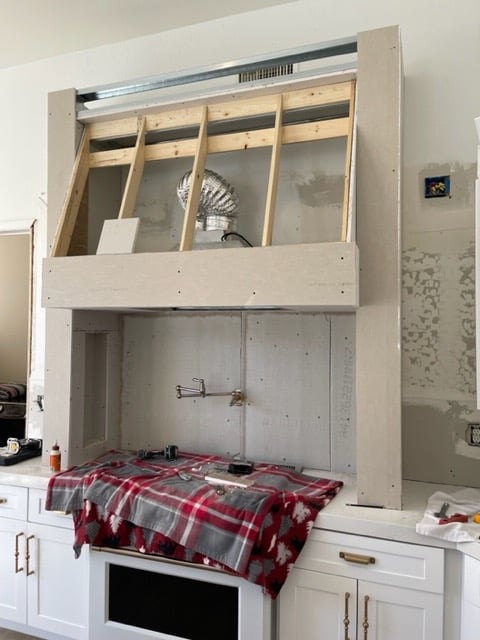
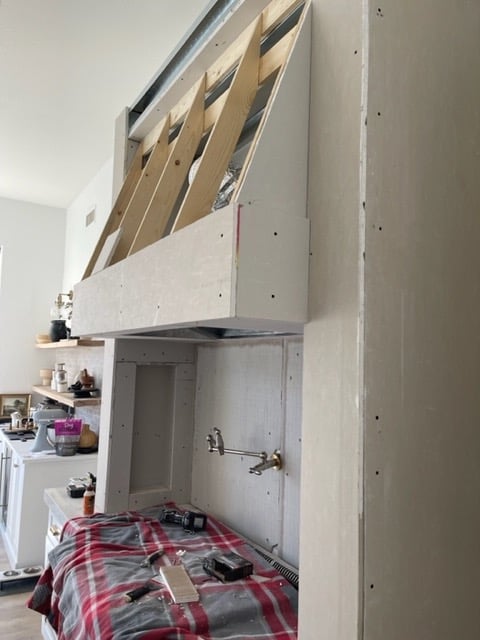
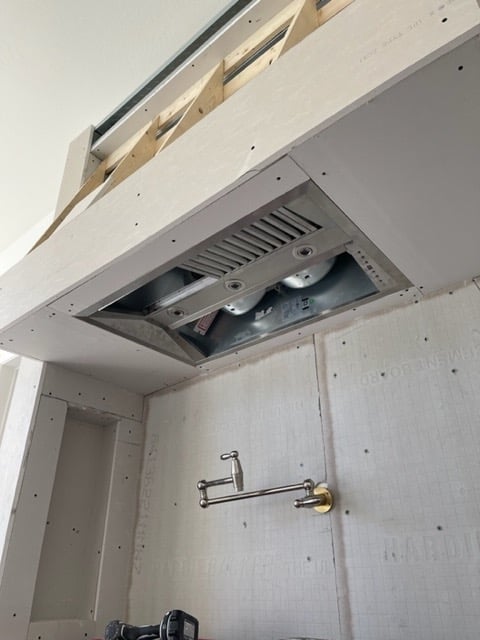
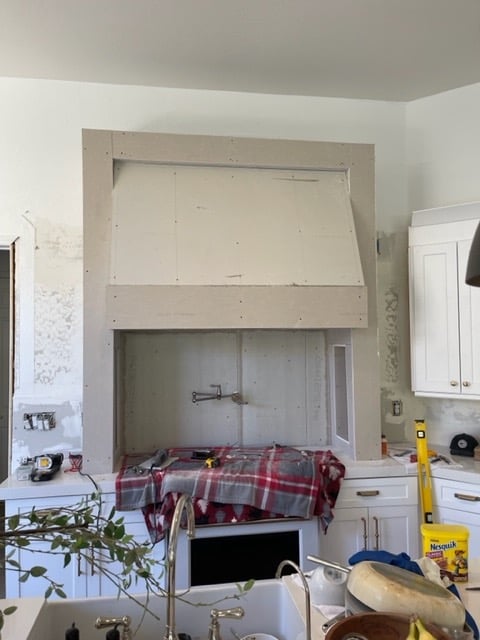
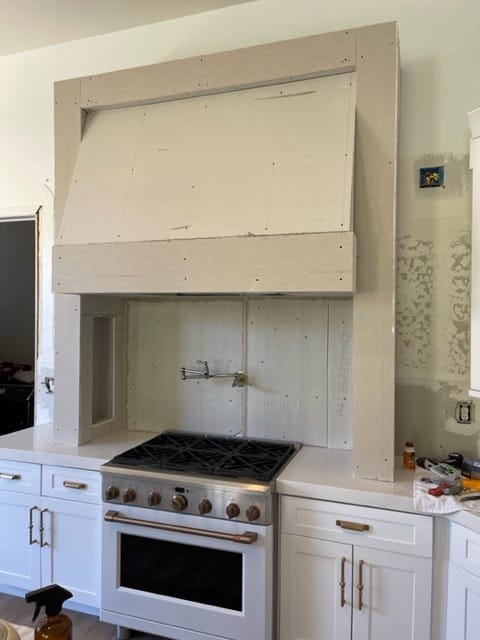
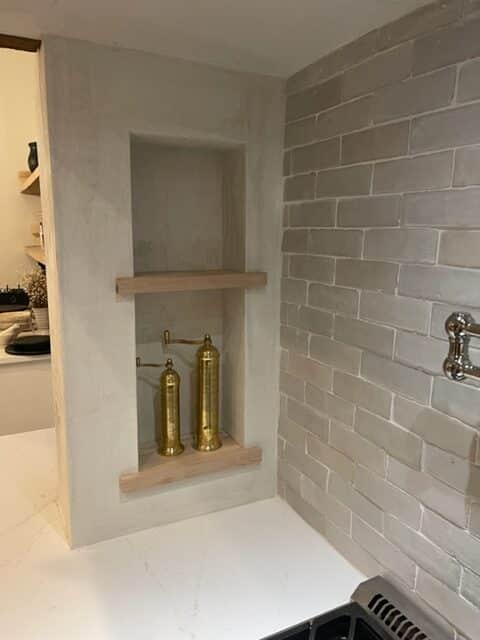
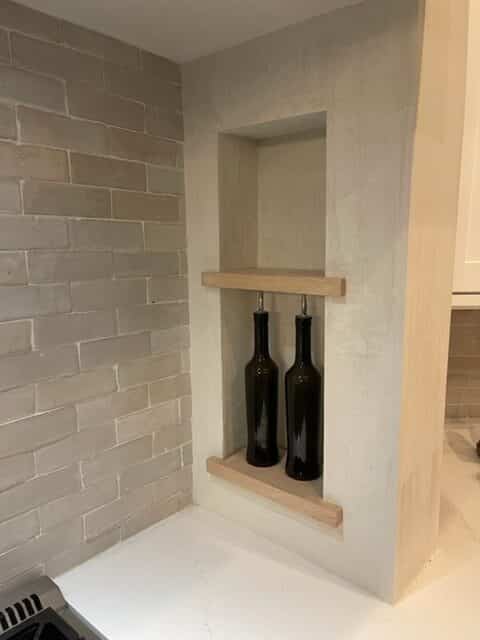
The little cubbies will be a perfect place to display small kitchen utensils or spices. As for the shelves, we had some left over wood from the floating shelves we used in our laundry room.
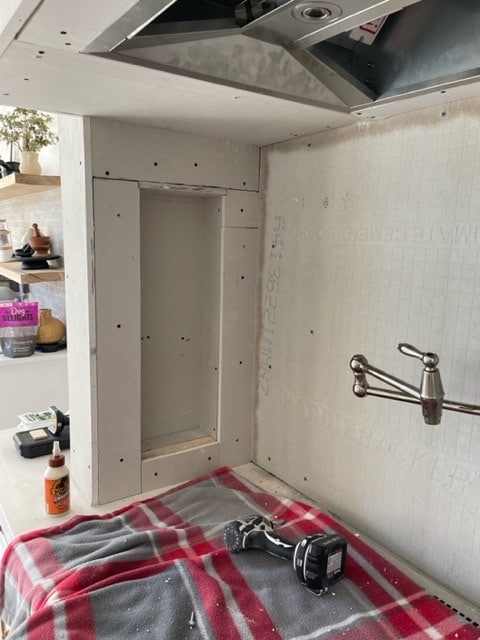
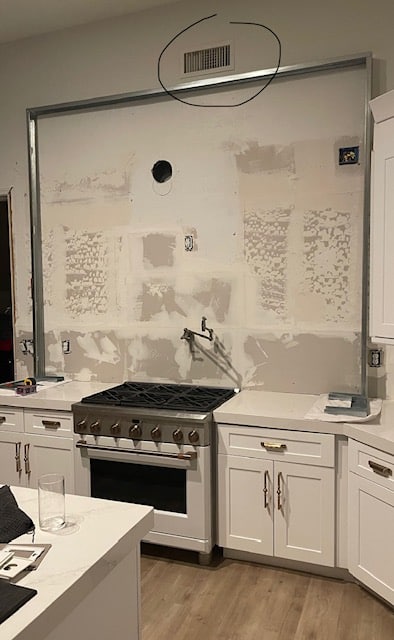
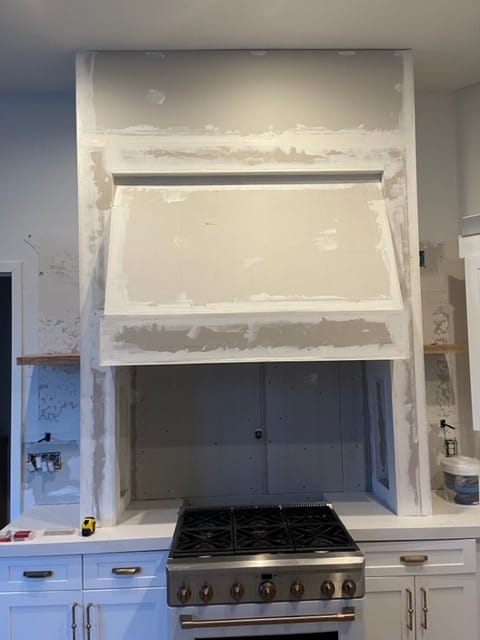
Like most projects we do, as they take form I assess whether to make design changes. Sometimes the changes are big and Jeff gets a little frustrated. At the end of the day he always makes the modifications I request and moves on. I decided after seeing the hood built, that stopping partially up to the ceiling just didn’t look right. So Jeff had to move the AC supply vent that was directly over the hood and then build an additional frame to the ceiling. Not an easy ask, I know!
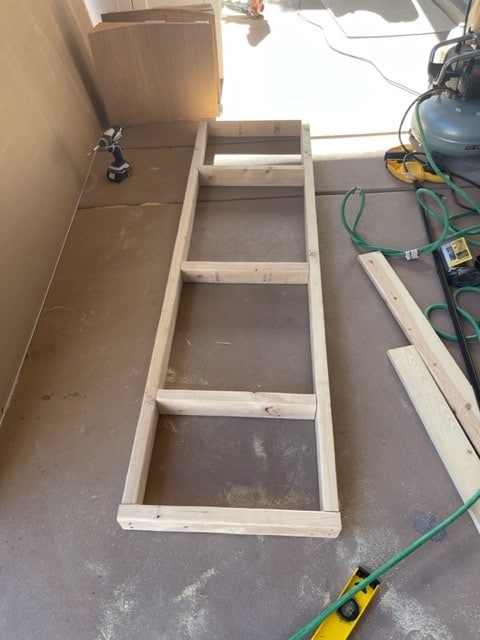
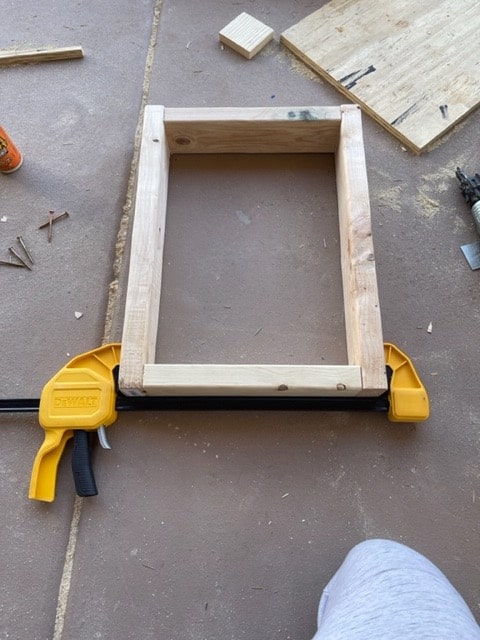
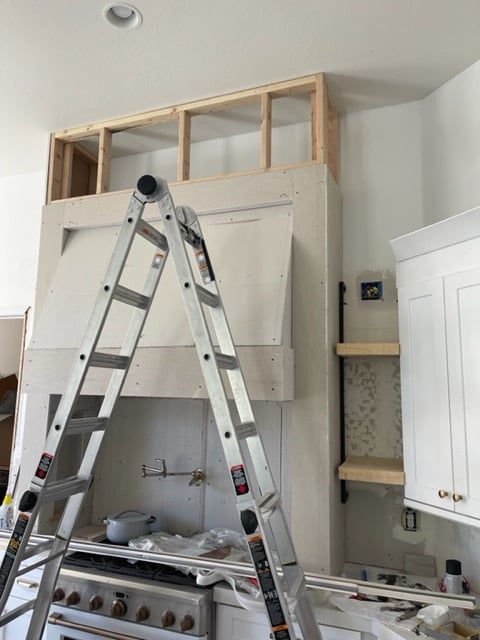
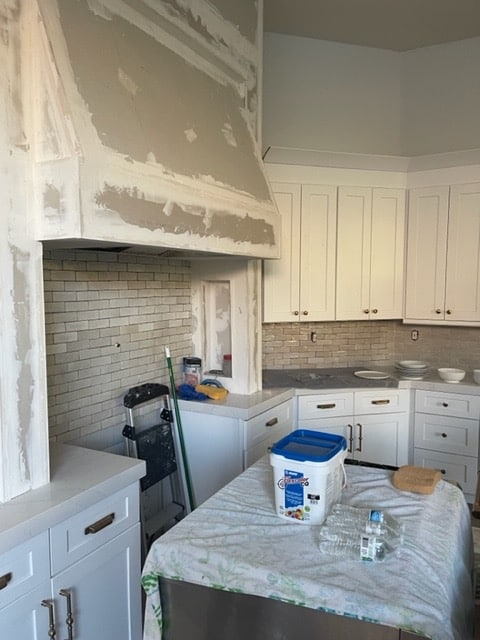
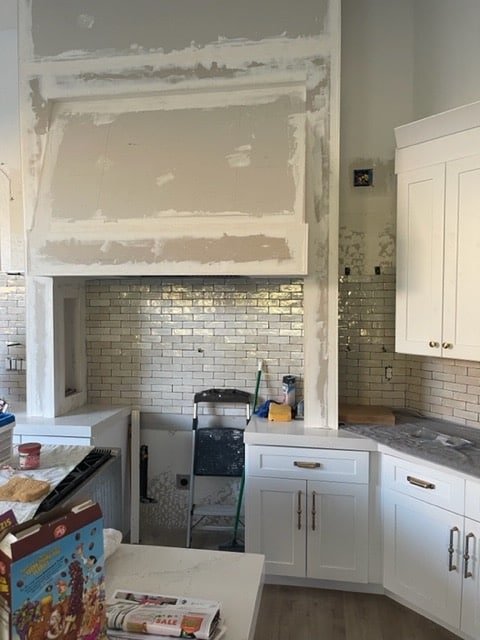
Now that the frame was up he could install the drywall to bring the hood to the ceiling. The next step was to tape the joints. Jeff used a joint compound and a couple different taping products.

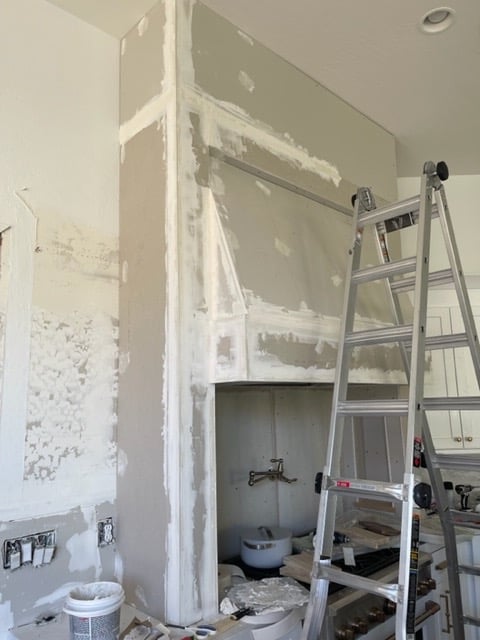
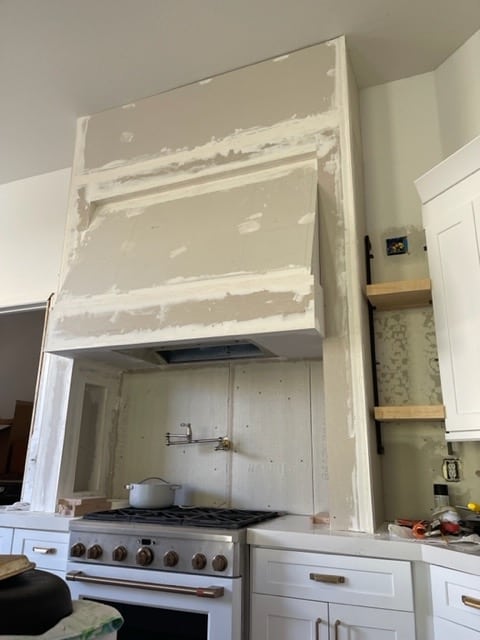
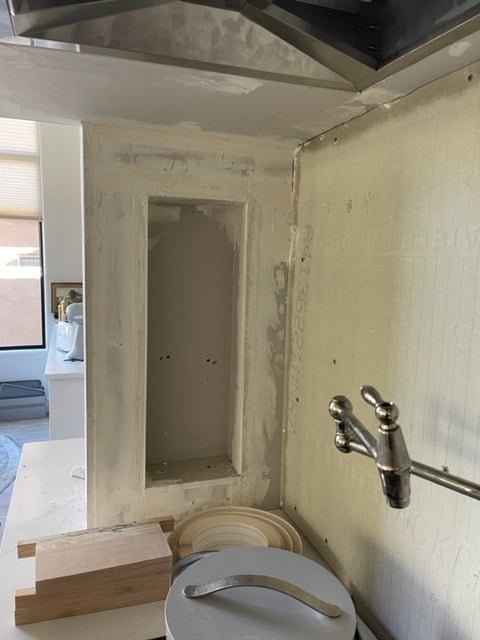
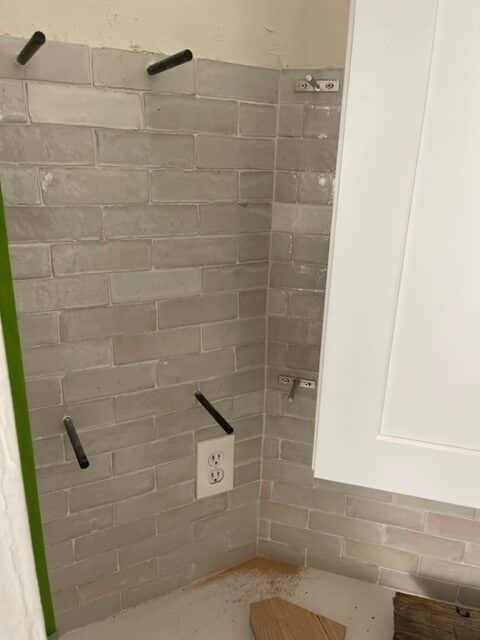
All the joints are taped and prepped for primer and the venetian plaster. In order to prepare for the tile Jeff installed concrete backer board on the wall inside the hood. These tiles are thicker and heavier than regular tile and with the condensation and oils from cooking he wanted a stronger adherence than the drywall can provide. The last thing to go up before tile was the brackets to hold the floating shelves.
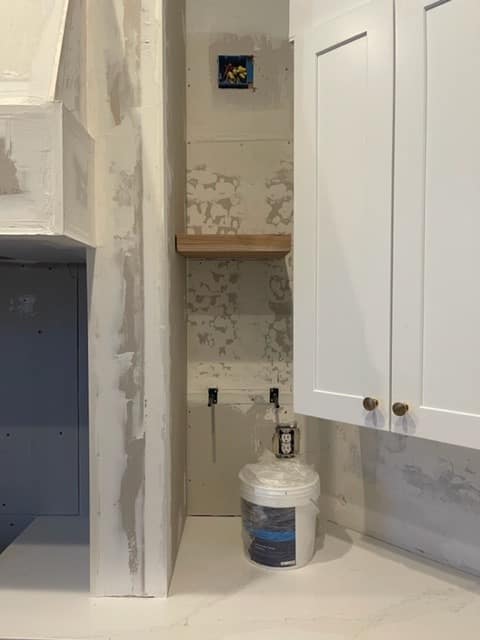
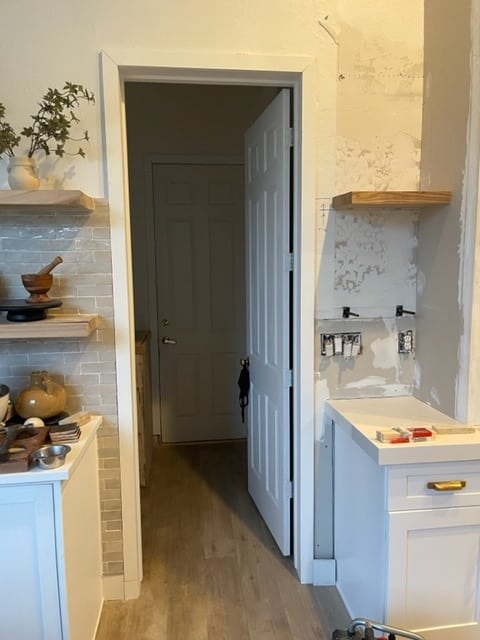
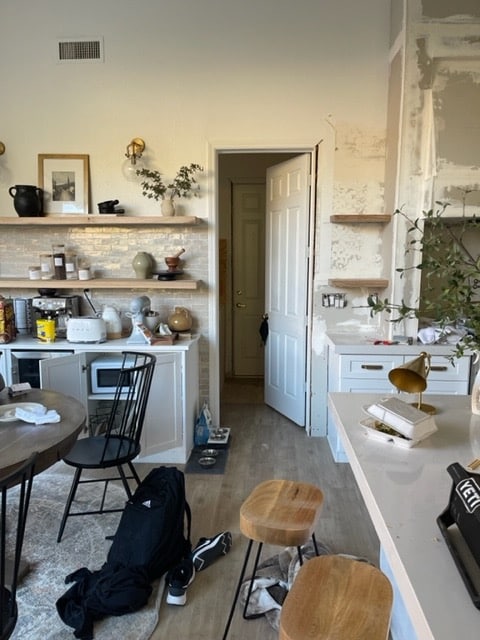
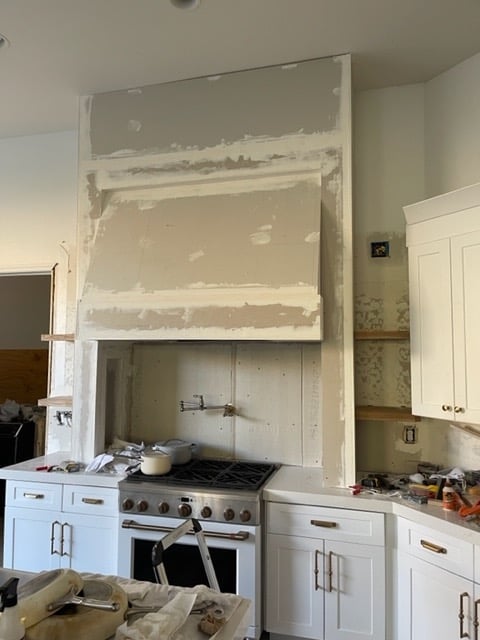
Our tile guys started the tile and we are so excited to see the progress. The Zellige tile makes a huge difference in the kitchen already. Our original tile choice was a white brick subway tile. It was nice but it blended in too much with the white cabinets and white appliances. Now I feel like we have contrast and a cohesive flow from the coffee bar to the kitchen.
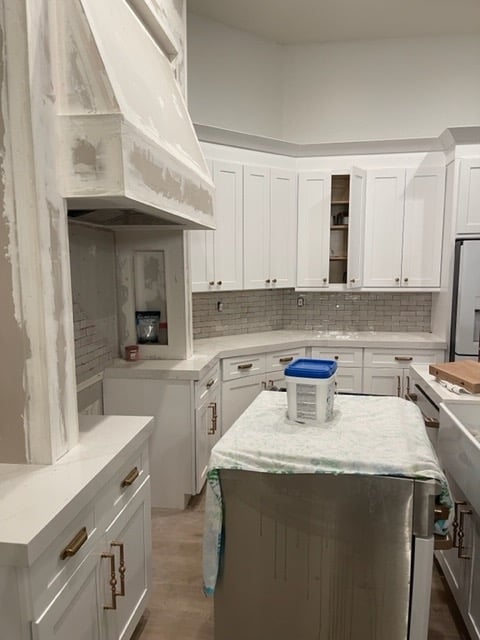
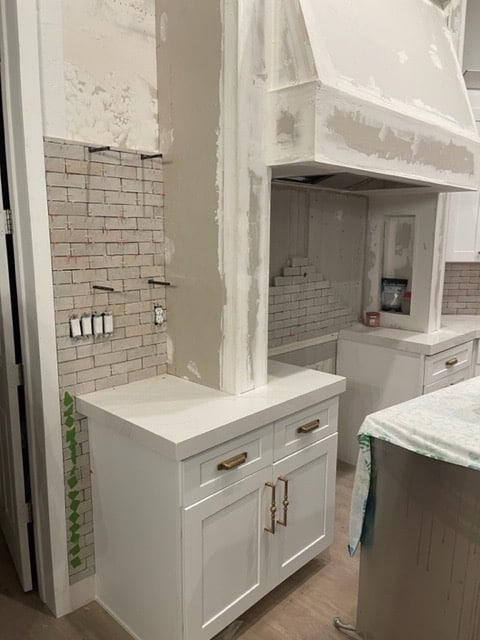
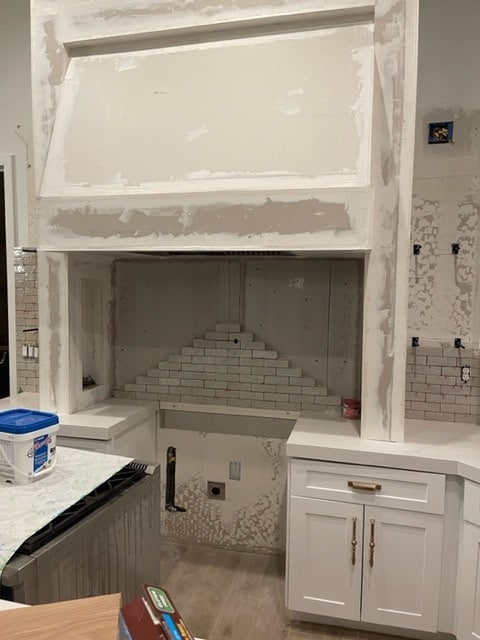
Time for grout. We used pre mixed grout by Mapei the color is Avalanche.
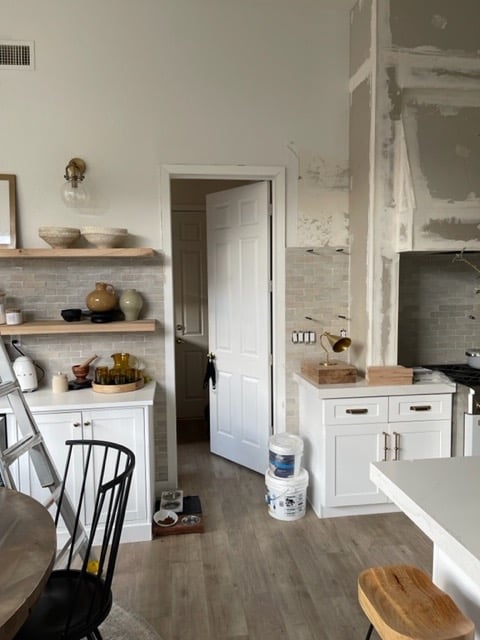
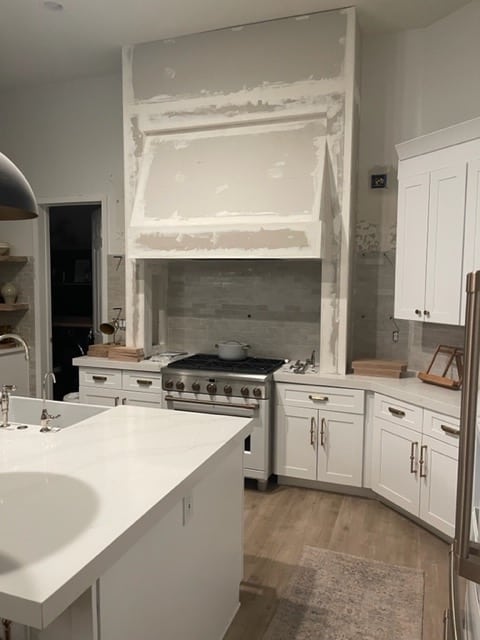
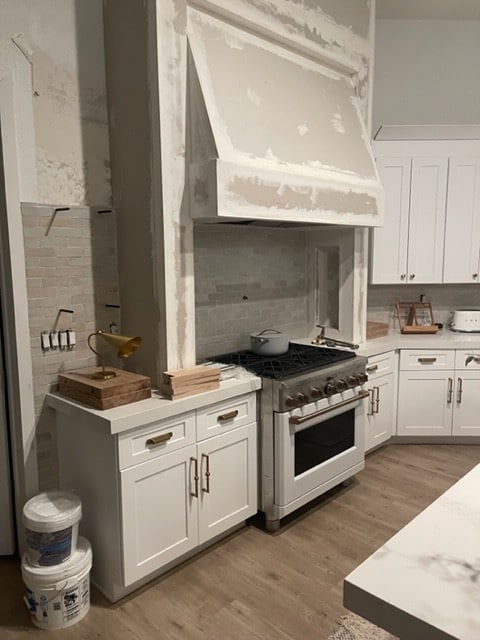
Unfortunately we had an error while tiling. The installers didn’t notice the concentration of lighter tiles and didn’t mix them per instructions on the box. We had to remove that section and redo it.
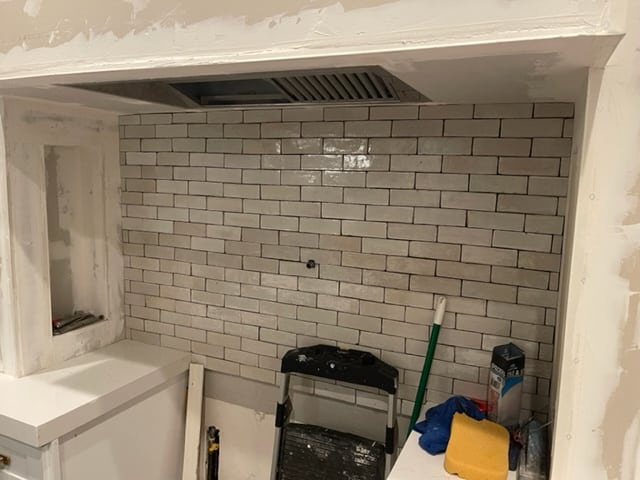
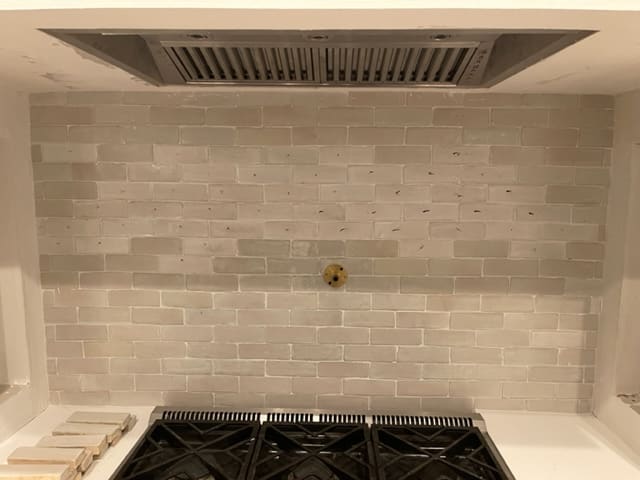
While we waited for the installers to fix the tile, Jeff painted a base coat of primer and after drying applied the first layer of plaster. We went with authentic venetian plaster by Firmolux Marmorino Berlina in Pure White .
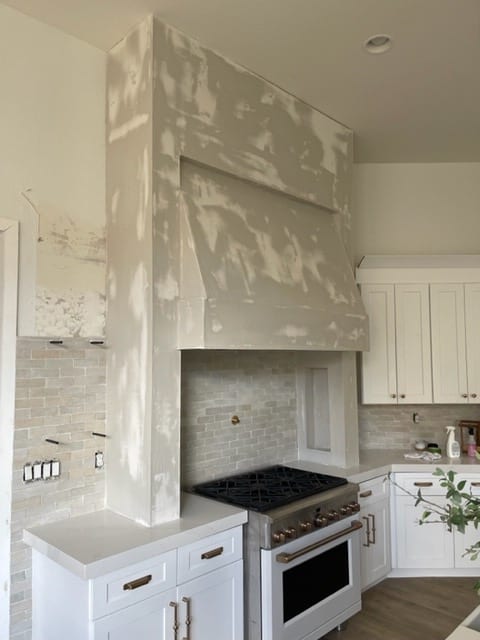
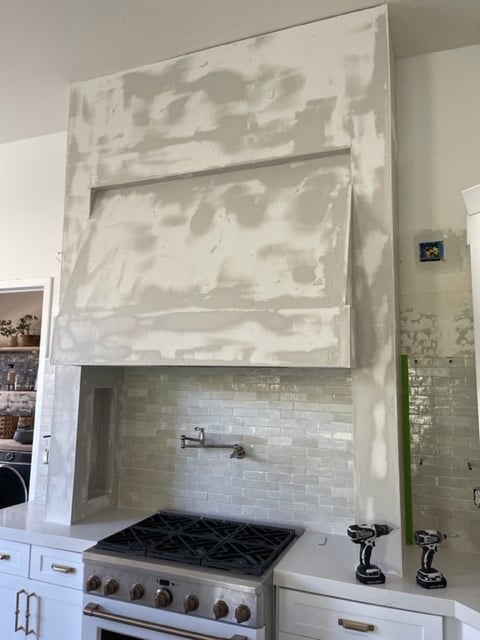
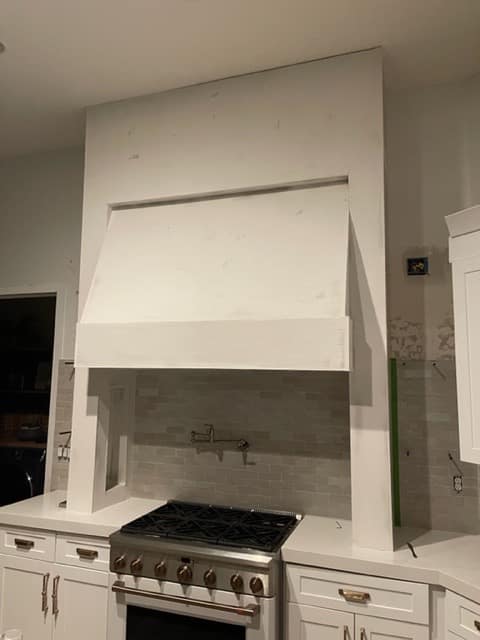
The hood backsplash was fixed and it looks amazing. It’s a show stopping backsplash. Just need to apply two more layers of plaster and do some finishing work before we can mount the reclaimed wood mantle and shelves.
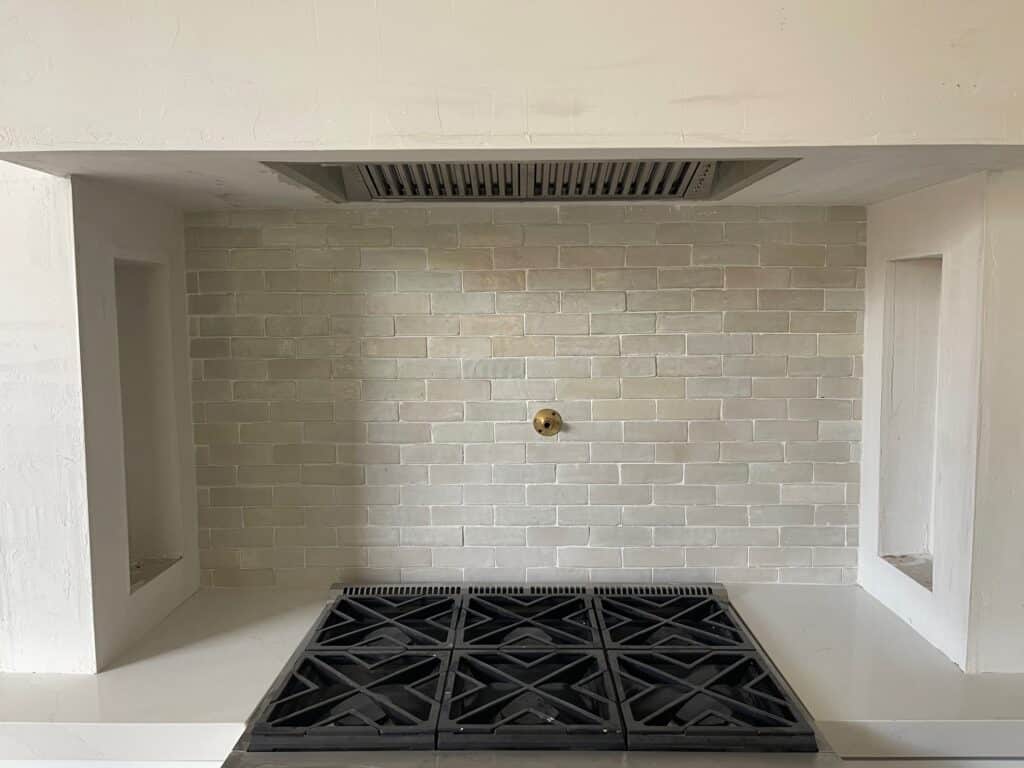
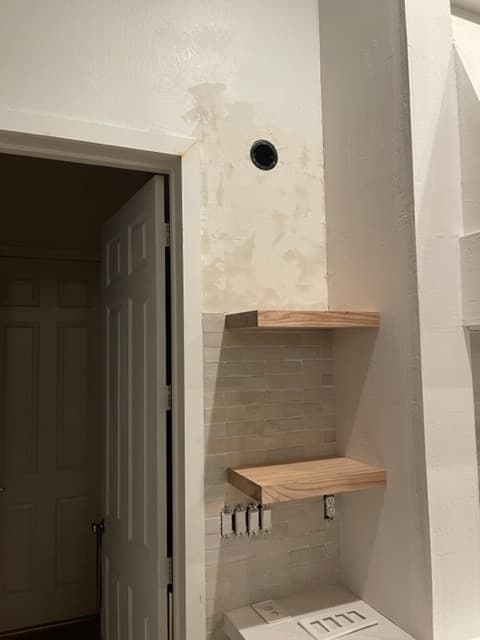
Had to fix the drywall where the old cabinets were removed and added some additional brackets for the corner pieces to the open shelves on the right side of the hood.
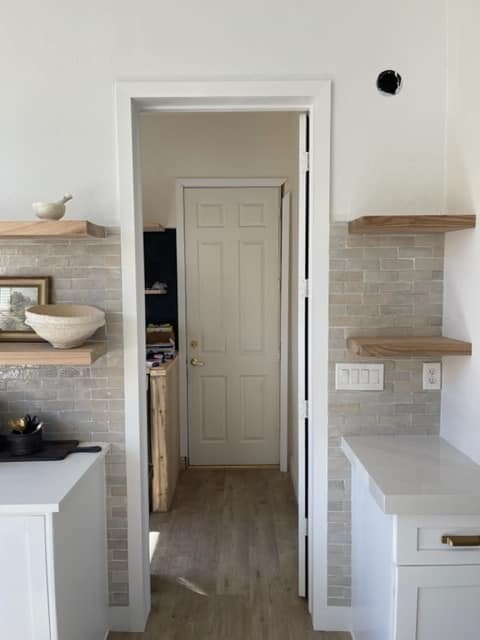
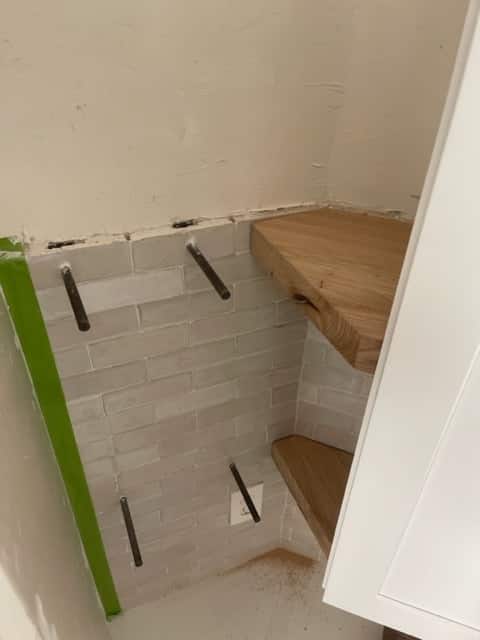
Next, Jeff applied the second and third layer of plaster. 10 hrs dry time between the layers. The third layer is a thin layer that needs to be burnished to get the plaster smooth like marble stone. After applying the thin layer Jeff waited 5-10 min to press the layer in with a small firm trowel. It’s slow process applying the third layer and burnishing in sections at a time. You can really work venetian plaster to look high gloss but I wanted something smooth like stone without the high gloss so Jeff didn’t need to spend all day burnishing.
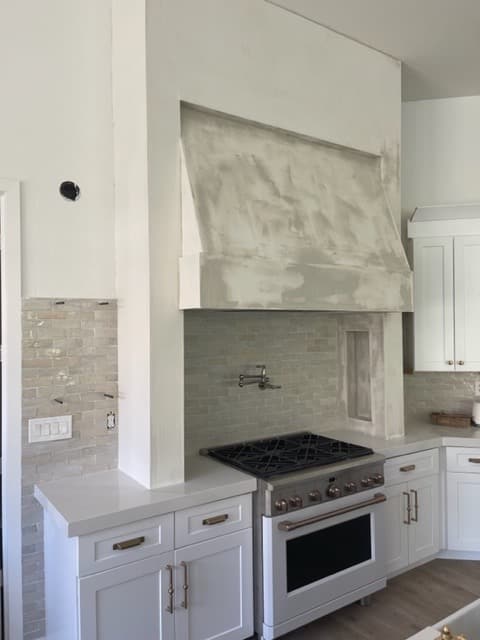
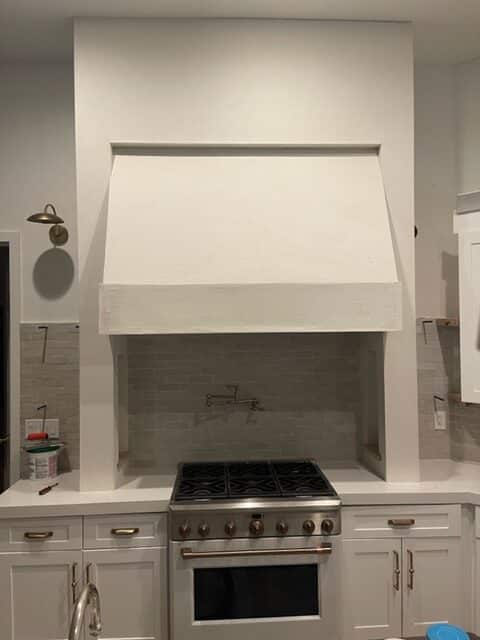
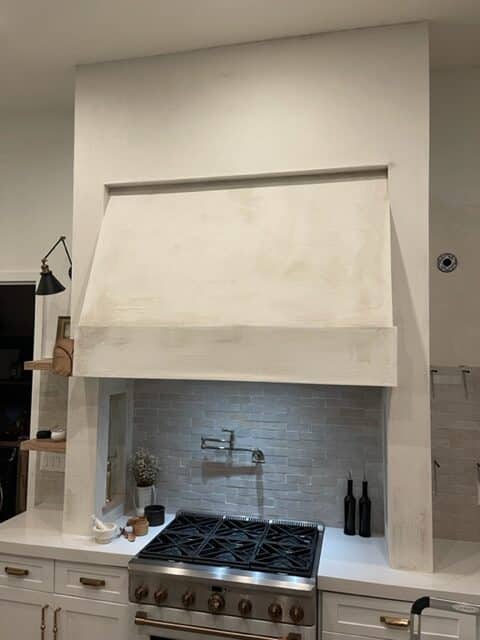
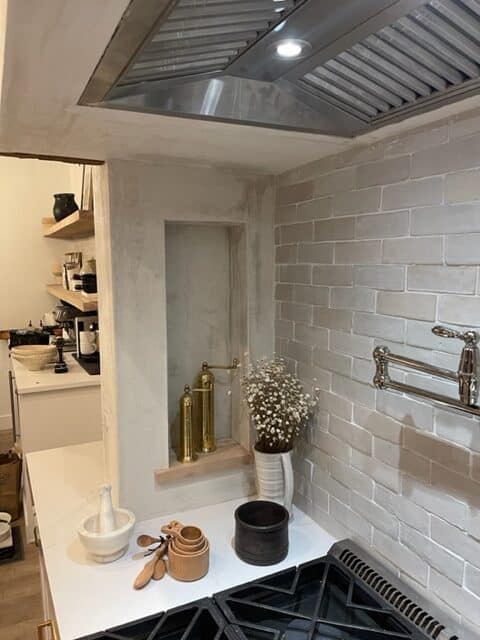

Now that the right side wall is dry it was time to hang the shelves and corner pieces.
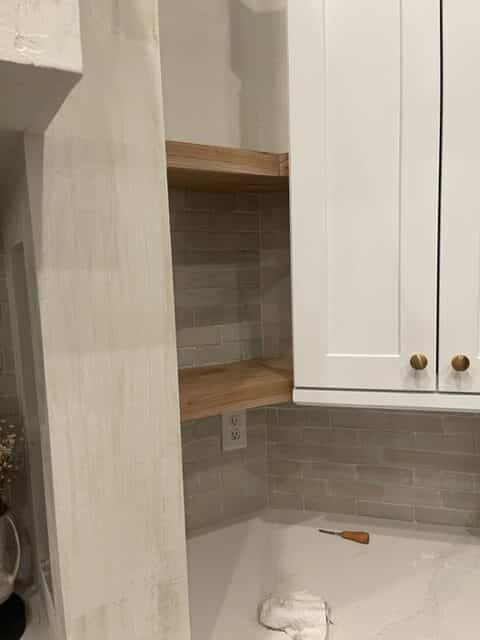
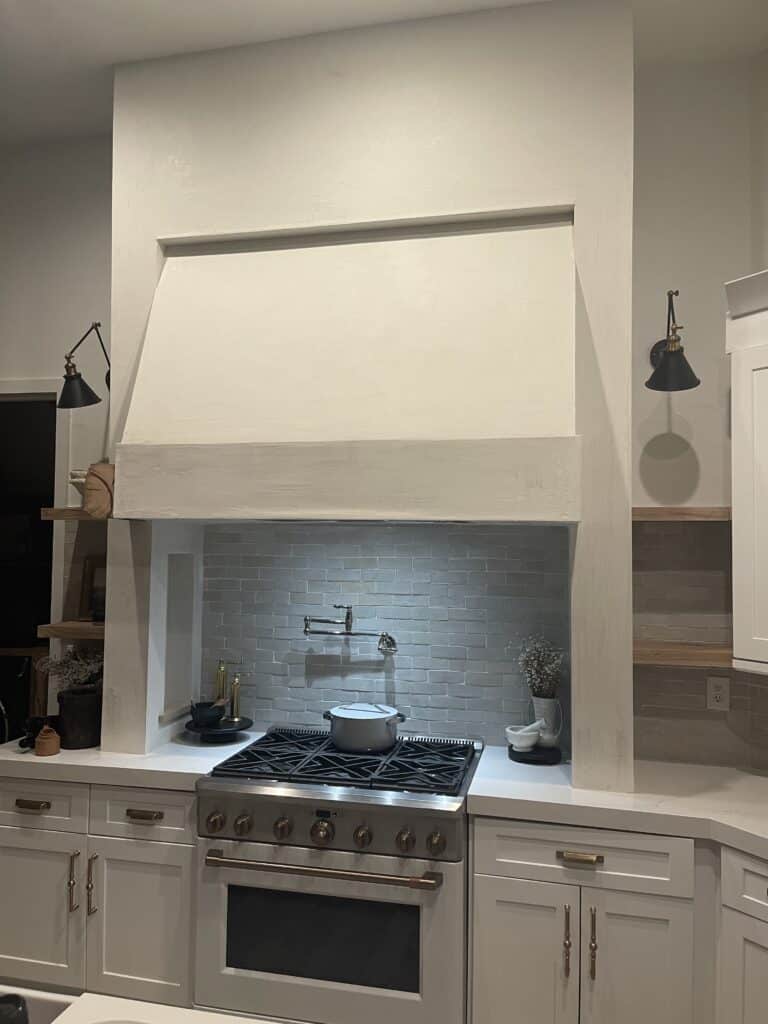
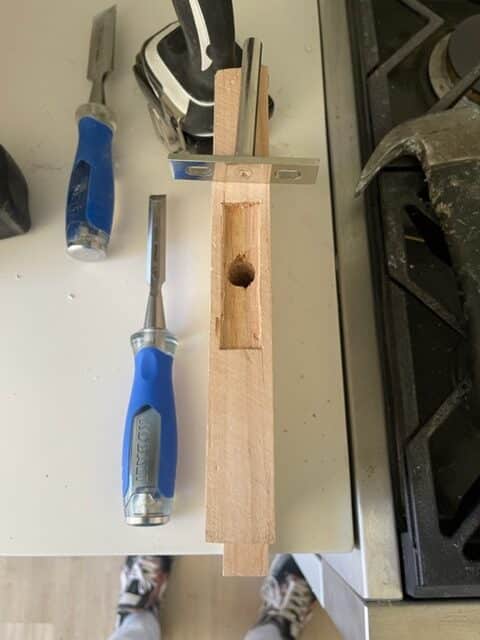
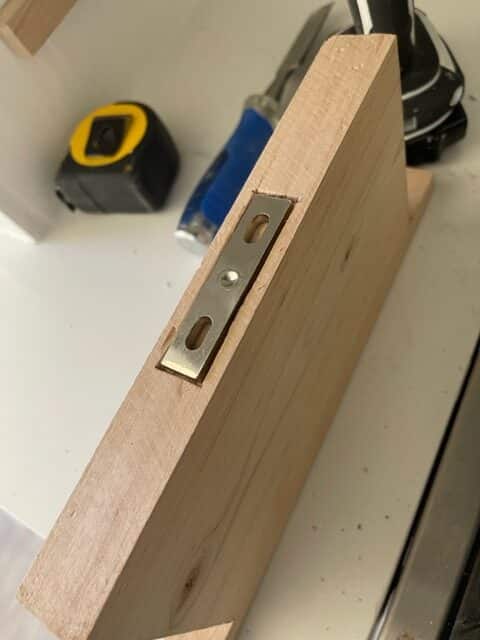
So excited to bring this project to a close. Jeff permanently installed the cubby shelves and hung the wood mantle. The reclaimed wood breaks up the massive hood and brings in the warmth and texture I was hoping for. I couldn’t be happier and Jeff couldn’t be more thrilled to put this project in the books.

 BUILDING OUR DREAM CLOSET
 COFFEE BAR DIY
 POWDER ROOM DIY
 BATHROOM DIY
