*Affliliate links used – sources are all linked at the end of my post
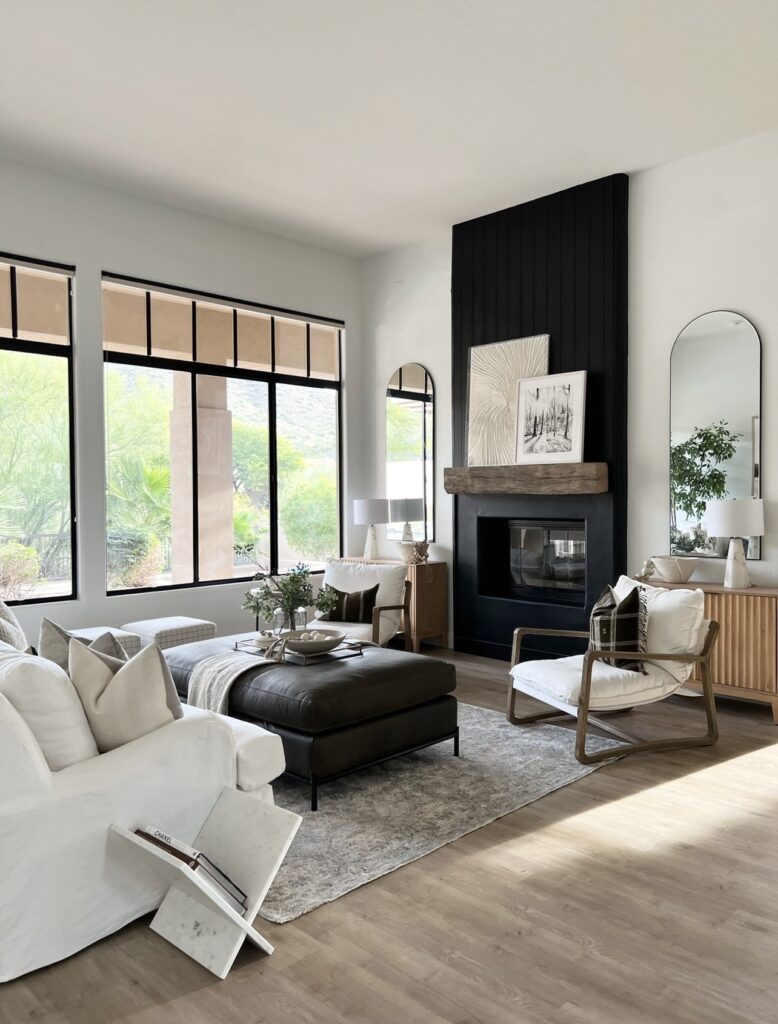
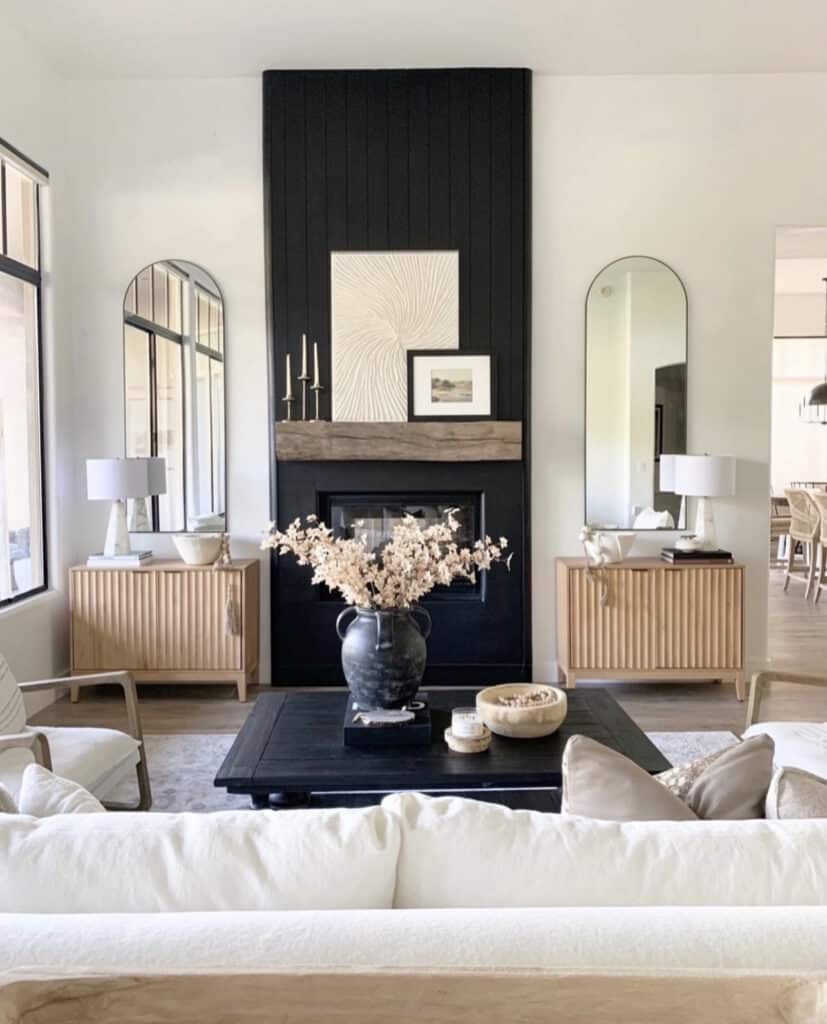
Follow along to see how we updated our 90’s fireplace. This is a duel sided fireplace and we loved how this side turned out so we copied this to the other side as well.
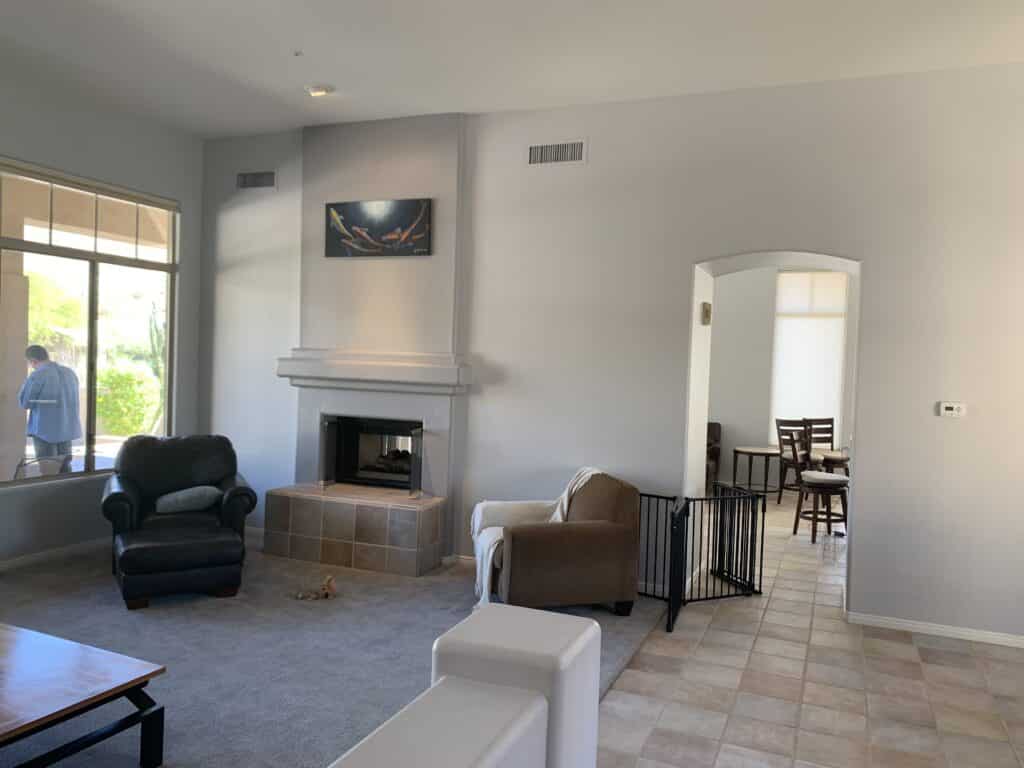
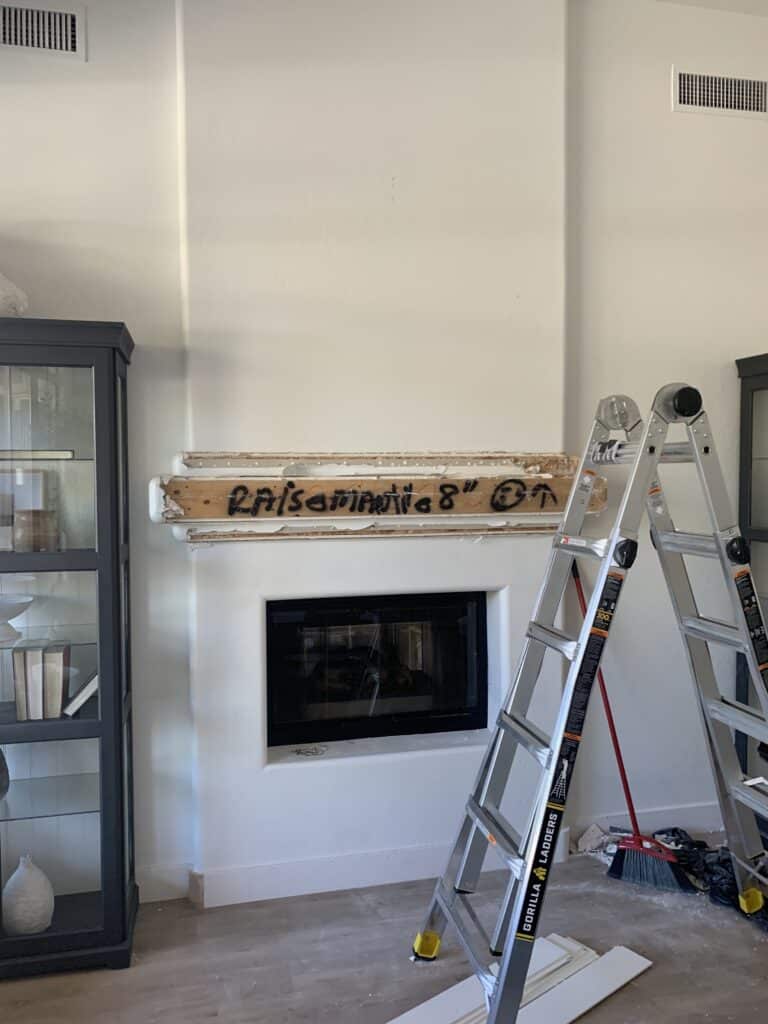
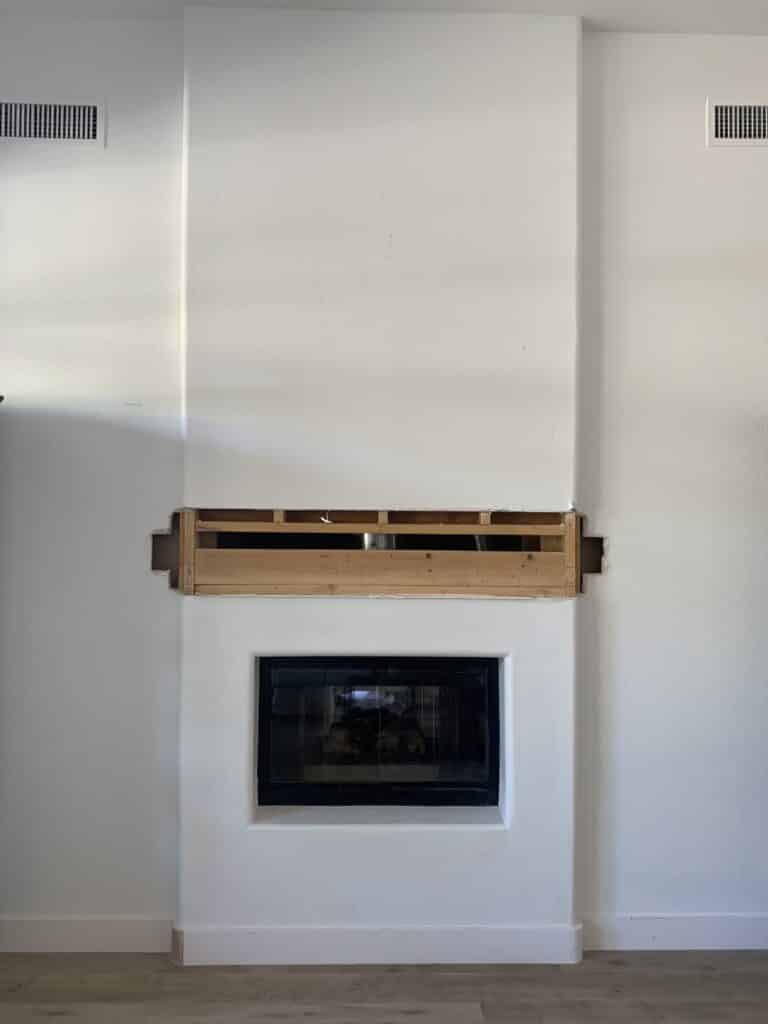
The fireplace is the focal point of our living room and we wanted to do something bold. We started by removing the base to give the fireplace a sleeker look. The next part to demo was the art deco mantle. We knew we wanted to go with a chunky reclaimed wood mantle so we had no issue removing the original mantle to the studs.
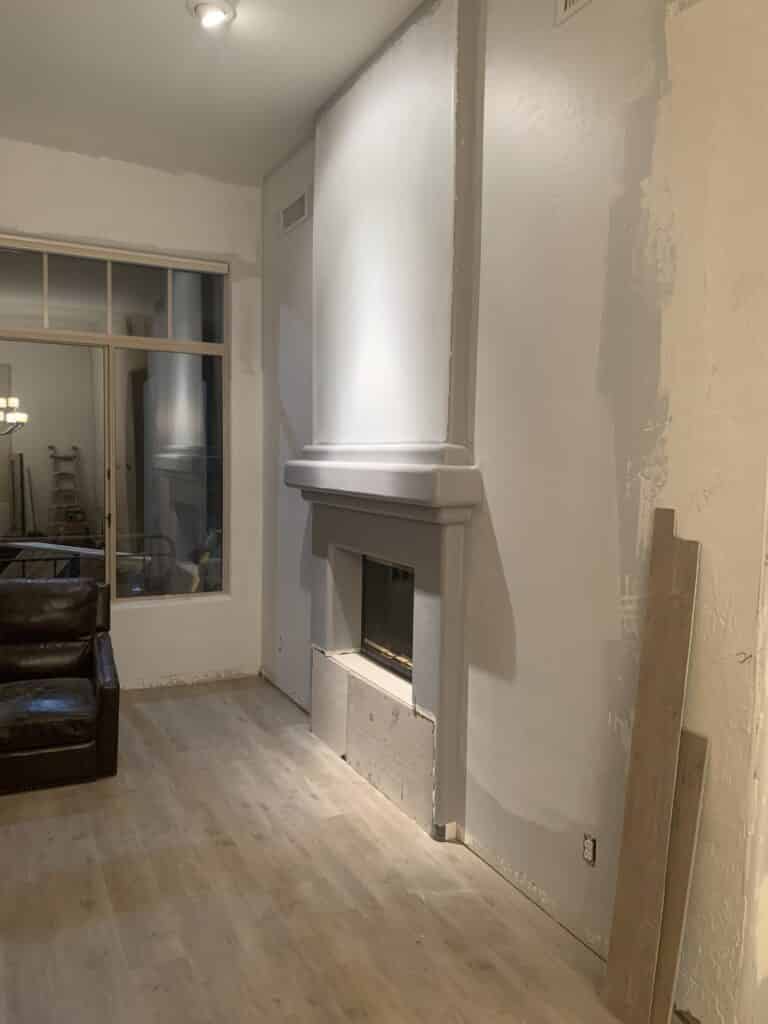
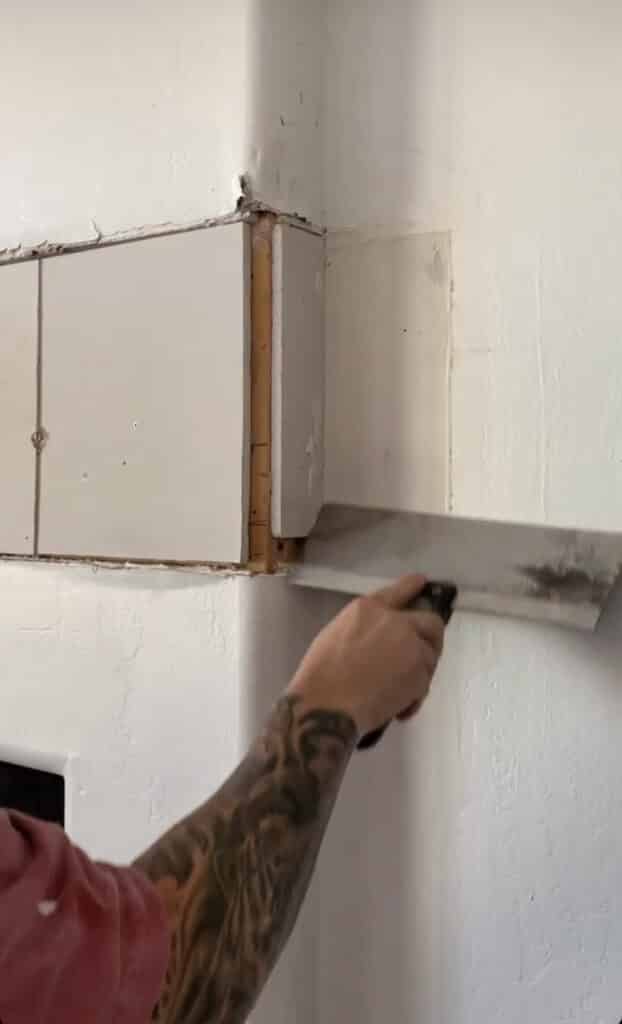
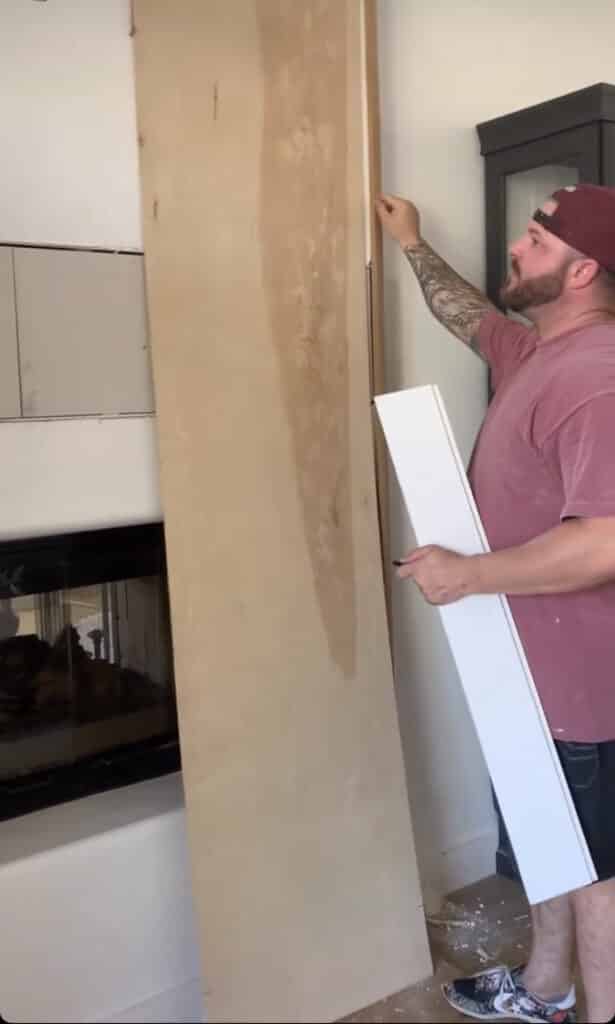
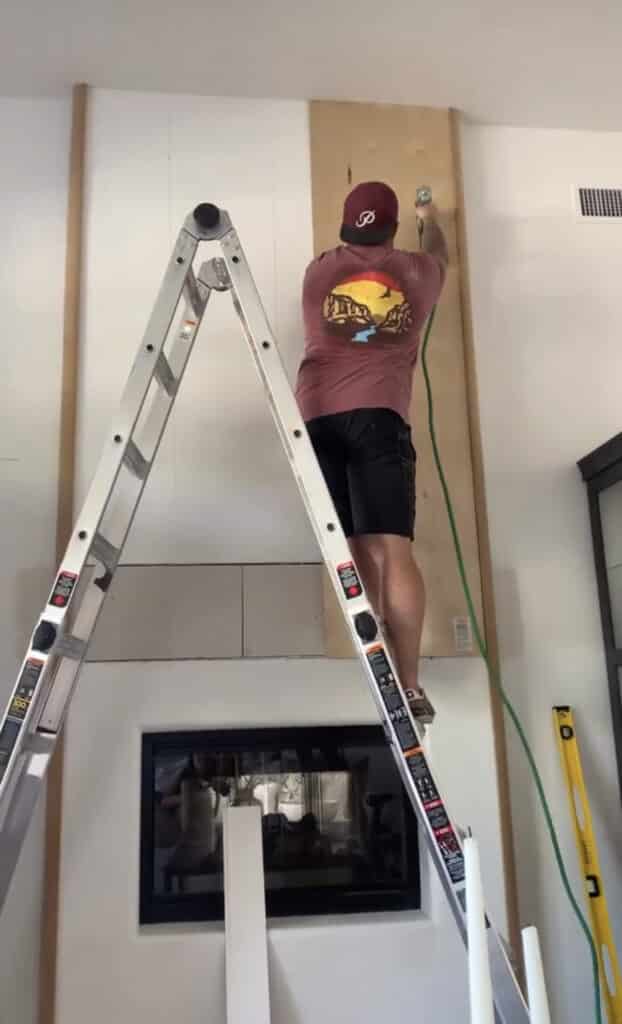
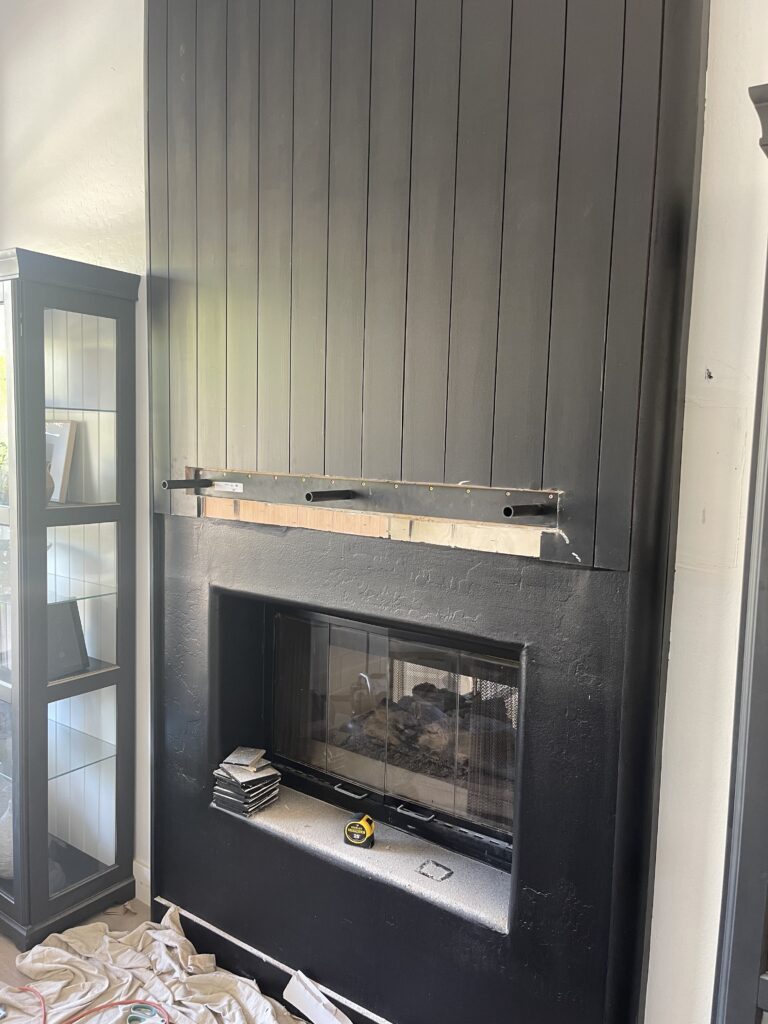
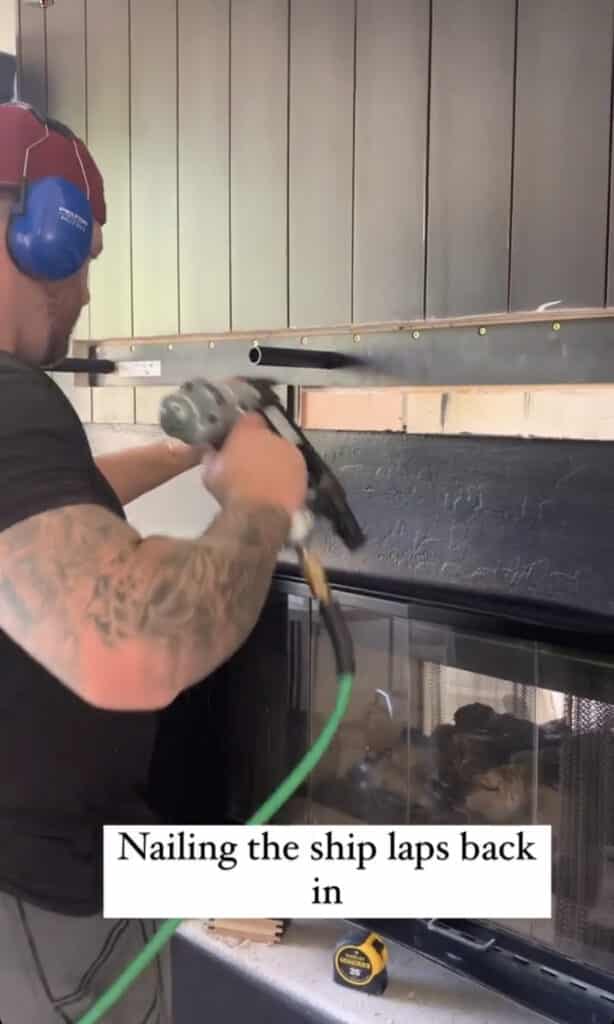
Now that the demo work is all done we can move on to repairing the drywall and picking out the trim work. The corners in our home are all rounded so we had to find the right corner rounds to complete this project. The materials used were 1/4′ panel board and shiplap with ‘5 corner round molding.
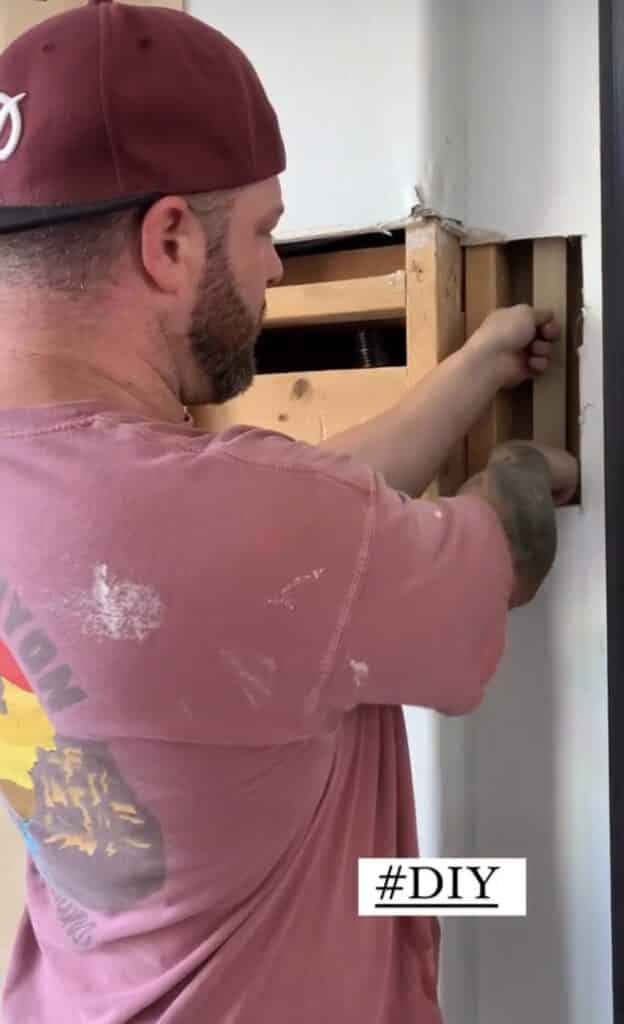
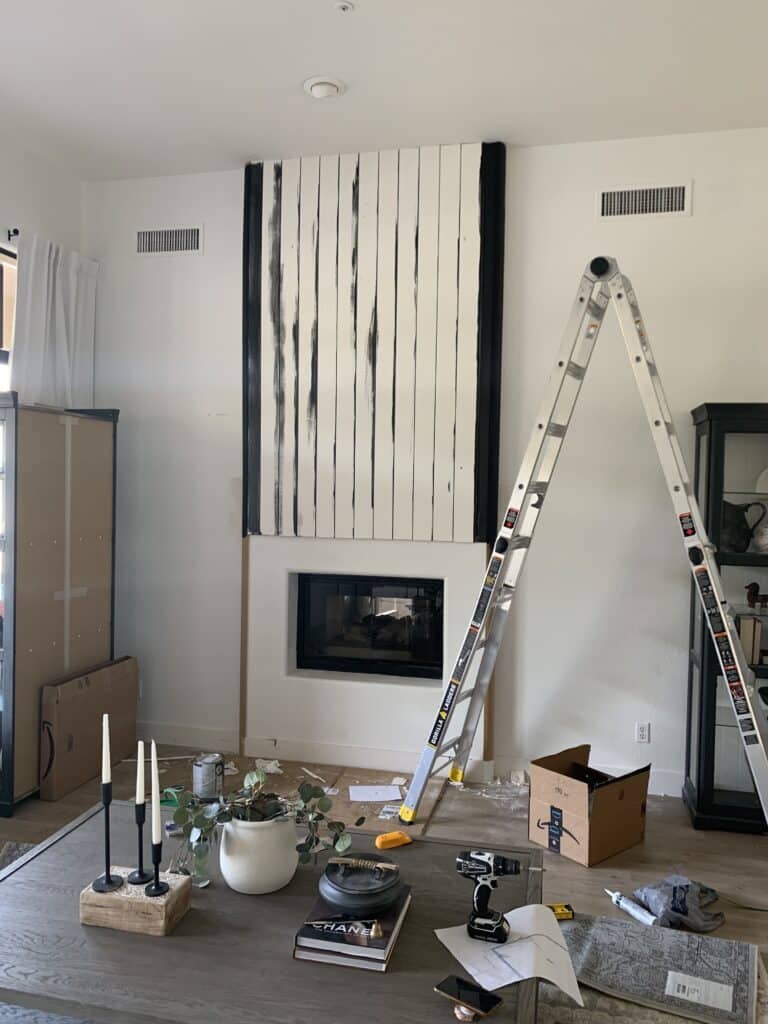
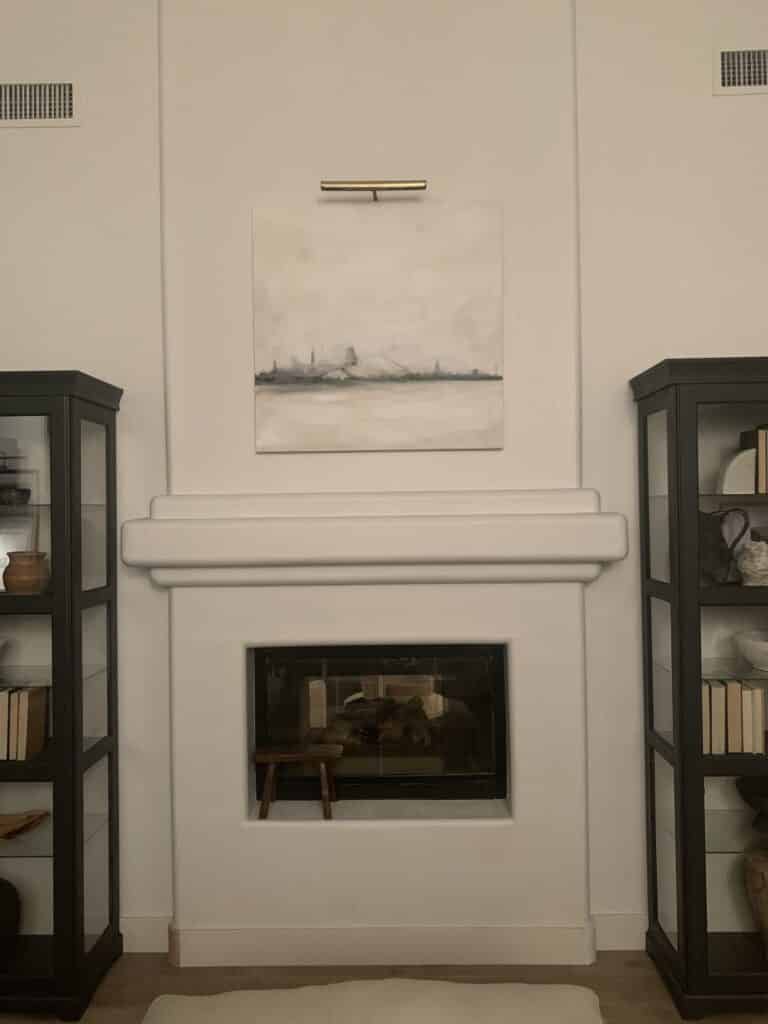
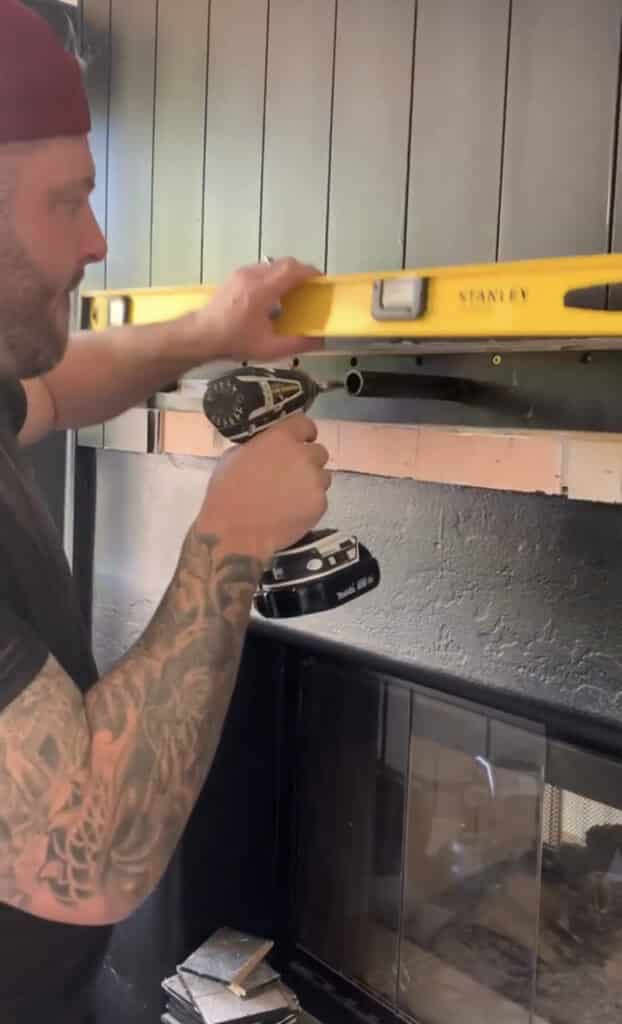
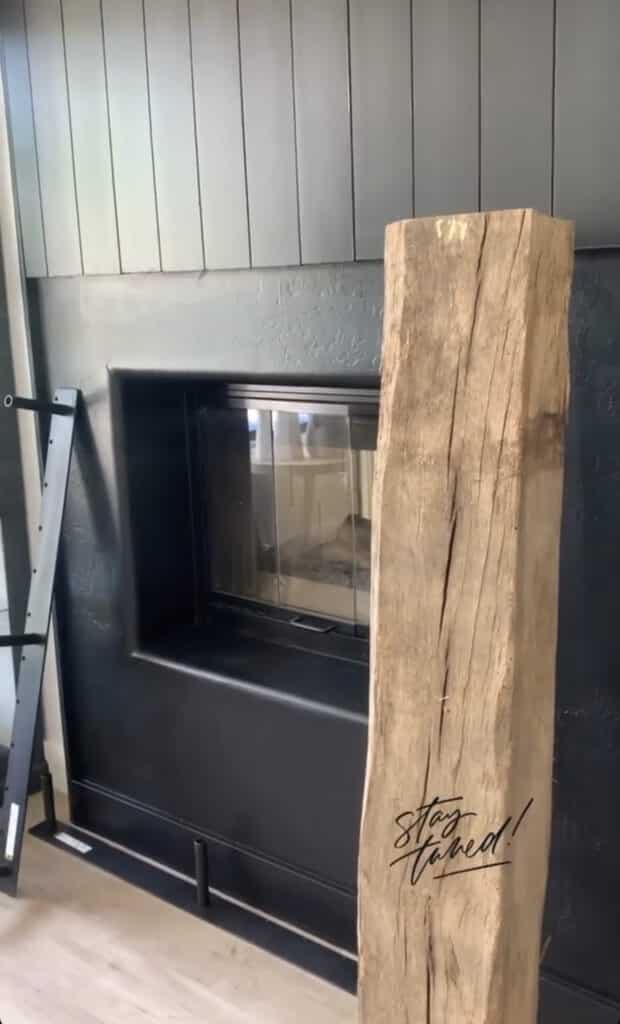
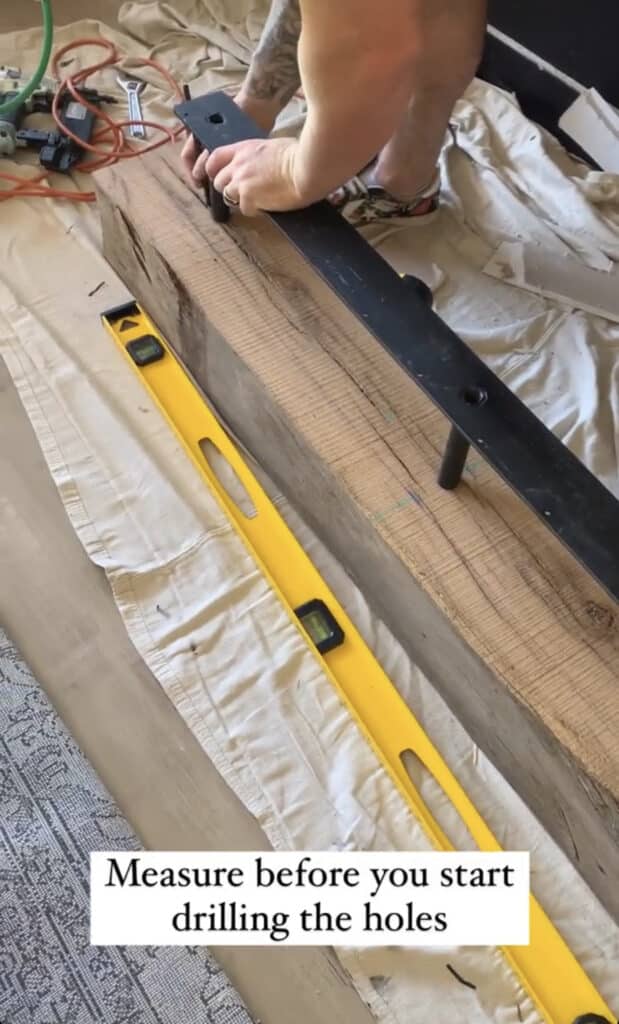
Now that the fireplace is painted it was time to add the mantle. Jeff had to make some quick modifications to cut out an area for the steel mounting bar. These bars are a game changer in hanging extremely heavy mantle’s.
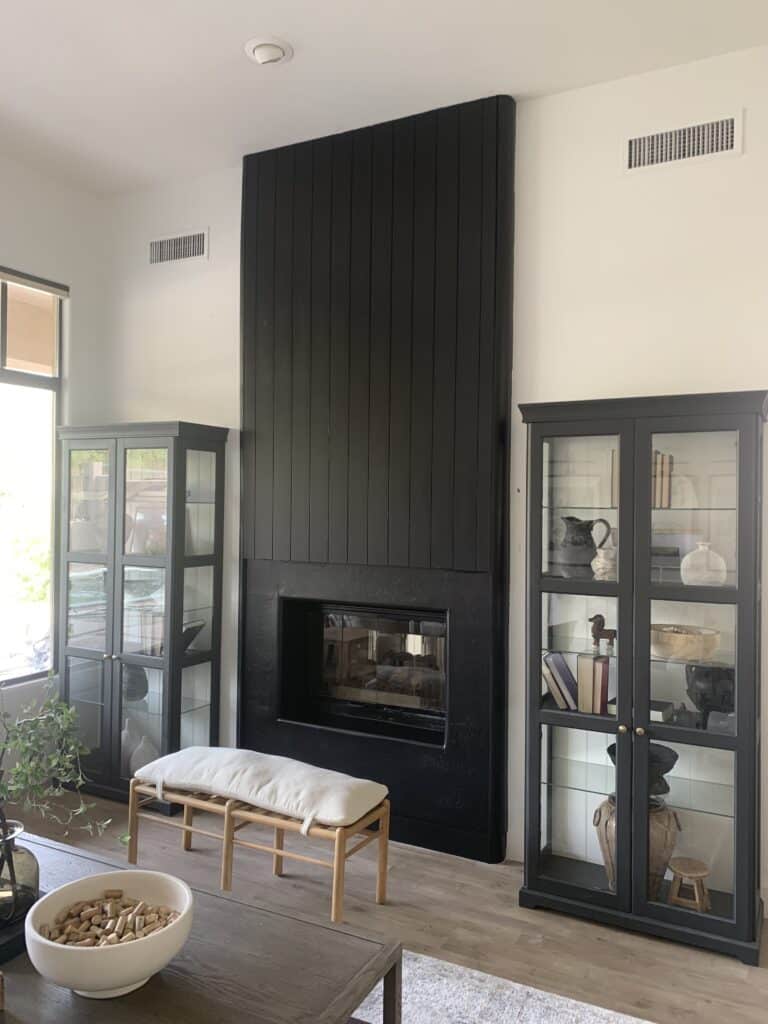

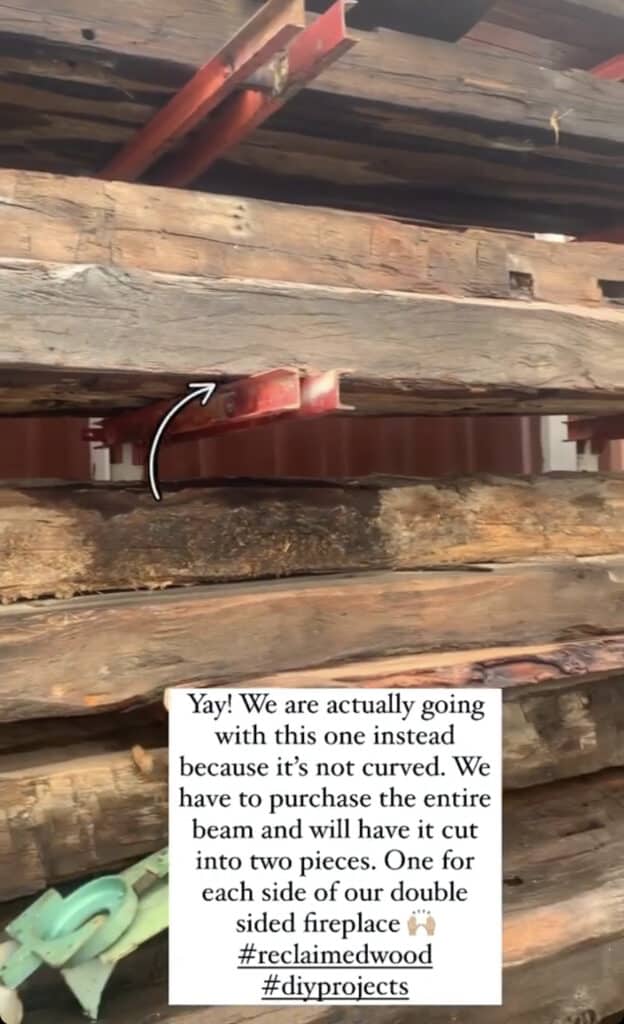
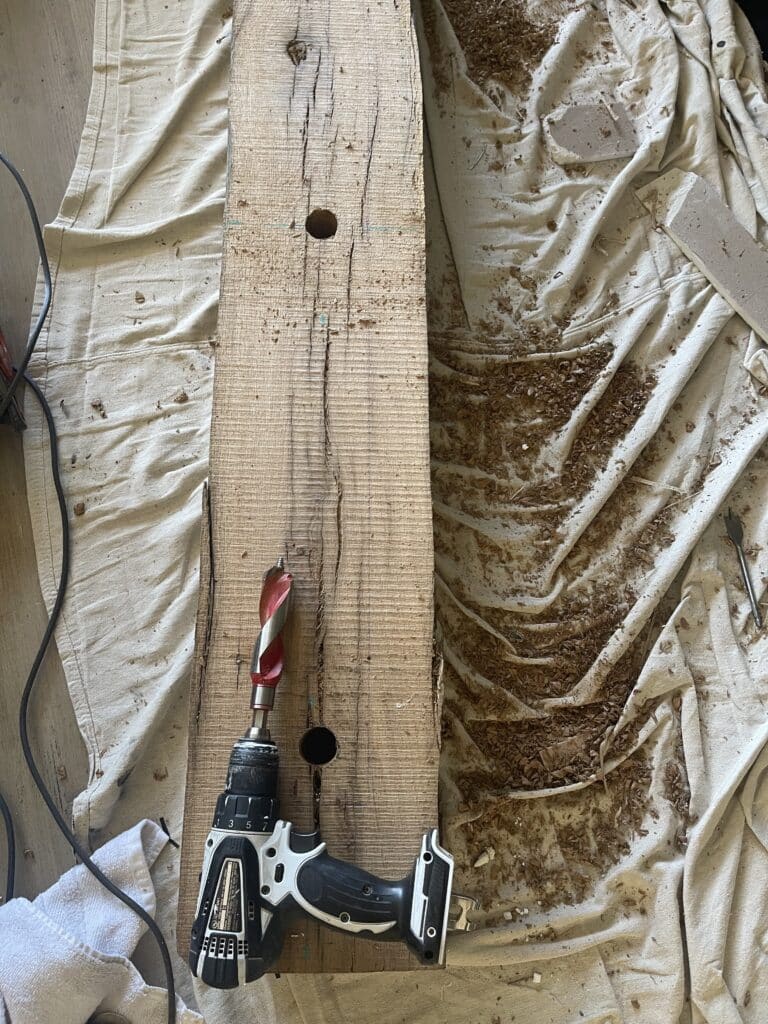
Shopping at our favorite local Lumber yard. We found this incredible reclaimed wood beam and had 2 separate mantles cut for both sides of the fireplace. Jeff drilled the holes in the beam and filled them in with some heavy duty adhesive. It took my 2 boys to help him place the beam on the mounting bar
Thanks for checking in our DIY project. I hope this helps if you decide to take this one on.
XOXO El

 DIY BOARD & BATTEN FEATURE WALL
 BUILDING OUR DREAM CLOSET
 FIREPLACE BUILTINS DIY
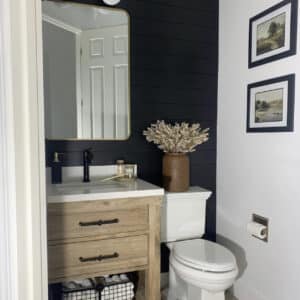 POWDER ROOM DIY

