*Affiliate links used – sources linked at the end of the post.
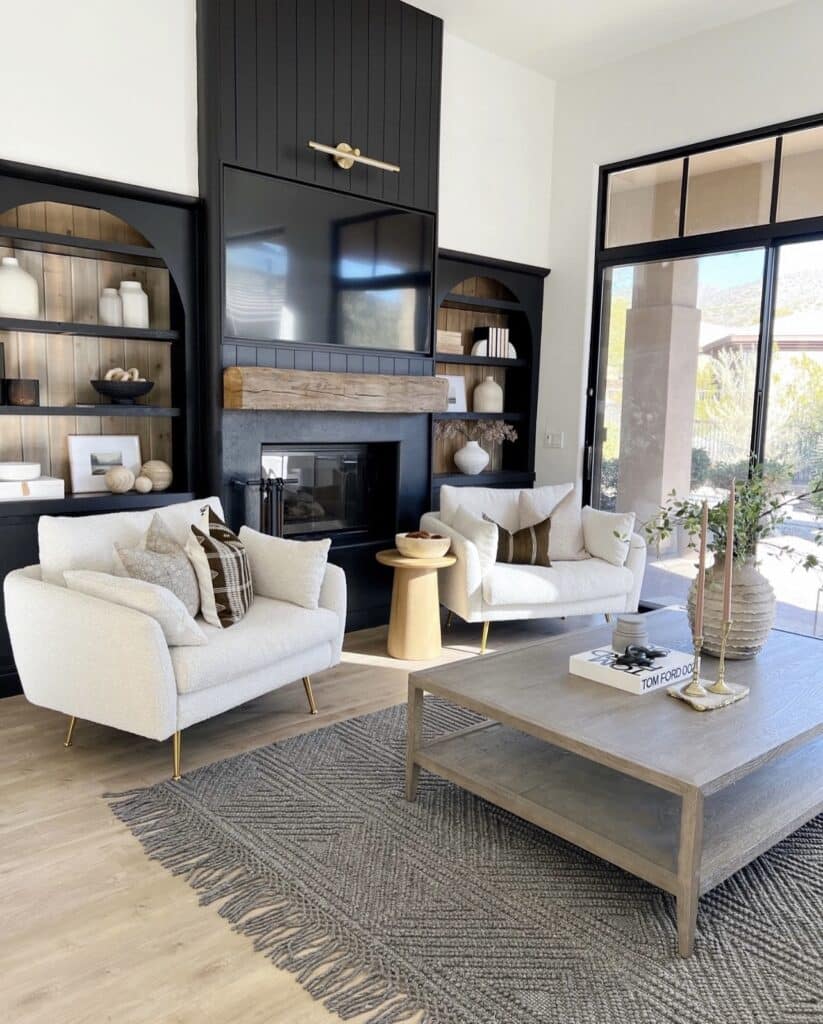
Sharing a DIY of how we updated our 90’s duel sided fireplace. The original fireplace was very art deco with too many dimensions and no symmetry. We decided to start from scratch and demo the whole space. It was a mess and fortunately we didn’t have to live in the house while the major demo started. You may notice In the images below we also removed the tile floor.
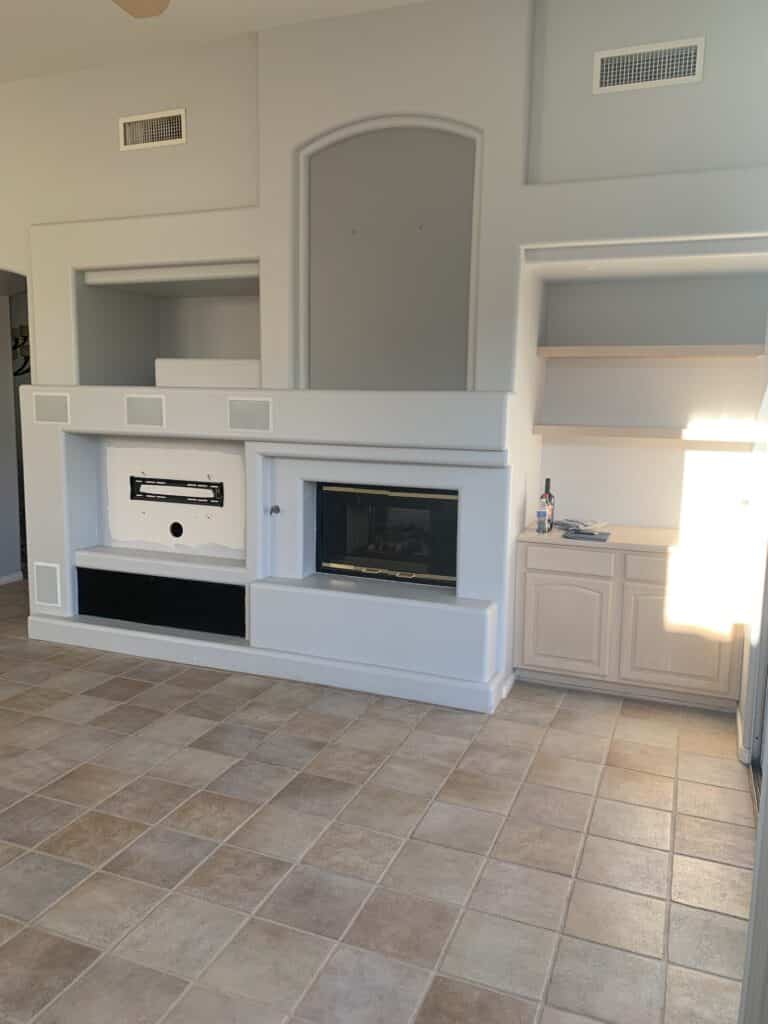
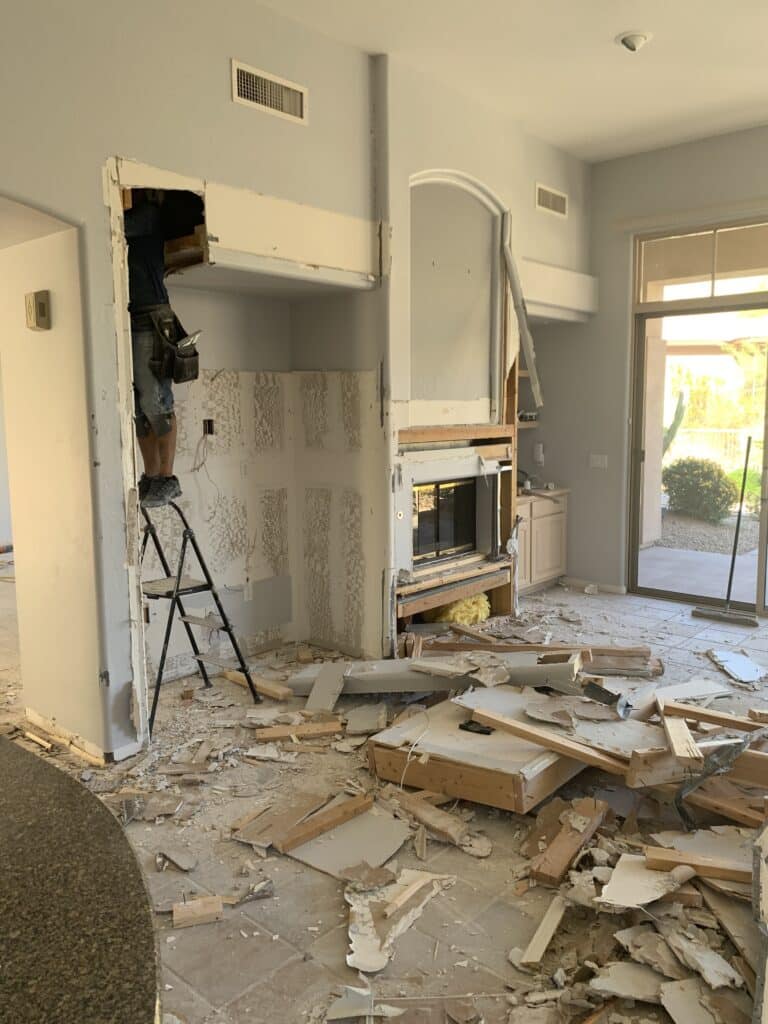
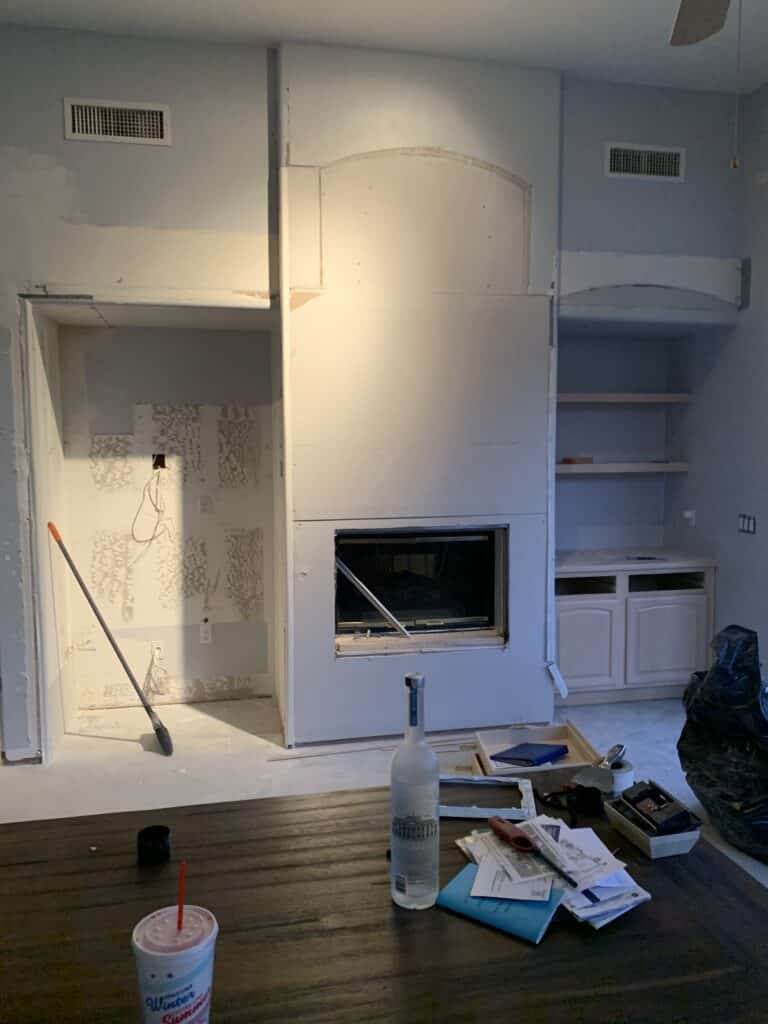
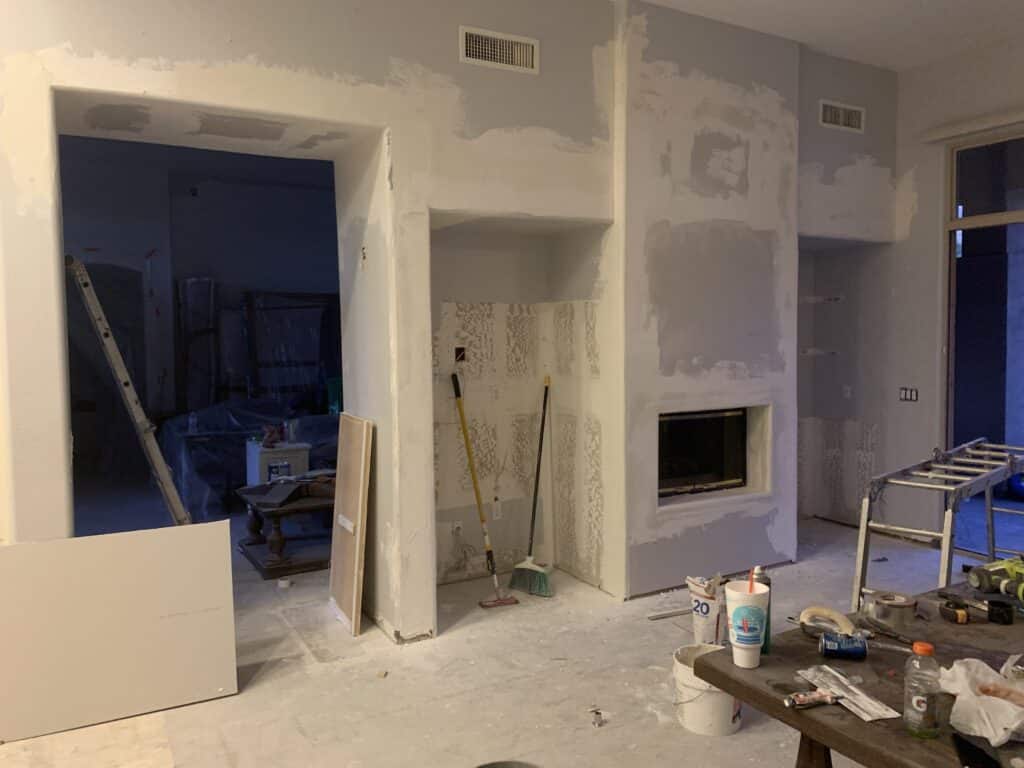
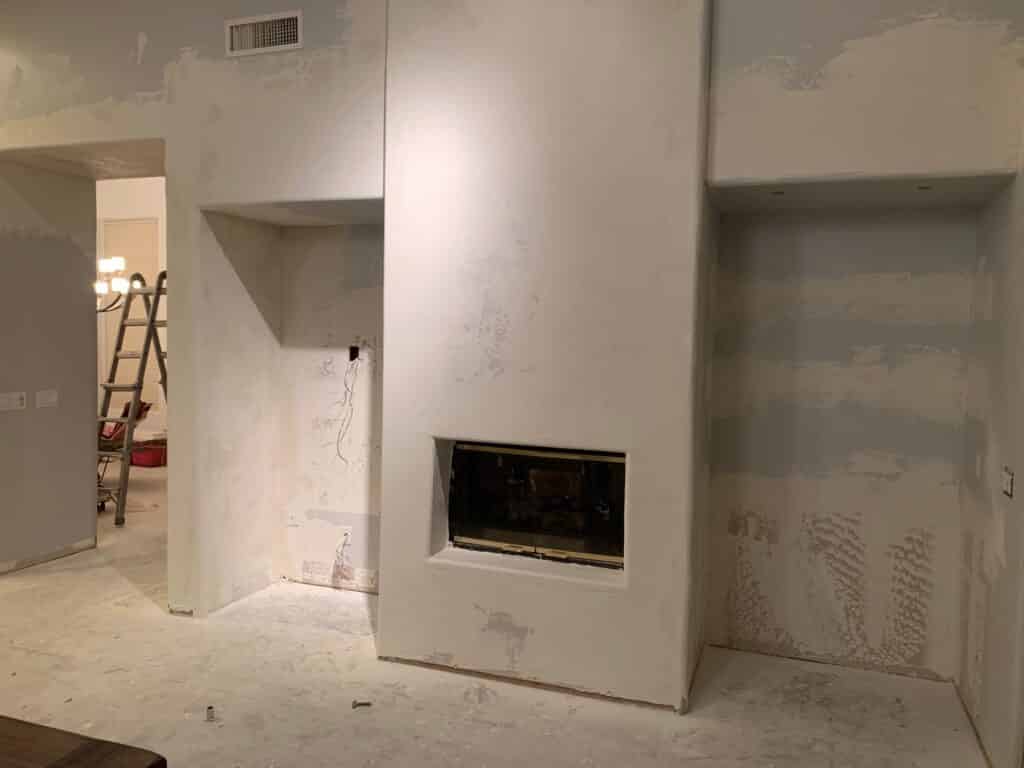
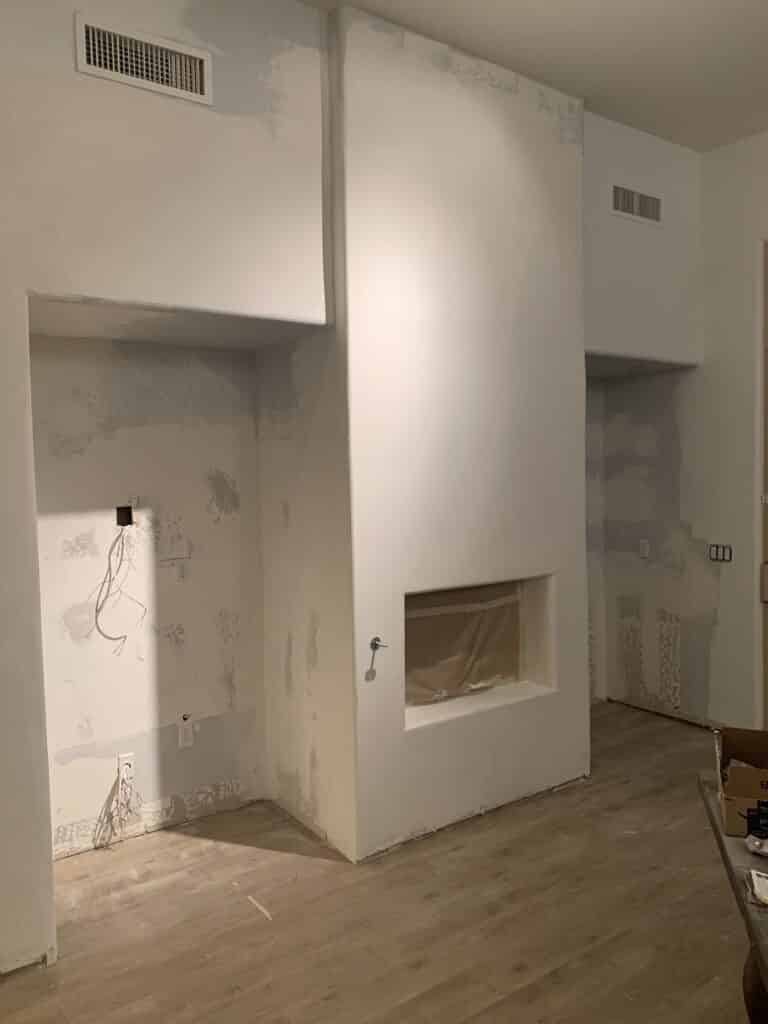
After the initial Demo and clean up, the fireplace was textured with drywall compound to match the rest of the home. The vision from here was to find some builtins to fit the space and do a matching pair, recessed in the cubbies on both sides of the fireplace.
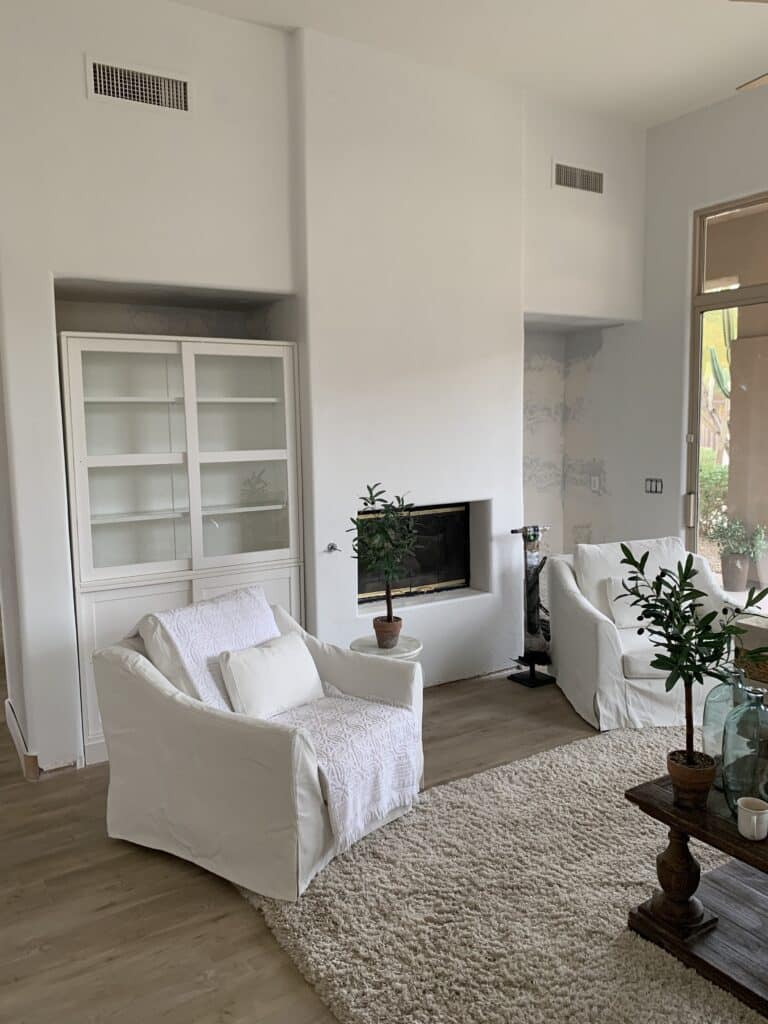
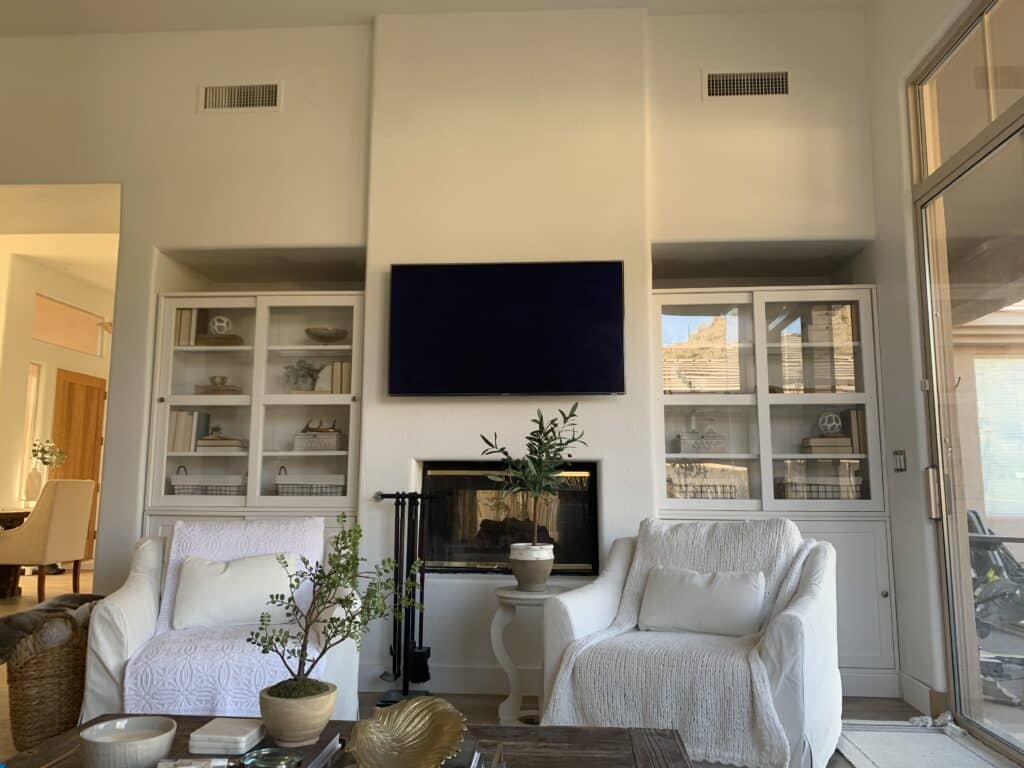
We went with Havsta cabinets from IKEA. These are very decent cabinets for the price and Jeff could modify them to take up the whole space. Of course I needed to decorate in between the mess and because we had so many projects going on we hung the TV with a semi finished look until we could come back to this DIY project.
Several weeks later we picked the shiplap and trim for this fireplace. After deciding on the style we put our focus on what type of TV. We landed on the Samsung Frame TV because it can display art when your not using the TV for movies or TV shows. Of course I wanted to recess the Samsung Frame TV into the fireplace for a flush look.
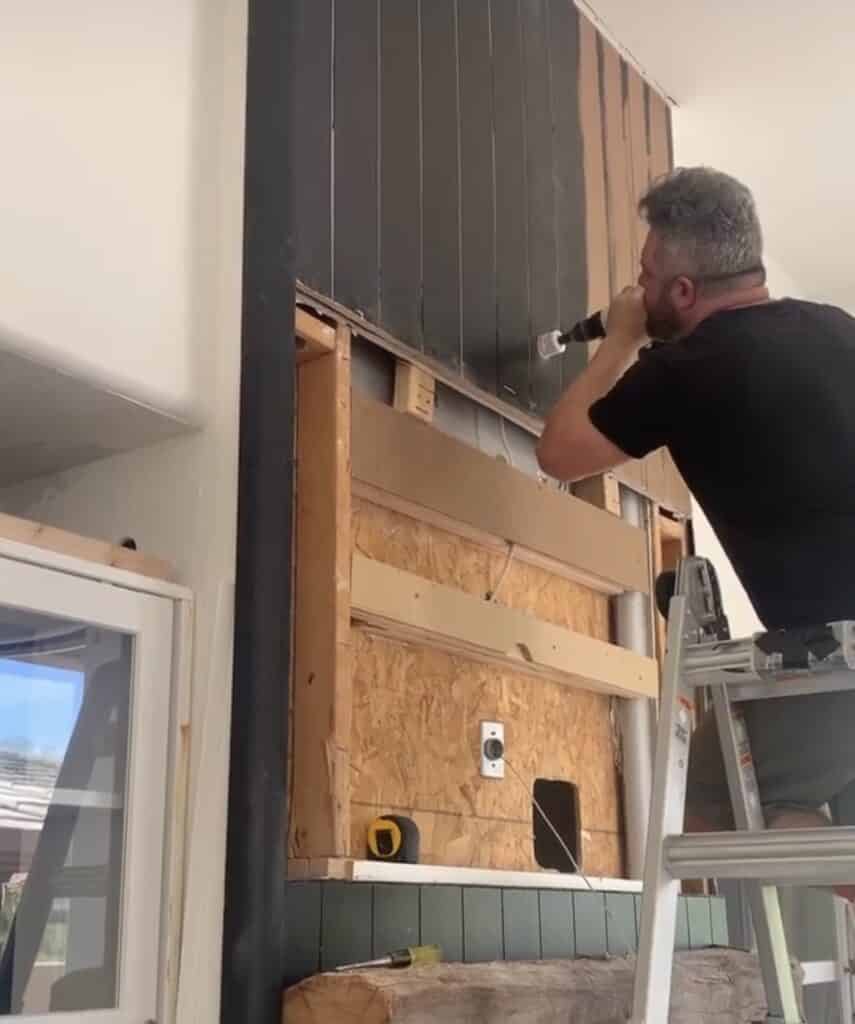
The trim would add .5″ depth and the frame TV is only approx 1′ thick so we recessed a .5″ deep into the original drywall and hung studs and a new backboard to mount the Frame TV to.
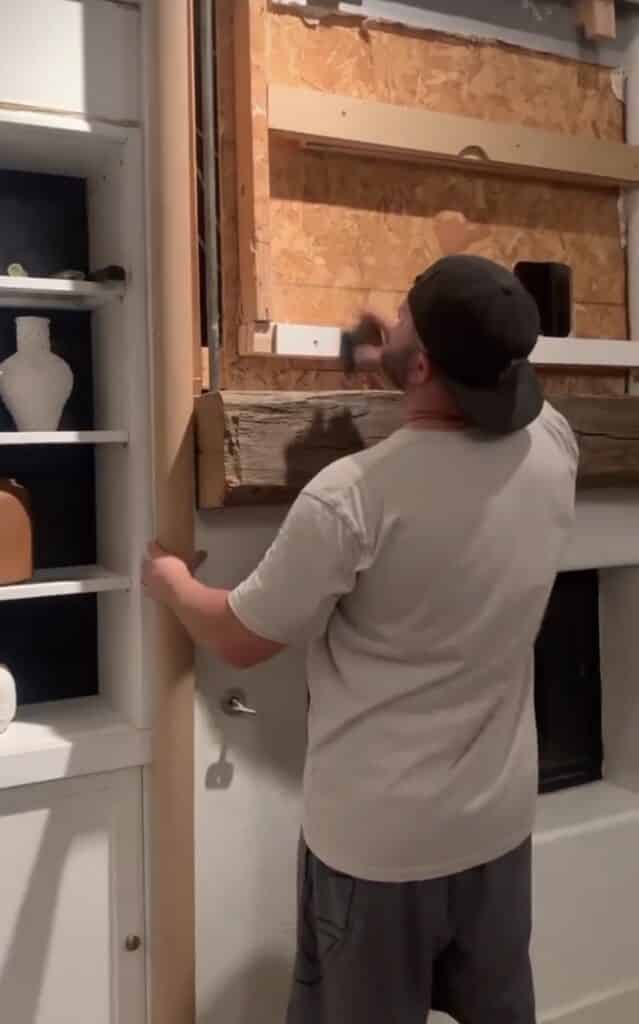
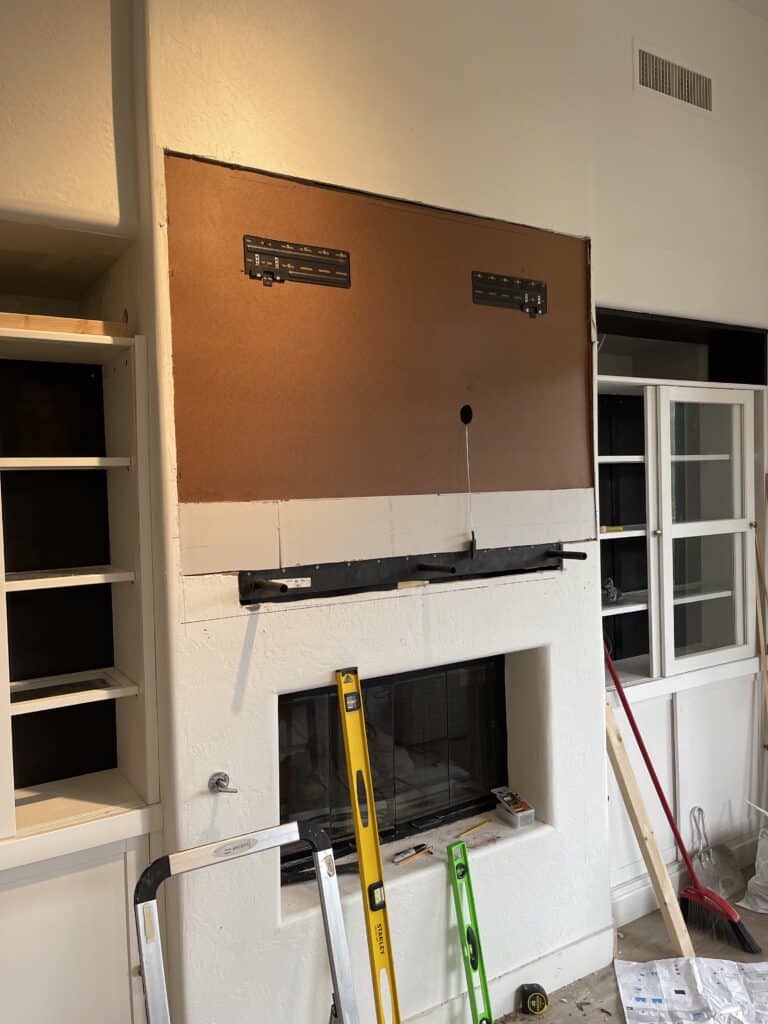
Time to do the shiplap and corner rounds and for the paint choice we decided on tricorn black from Sherwin Williams.
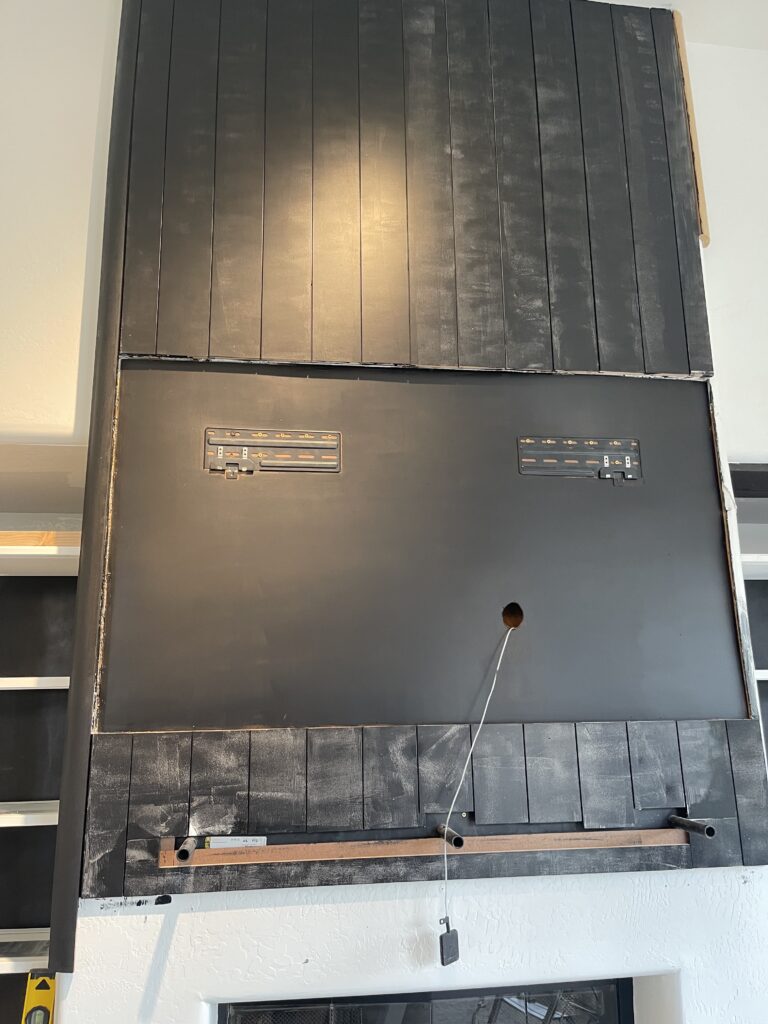
The Samsung Frame TV displays an art piece so we decided to install a picture light above it to create the look of fine art hanging over the mantle. I also secured the mounting bar to the studs to fit the reclaimed wood mantle. One of Jeff’s biggest mistakes was he didn’t realize the samsung power cord is not in wall rated. He had to take the apart the entire section and run the wire through a large conduit. Keep that in mind so you don’t make our mistake.
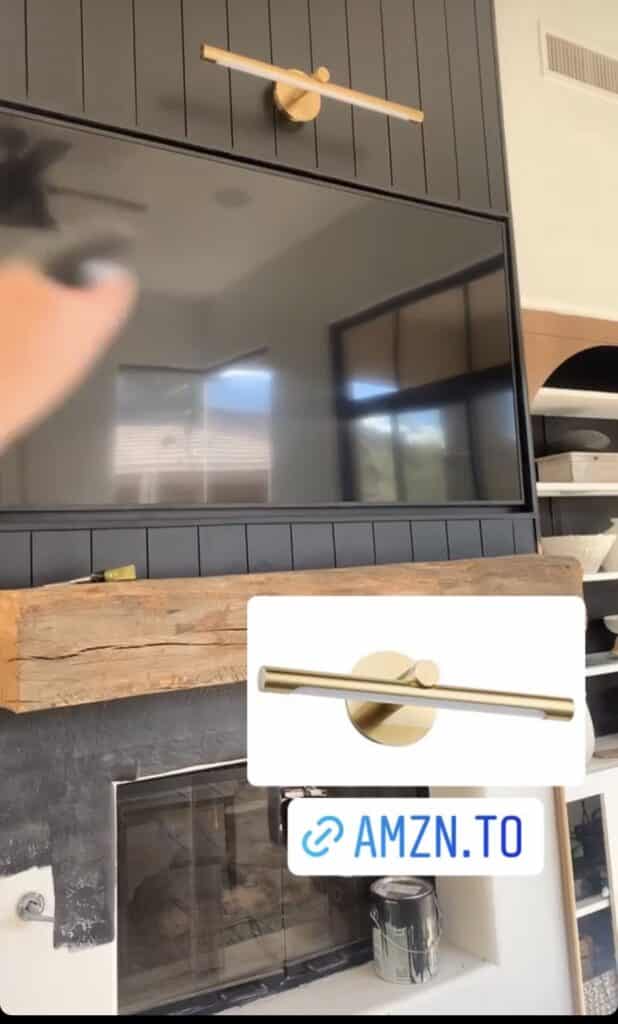
Second round of paint and the light was installed.
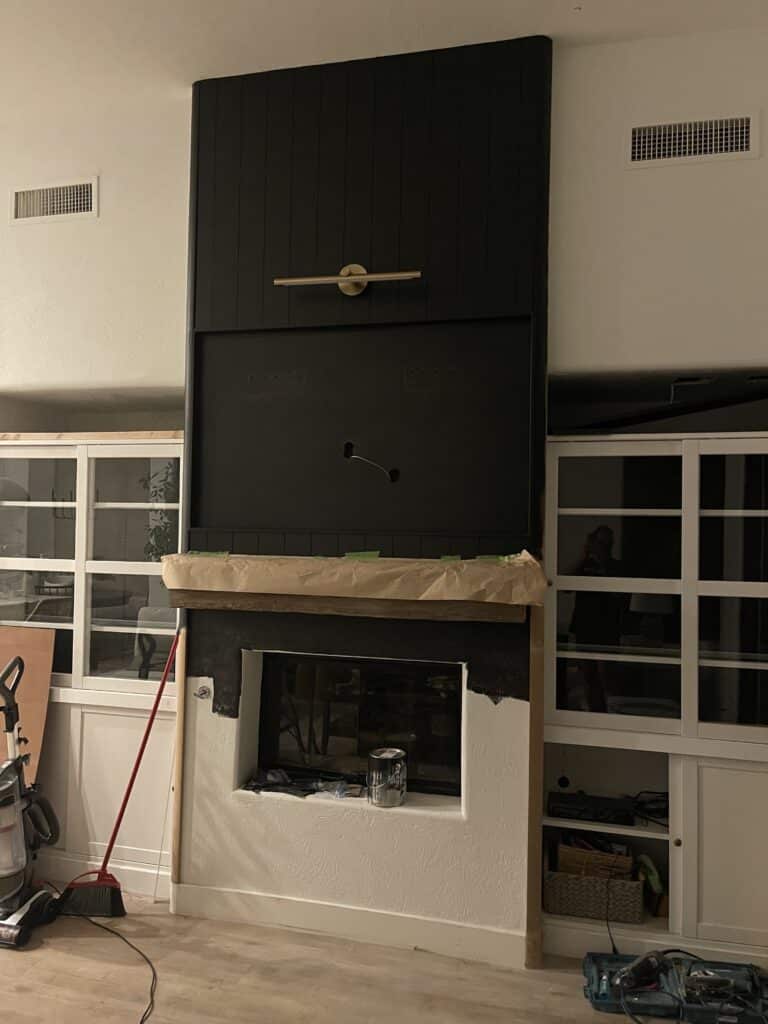
Now it was time to work on the builtins. The original builtin’s weren’t tall enough so Jeff made a custom 5th shelf that sits on top of the Havsta cabinets. Then he used some EUCABOARD from Home Depot to cut the arches.
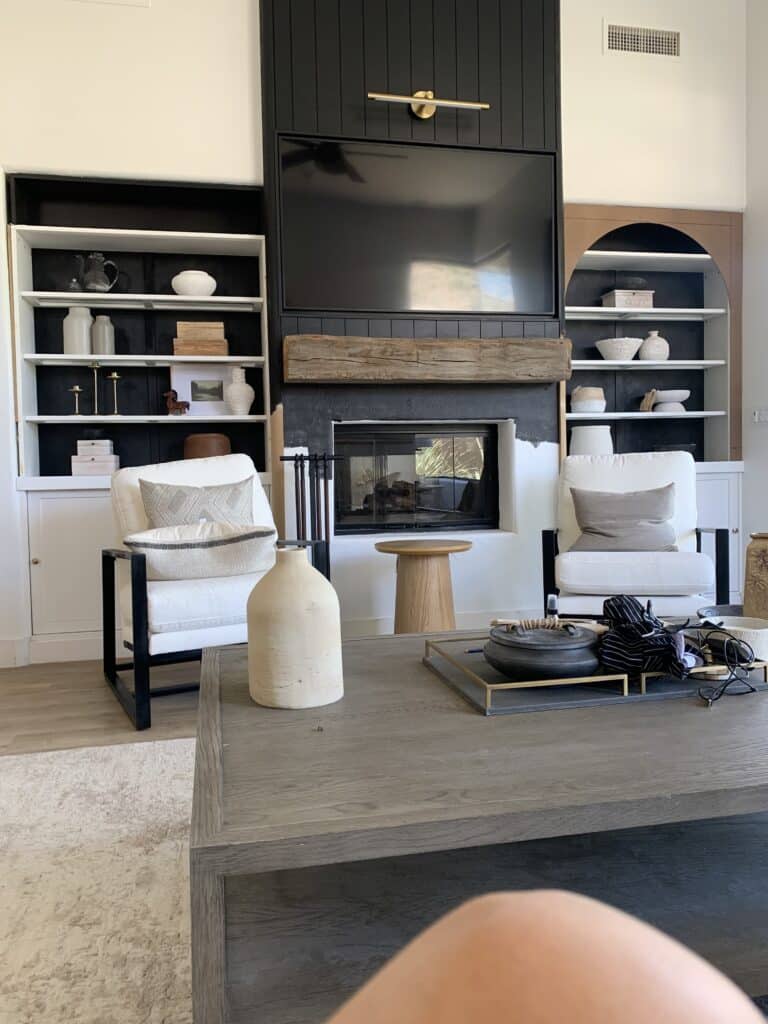
For the interior of the cabinets, he installed a different style of shiplap. It was more raw wood instead of mdf material like he used on the fireplace. He did a light stain with the color classic grey.
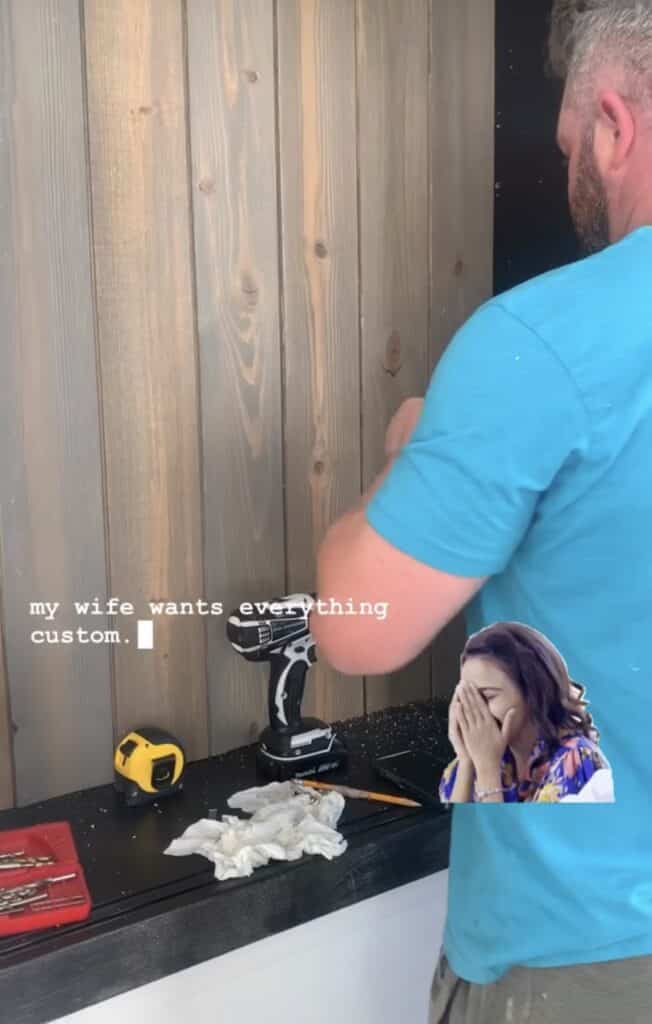
After installing the arches and cabinet shiplap we finished everything with a couple coats of Tricorn black paint and I styled it. There are many videos saved to my instagram stories that show the live progress and how I styled the builtins.
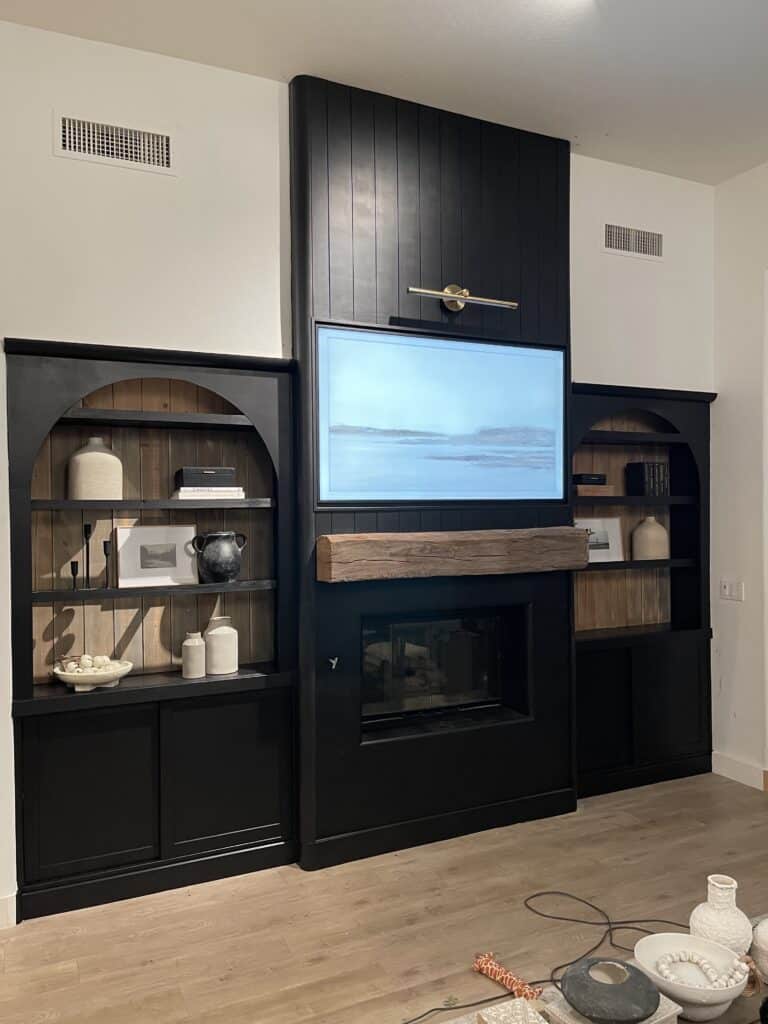
Here’s the final look. We absolutely love how this turned out!

Thanks for being here! I look forward to blogging more about our next DIY project. So stay tuned for that!
xoxo El

 RECESSED VENTS DIY
 BUILDING OUR DREAM CLOSET
 LAUNDRY ROOM DIY
 POWDER ROOM DIY
