*Affiliate links used
Hi Friends! We just finally finished the laundry room and I couldn’t be happier. I am sure you are not surprised that I decided to go with a dark & more moody vibe and it’s exactly how I envisioned it 🙂 There is so much surface area to fold the laundry now that we installed this gorgeous custom countertop. Good news is, it makes doing laundry a little more bearable. We partnered with Wilsonart to install their new product THINSCAPE. We choose the Black Amani for our space and absolutely love it.
Here’s a little background on Wilsonart. They are a world-leading engineered surfaces company that provides beautiful, hard-working, on-trend and high-performance engineered surfaces for whatever you may be looking for.
THINSCAPE is a European-inspired sleek and contemporary surface with many designs to choose from, including stone, marble, quartzite, metal, and woodgrain. Perfect for those high touch spaces like kitchens, bathrooms, laundry rooms, which is where we installed, or spaces that demand a surface capable of withstanding daily life with easy maintenance.
Plus, THINSCAPE is a sustainable material and can be fabricated with half the labor of other surfacing materials. So it’s a budget saver as well.
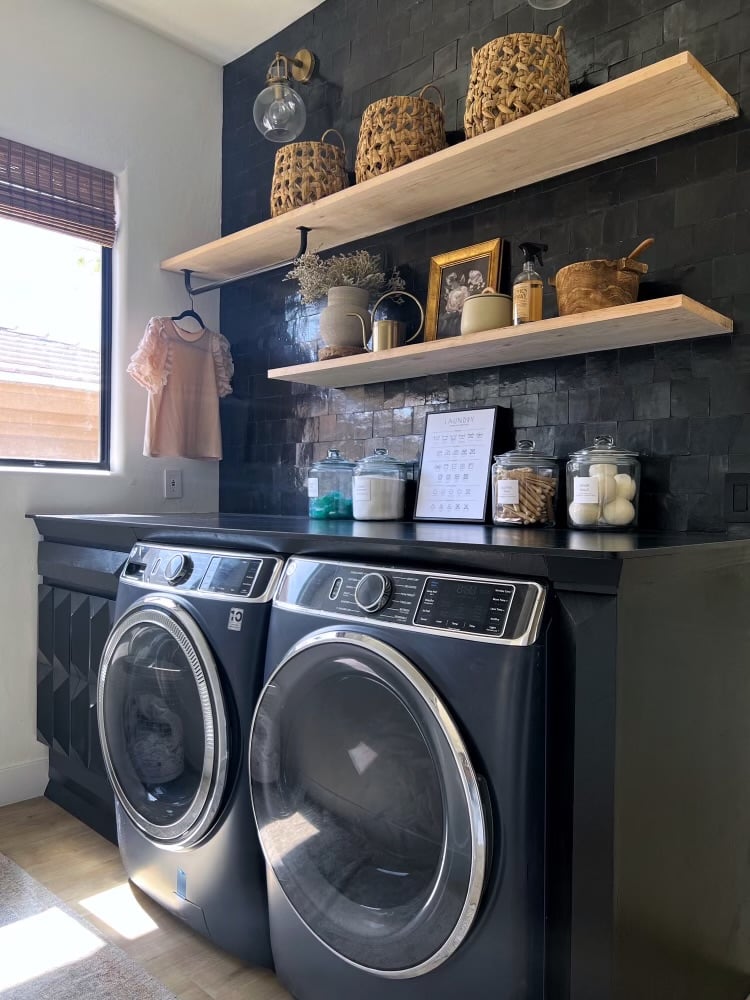
Now that you have seen the after, let’s take a look at the before. This laundry room was in need of a makeover. It’s the first thing we see when we come in from the garage and it was not a good first impression. The demo was easy enough because the space was small. Jeff removed the old cabinets and replaced the flooring under the cabinets with the left over planks we had from the floor remodel. TIP – Always buy a box or two extra of flooring in case you need it for removing fixtures and cabinets that were originally cut around.

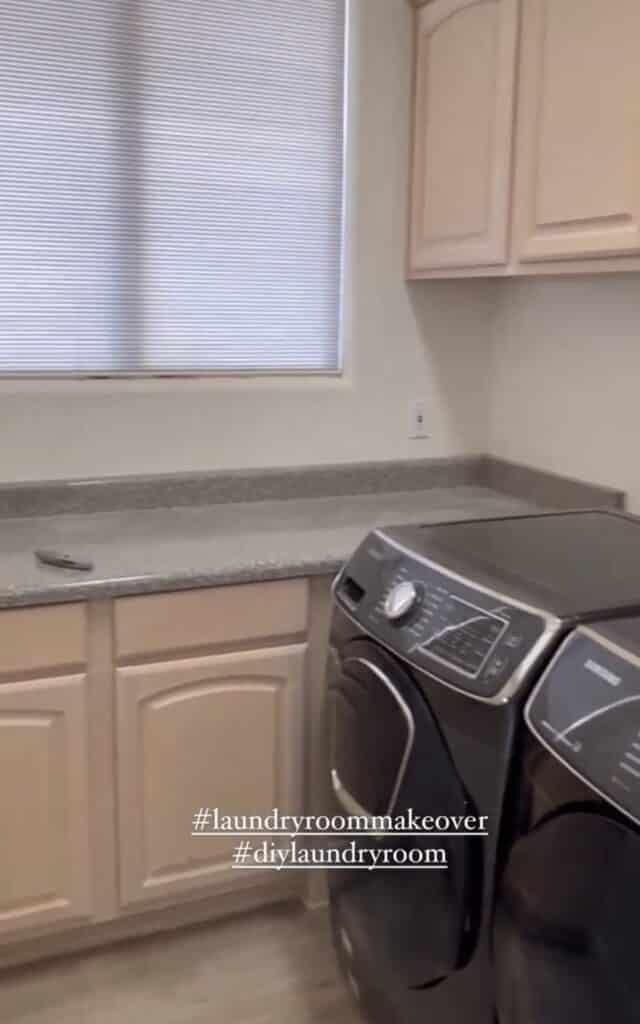
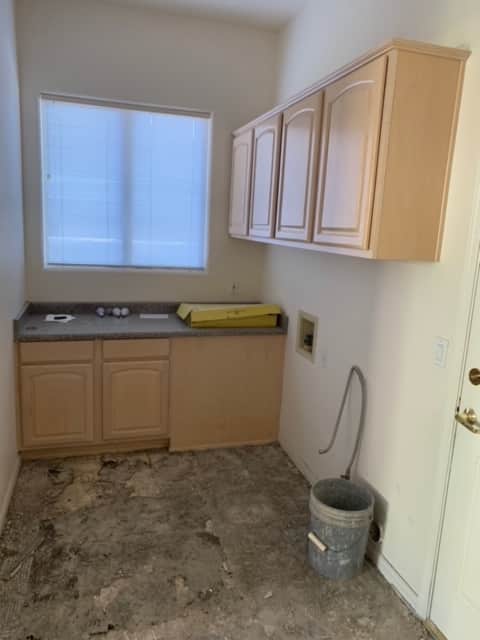
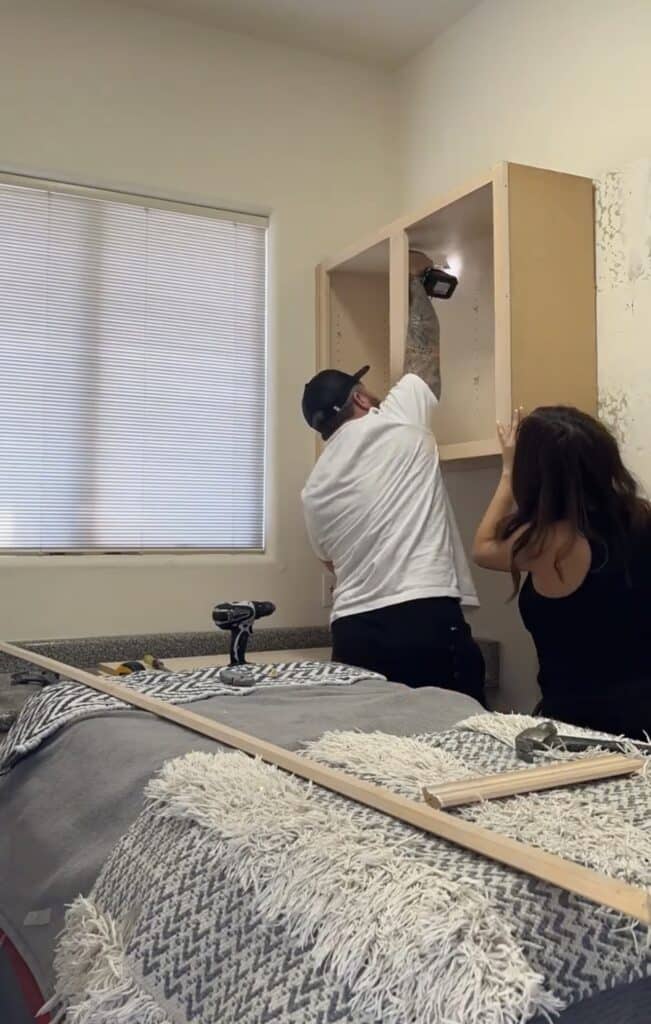
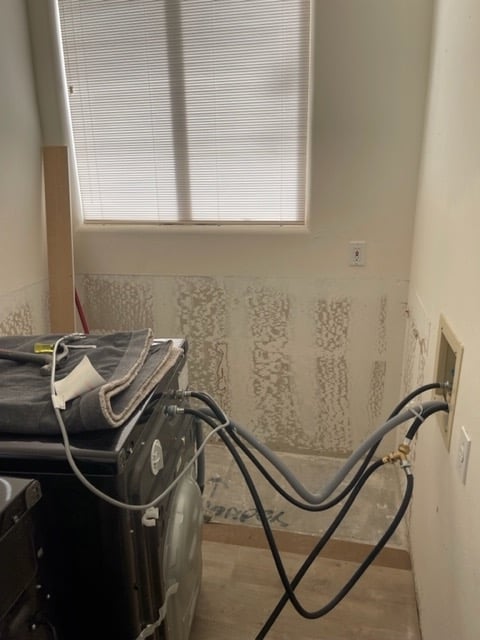
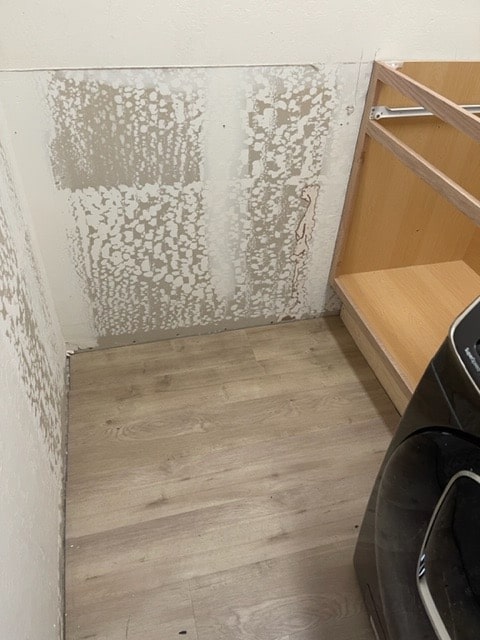
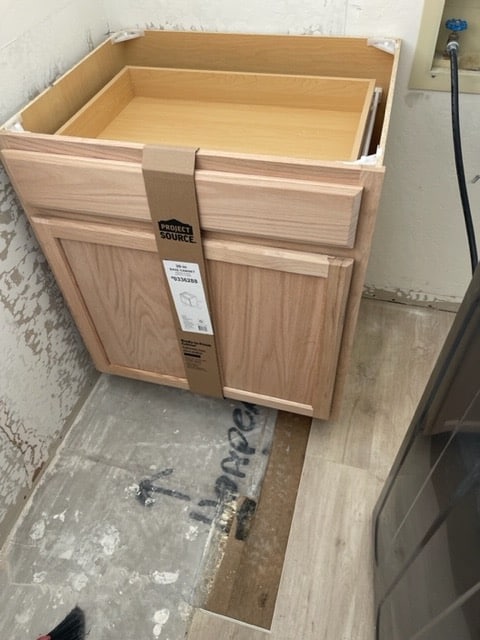
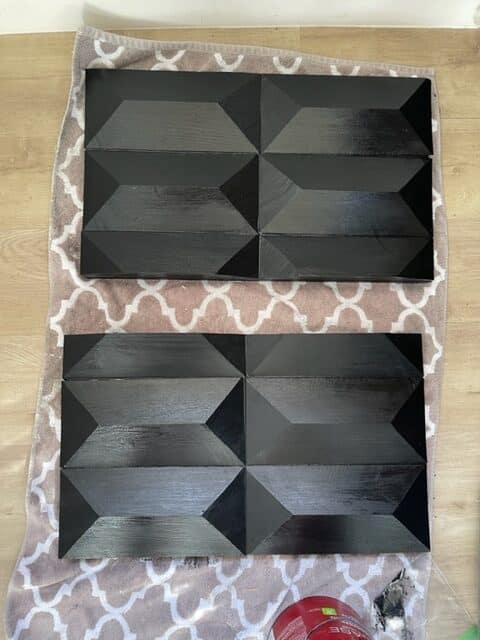
Jeff works fast and he had those cabinets out and flooring replaced in no time. The new cabinet was just an unfinished base unit from Home Depot. Jeff has plans for doing a cool geometric design on it. To make a support system for the THINSCAPE countertop, Jeff used the cabinet on the left side of the washer dryer and for the right side he built a pony wall. The wall was built using some 2×4’s and a sheet of birch wood.
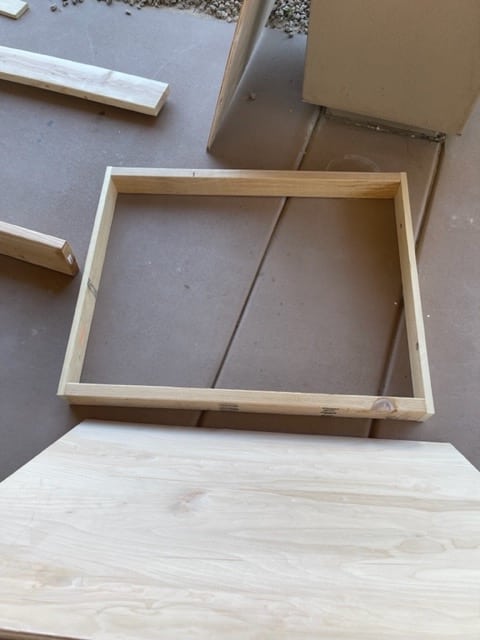

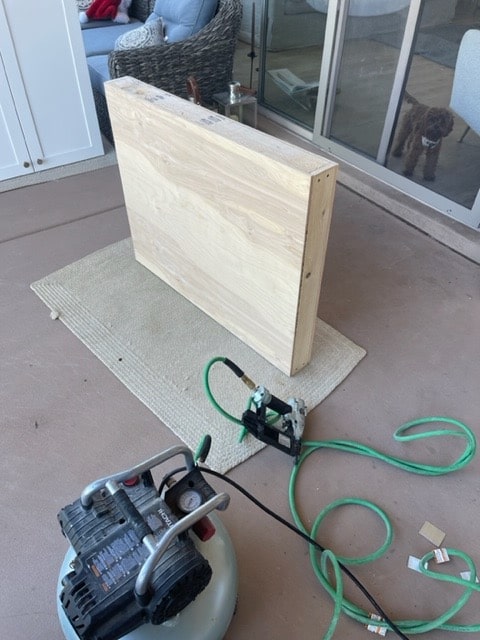
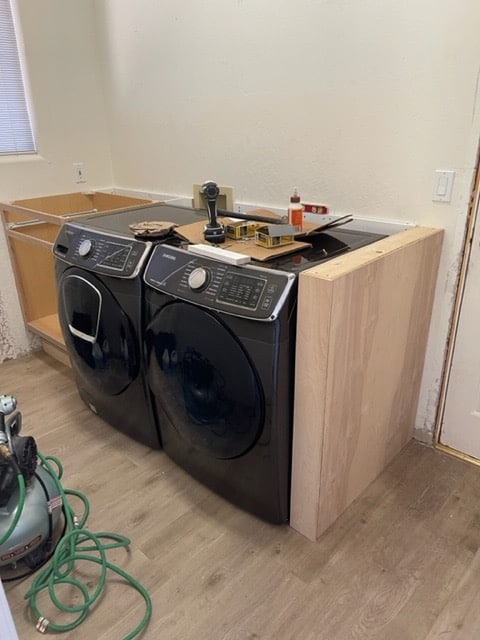
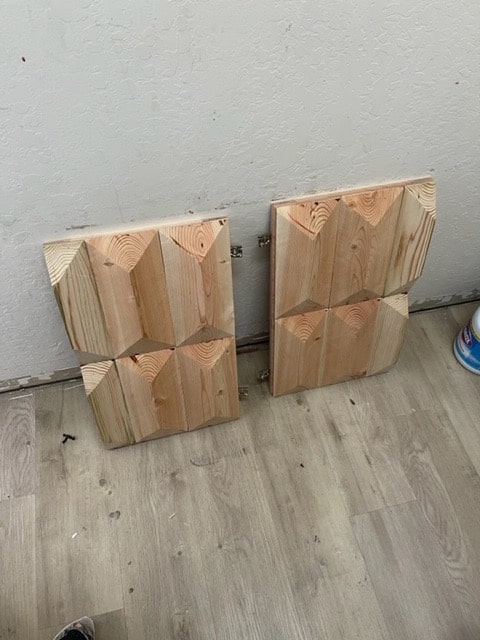
Next he put down some plywood to provide support for the counter top. Remember those geometric designs Jeff was going to install? Here’s what he made. It resembles our Restoration Hardware piece we have in the living room.
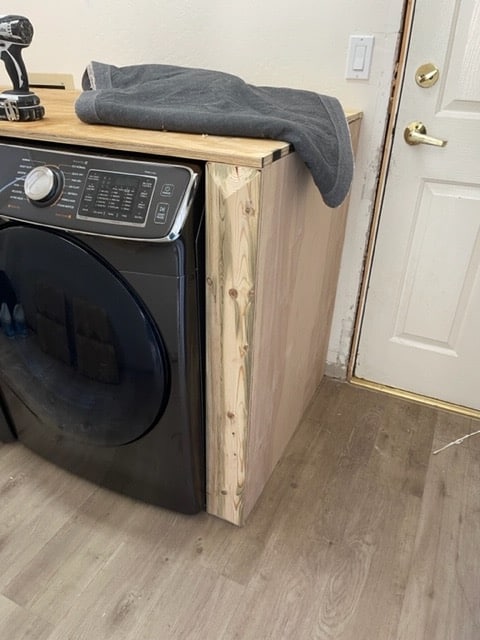
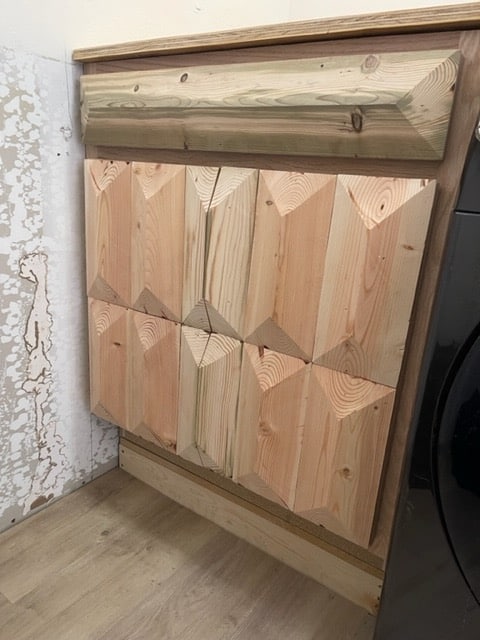
Now that the rough work is complete its time for some finishing work. Jeff needs to fill the seams with wood filler, sand and paint.
So we had a little problem occur during the project. Our 2 month old washer started leaking water and suds all over the flooring. The drain line was well positioned and the connections were airtight, so the defect was with the unit itself. We should have listened to the poll we took on what to buy. Everyone said get a GE or a Maytag. The bummer was The GE appliances we purchased are slightly larger than the previous washer so Jeff had to move the side wall and increase the height.
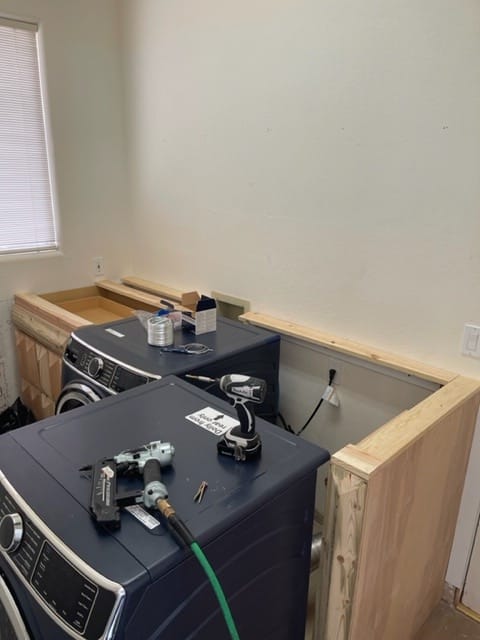
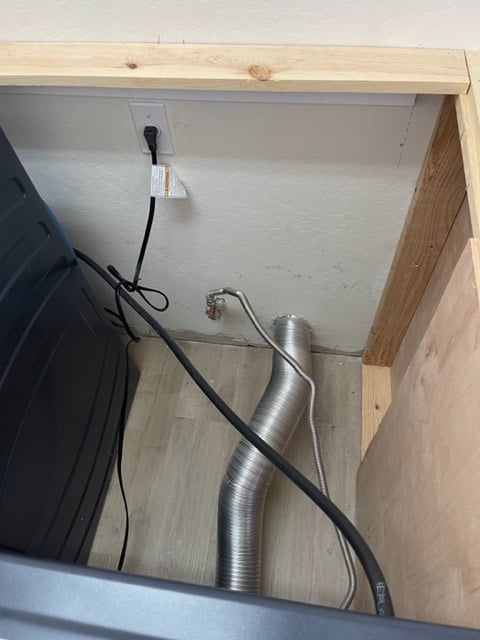
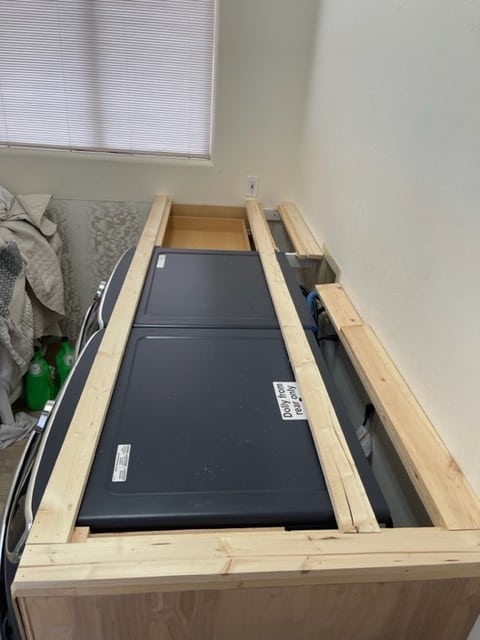
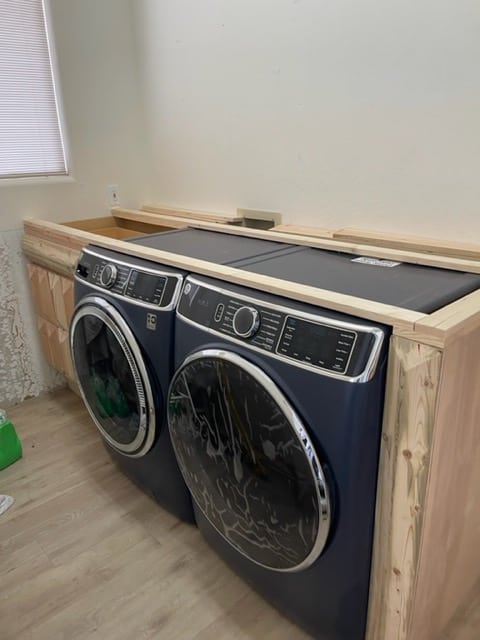
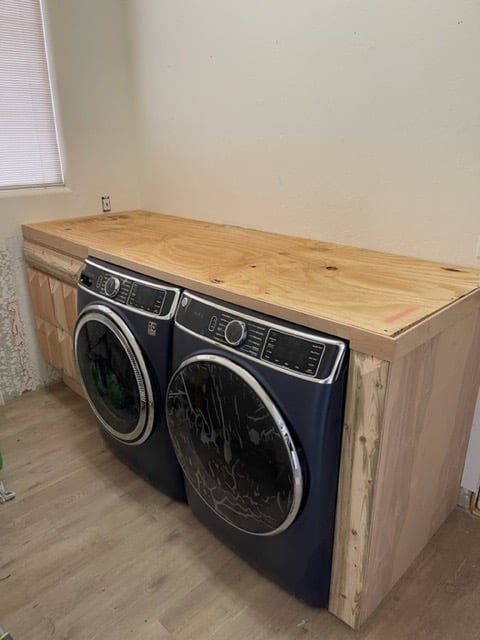
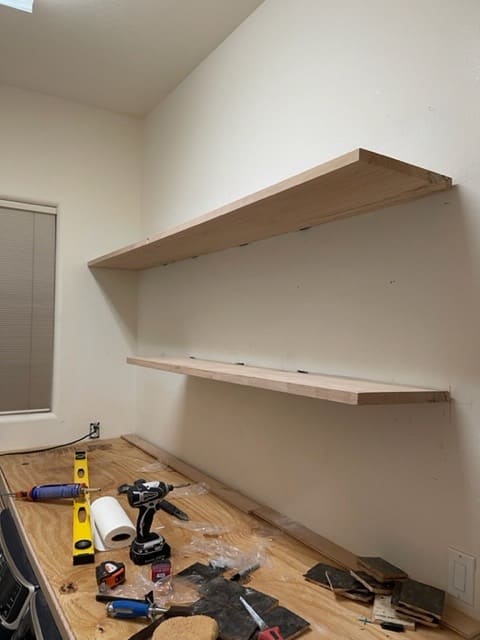
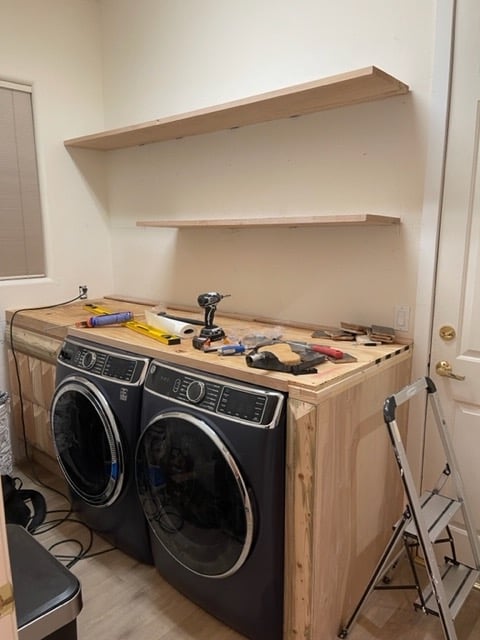
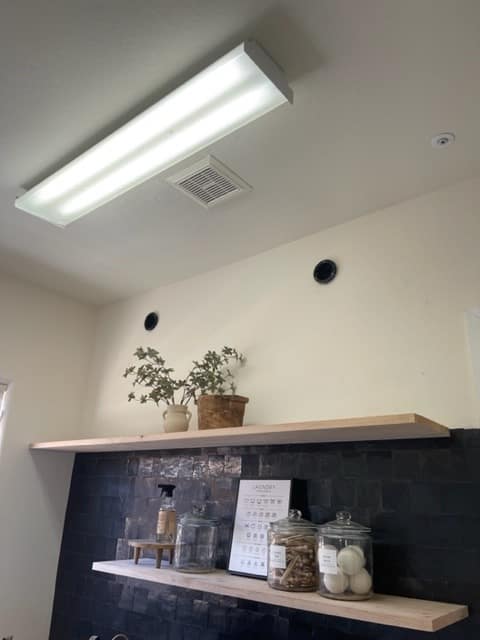
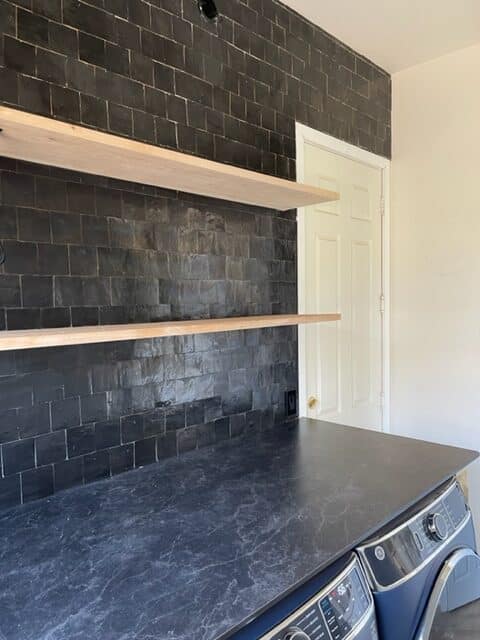
With the base re-built we were finally ready for our Black Amani THINSCAPE countertop to be installed. We called Wilsonart so they could send out a professional to prefabricate and install the countertop. Jeff moved on to install the floating shelves before the tile went up. Like the other floating shelves Jeff used the Amazon Brackets that are 6″ with a .5″ diameter to hang them. He drilled out the holes in the back of the shelves and filled the holes with liquid nails glue. Then he slid them on the brackets for a secure and level fit. Notice the bottom shelf is not the same size as the top shelf? We are going to install a curtain bar for hang drying delicate clothing.
Note – the distance between the countertop and first shelf is 20″. The tile is 3.75″ -4″ each. They are not perfect tiles so there is a slight size change per tile. Measured to 5 tiles high and less tile cuts. The first shelf to the second shelf distance is also 20″ leaving enough space to hang dry clothes.
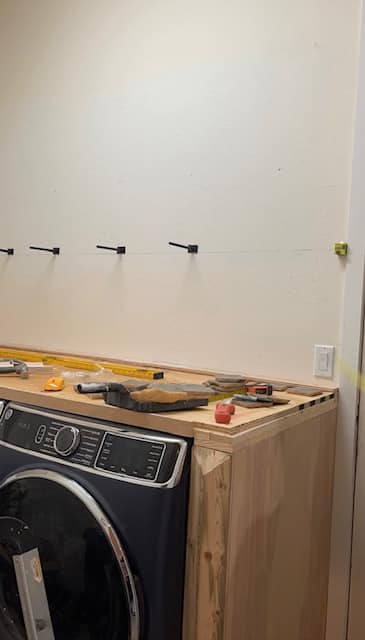
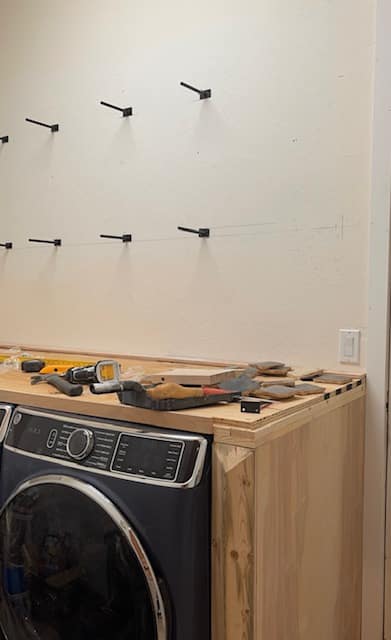
Our tile installers started the backsplash today. We went with this beautiful black zellige tile from our go to distributer @Riadtile. They also supplied us with the natural white zellige tile in the coffee bar and kitchen backsplash.
The THINSCAPE countertops are being prefabricated and will take another week to be installed so we measured a gap at .625″ to allow the .5″ countertop to slide in during the install.
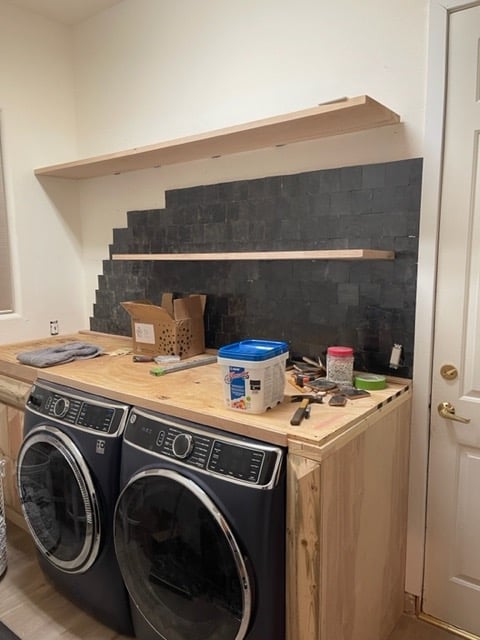
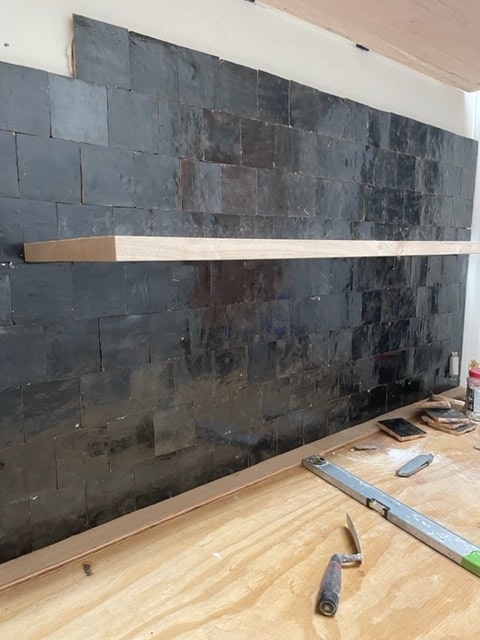
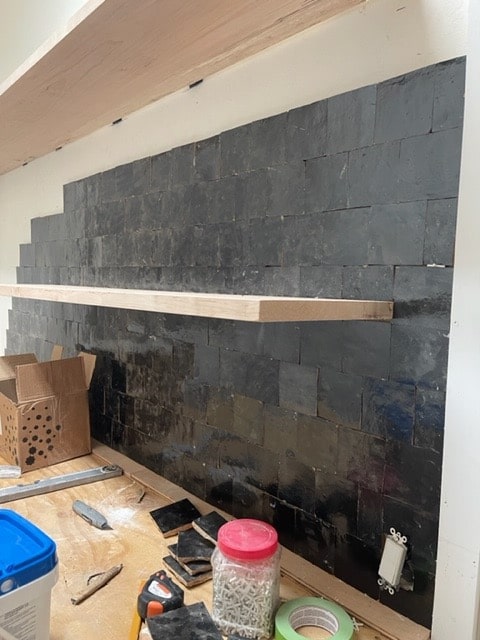
The black zellige tile install is complete. We decided on no spacers in between the tile so we needed minimal black grout to fill the cracks. Grout is by Mapie color black .
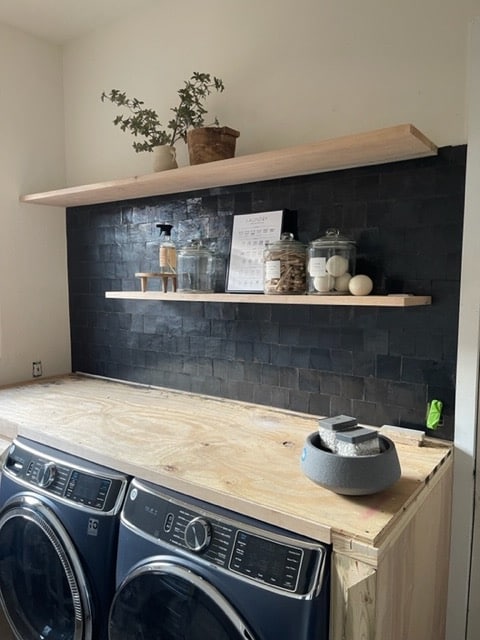
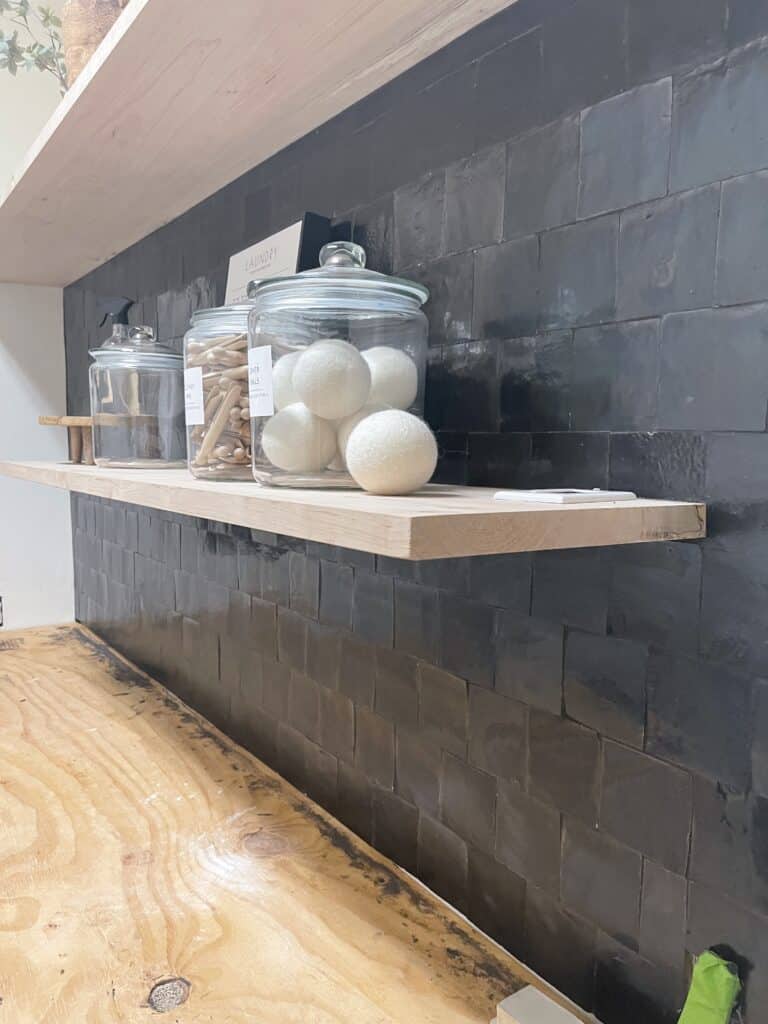
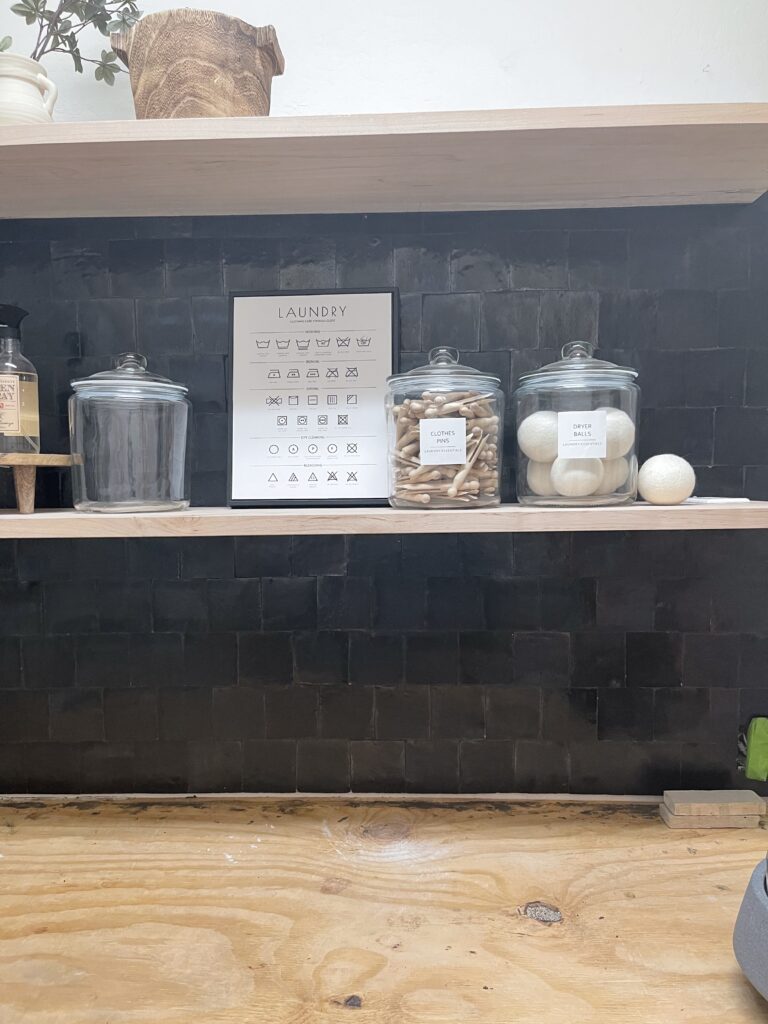
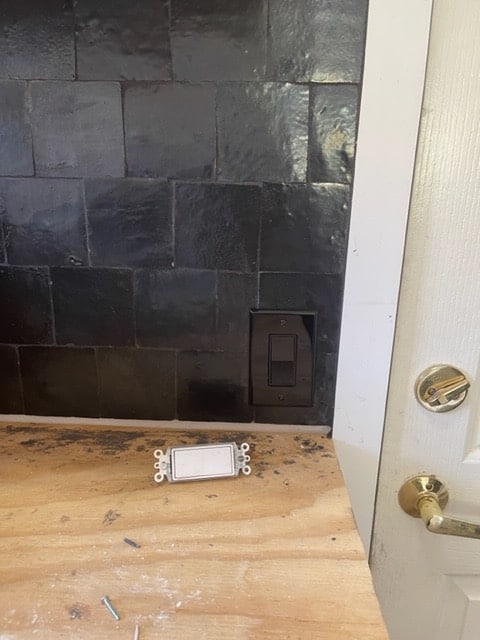
We love the tile so much we decided we want to bring it to the ceiling. In order to prep, Jeff installed the light boxes for the sconces and switched out the white light switch for a black switch to blend in. We also changed the door trim for a more modern look.
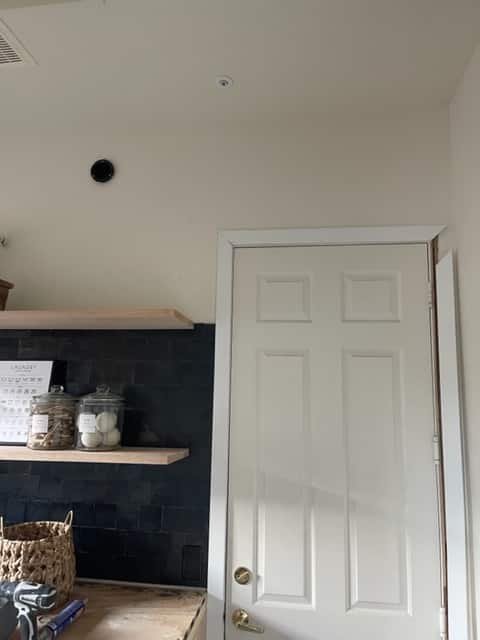
Our beauty of a countertop arrived and our installers did a fantastic job with the prefab. It slid right into the gap we left in the tile. I love it when a plan comes together. The Thinscape finish we went with is Black Amani.
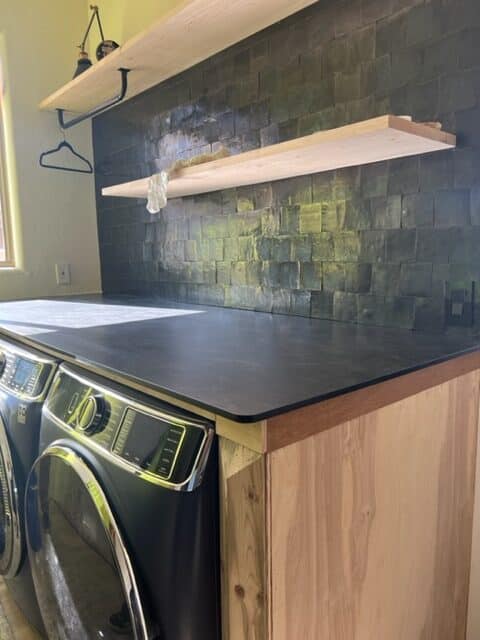
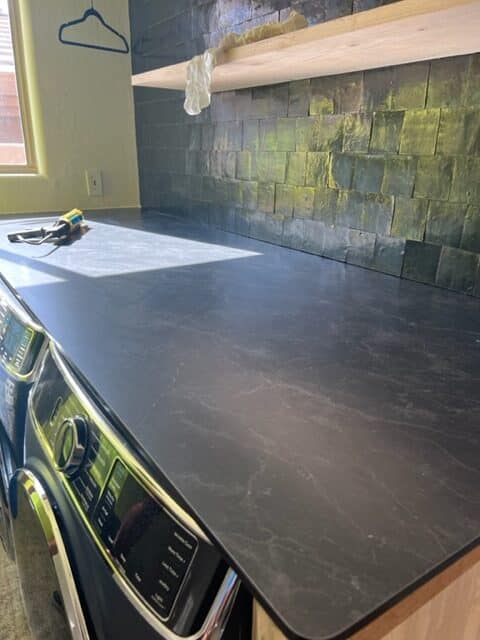
Jeff started working on bringing the tile to the ceiling. This creates the effect of a much taller room. Which is great for this small space.
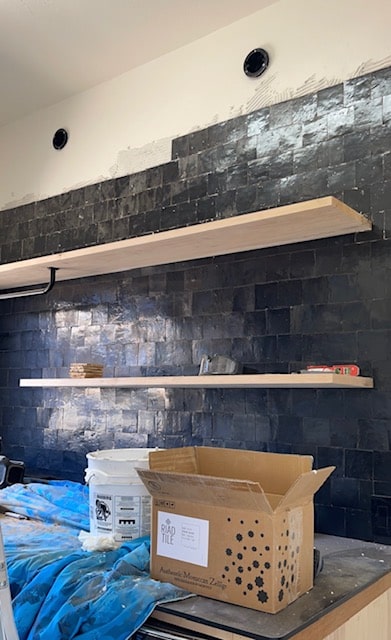
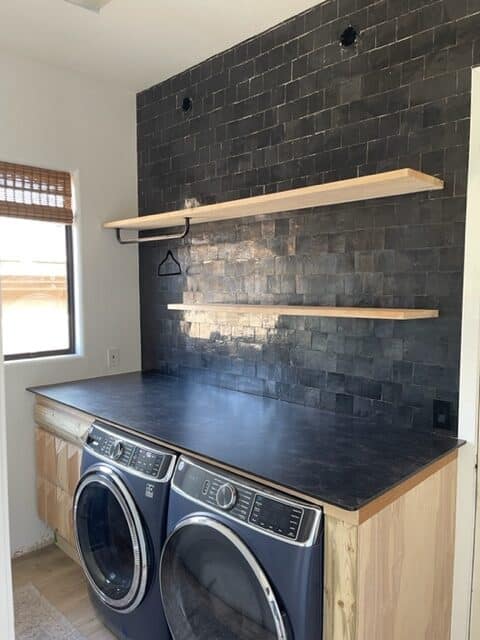
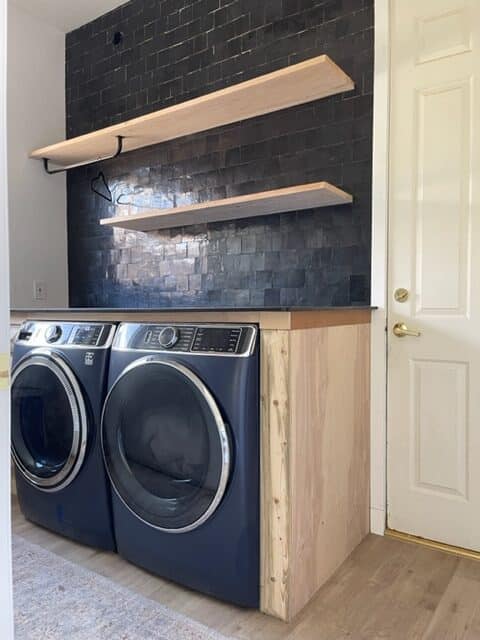
The next step was to grout with the same premixed grout Mapie color black. The window in the laundry room is duel pane and in good condition so we updated the look by spray painting it black and hanging a cordless woven shade . Jeff also painted the walls Pure White by Sherwin Williams and for the cabinets we choose Tricorn black by Sherwin Williams.
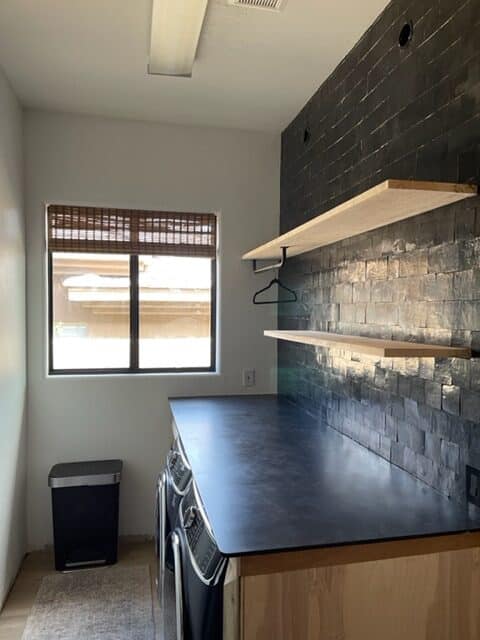
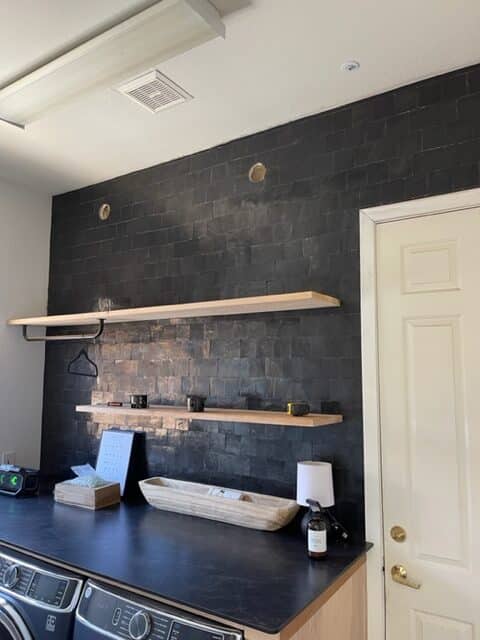
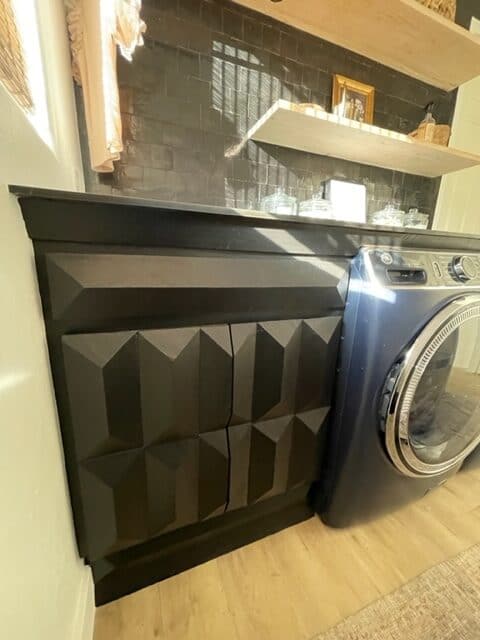
After painting the cabinets black Jeff Installed the sconces and put the finishing touches on the space.
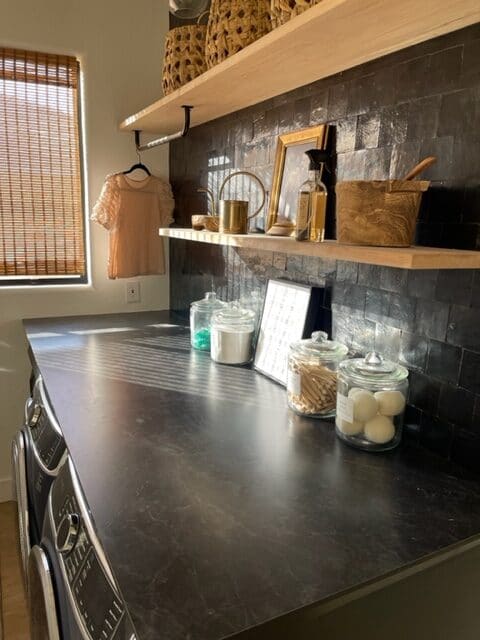
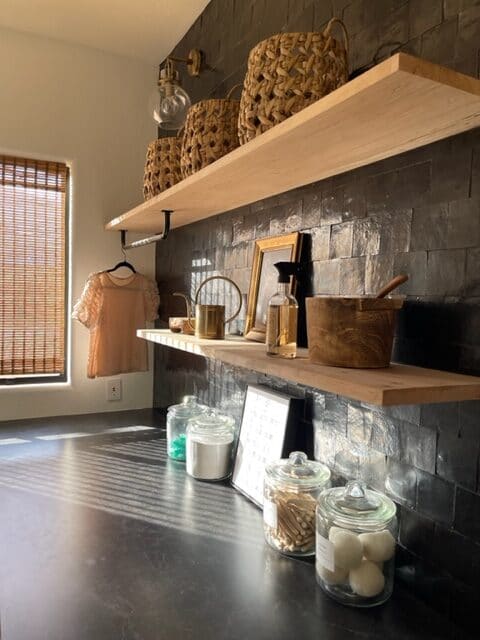
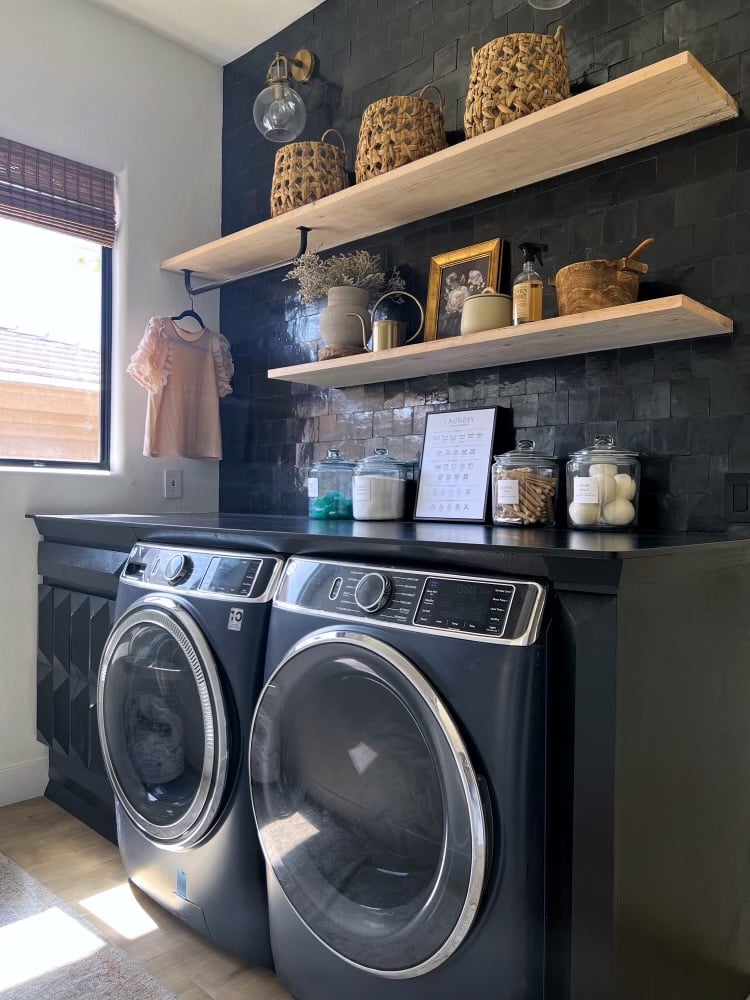
We are so happy with the final look and absolutely love our new custom THINSCAPE countertop.
XOXO El

 Electric Fireplace Wall DIY
 COFFEE BAR DIY
 POWDER ROOM DIY
 DIY BOARD & BATTEN FEATURE WALL
